


93
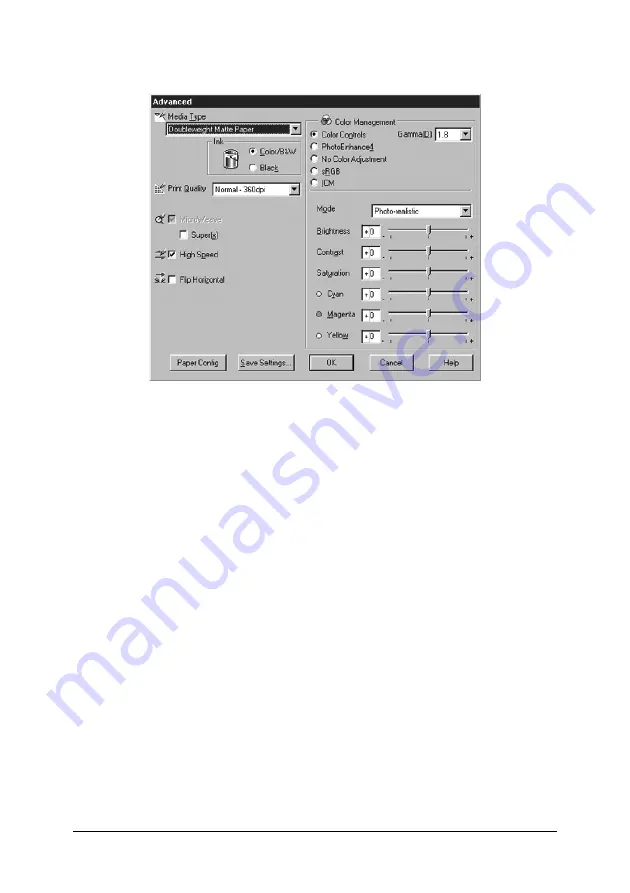
Advanced menu
2. Select the Media Type loaded in the printer. For details, see
“Making the Media Type setting”.
3. Choose
Color/B&W
or
Black
in the Ink options.
4. Select a Print Quality setting.
5. Make Paper Configuration settings as needed. For the details
of each setting, see “Paper Configuration settings”.
6. Make other settings as needed. For details, see online help.
Note:
Some settings are enabled or disabled depending on the Media Type,
Ink, and Print Quality settings you make.
7. Click
OK
to apply your settings and return to the Main Menu.
If you want to return to the previous screen without applying
your settings, click
Cancel
.
Содержание Stylus Pro 7600 Photographic Dye Ink
Страница 1: ...Reference Guide ...
Страница 58: ...57 How to enter the SelecType mode The following shows the basic SelecType setting procedure ...
Страница 121: ...120 2 Right click your printer icon and select Properties 3 Click the Port tab then click the Configure Port button ...
Страница 218: ...217 for Stylus Pro 9600 for Stylus Pro 7600 7 Move the printer horizontally ...


