


62
NO MARGIN
The following settings can be made.
CUTTER ADJ
Adjusts the paper cutting position when printing with a top and
bottom margin of zero. This function prints cutter adjustment
patterns and you can select the appropriate cutting position from
among them.
REFRESH MRGN
When
ON
is selected, the printer cuts extra print area after No
Margin printing is used automatically. The cut length depends on
the preset value of the
CUT PIECE ADJ
mode.
INIT SETTINGS
Sets all setting values you have made to their factory value.
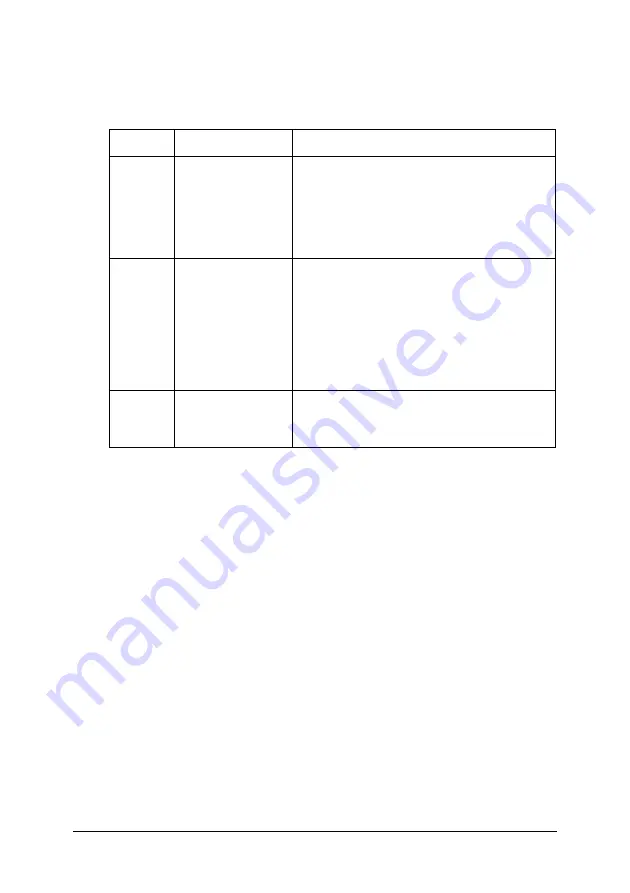
Setting
Margin
Cut method
1 CUT
Sets four sides to
a margin of zero.
Before printing starts, the printer feeds the
paper for the preset length and cuts it
while printing.
After printing starts, the printer does not use
a margin, prints jobs continuously, and cuts
the paper at the border.
2 CUTS
Sets four sides to
a margin of zero.
The printer feeds the paper for the preset
length and cuts it while printing.
When the job is finished, the printer cuts the
image at the bottom.
Then, the printer feeds the paper for the
preset length to cut the extra printed area.
Therefore, the printed image is shorter than
the original data by 2mm.
L/R
ONLY
Makes left and
right margin
zero.
-
Содержание Stylus Pro 7600 Photographic Dye Ink
Страница 1: ...Reference Guide ...
Страница 58: ...57 How to enter the SelecType mode The following shows the basic SelecType setting procedure ...
Страница 121: ...120 2 Right click your printer icon and select Properties 3 Click the Port tab then click the Configure Port button ...
Страница 218: ...217 for Stylus Pro 9600 for Stylus Pro 7600 7 Move the printer horizontally ...


