Creating and Sending Jobs
You cannot print directly from commercially available software.
Send jobs to the printer through the specialized application Garment Creator for SC-F3000 Series to print them.
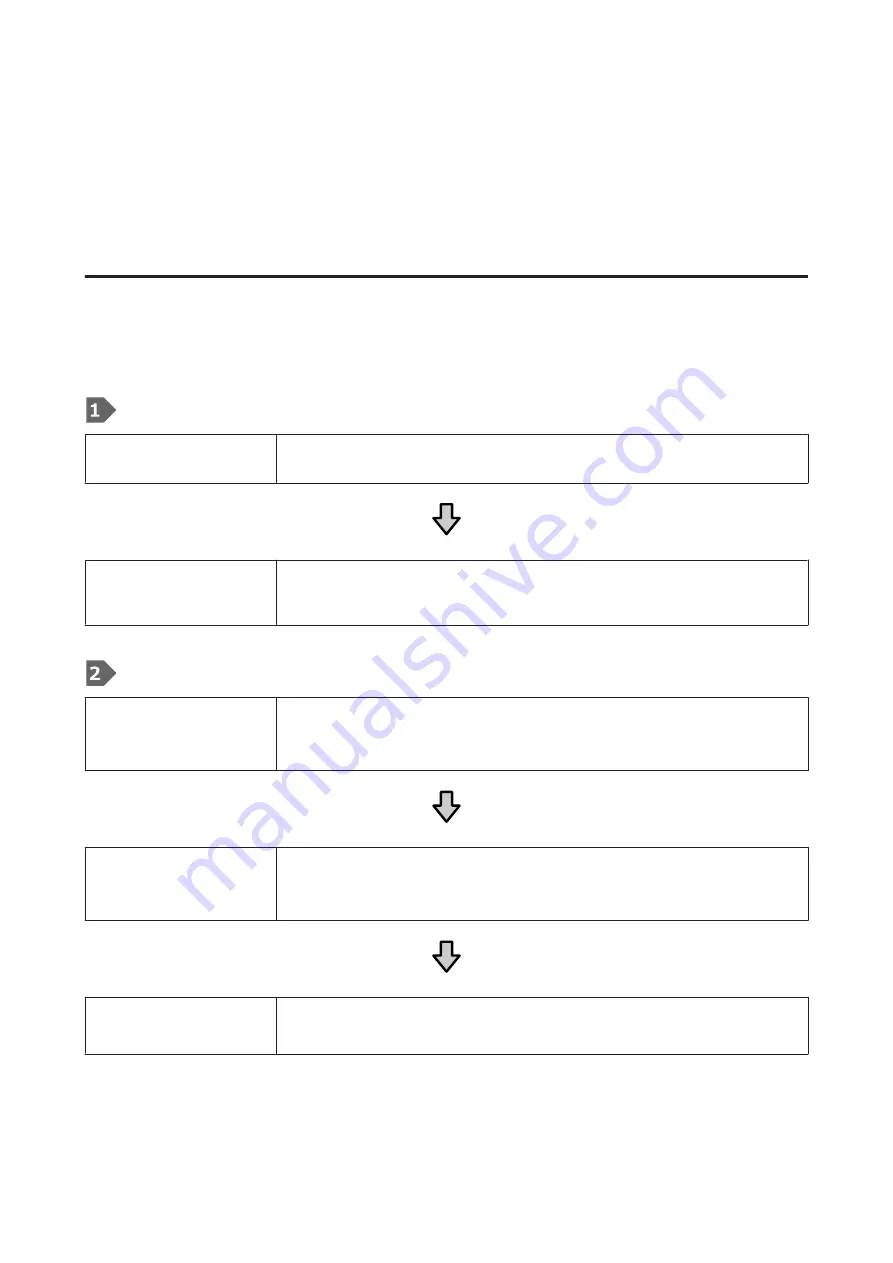
Workflow for Creating and Sending Jobs
The following shows the basic work procedure for using Garment Creator for SC-F3000 Series, which is provided, to
create and print a job.
Prepare
Selecting a printer
Select a printer (printer for printing jobs) to which to send the jobs you created. Normally, you
only do this the first time.
Ink Density
To get the best print results, we recommend that you adjust the Ink Density on the first T-shirt
you print before you start doing the actual print job. For details on adjustment procedures, see
the manual for Garment Creator for SC-F3000 Series.
Creating jobs
Selecting the base color
(T-shirt type)
To make the best use of the base color of the T-shirt on which you are printing, and to print
using an efficient amount of ink, select an appropriate type of T-shirt.
U
“Selecting the base color (T-shirt type)” on page 50
Image arrangement
Do settings while checking in the preview area the position, size, and direction of the image
you are printing.
U
“Image arrangement” on page 51
Sending jobs to the printer
Specify the number of prints, and then send the job to the printer that you selected.
U
“Sending and printing jobs” on page 53
SC-F3000 Series User's Guide
Basic Printing
46


