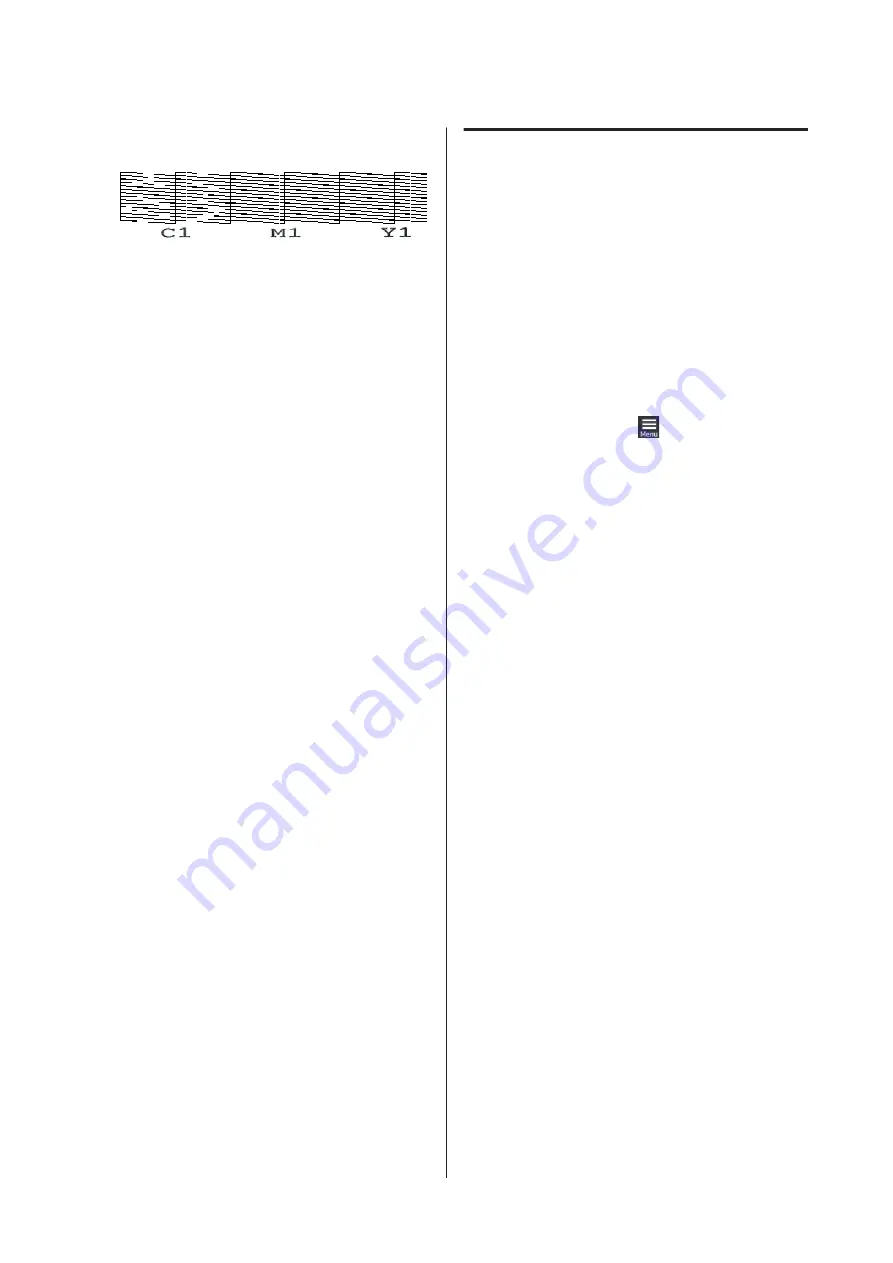
For the situation shown in the following
illustration, select
C1
.
D
Check the message, and then press
Start
.
Cleaning starts. When cleaning is finished, we
recommend that you select
Yes
in the
confirmation screen, and then print a nozzle
check pattern to confirm that the clogs have been
eliminated.
If clogging is cleared
Continue with normal operations.
If clogging is not cleared
Go back to step 1 and execute Cleaning(Light).
After executing Cleaning(Light), execute the
next higher level of cleaning.
When nozzles remain clogged even after
cleaning the print heads several times
The edge of the metal may be soiled.
Perform the following.
U
“Clean around the print head and the edges
Changing the Printer Mode
Prepare the following ink supply units according to the
color mode being changed to. If other ink supply units
are running low, prepare new ones.
Color ink mode -> White ink mode
WH Ink Supply Unit 2
White ink mode -> Color ink mode
Cleaning Ink Supply Unit 2
A
Confirm that the power is turned on, and then
press in the order of
(menu) -
Printer
Settings
-
Printer Mode
.
B
Select the mode to which you want to switch.
C
Check the on-screen messages, and then press
Start
.
D
Switch the white Ink Supply Unit or the Cleaning
Ink Supply Unit, according to the mode to which
you want to switch.
U
“Shaking and Replacing Ink Supply Units”
Closing all the Lock Switches starts the switching
process. When it is complete, the processing
screen on the control panel changes to the
settings screen.
SC-F3000 Series User's Guide
Maintenance
102


