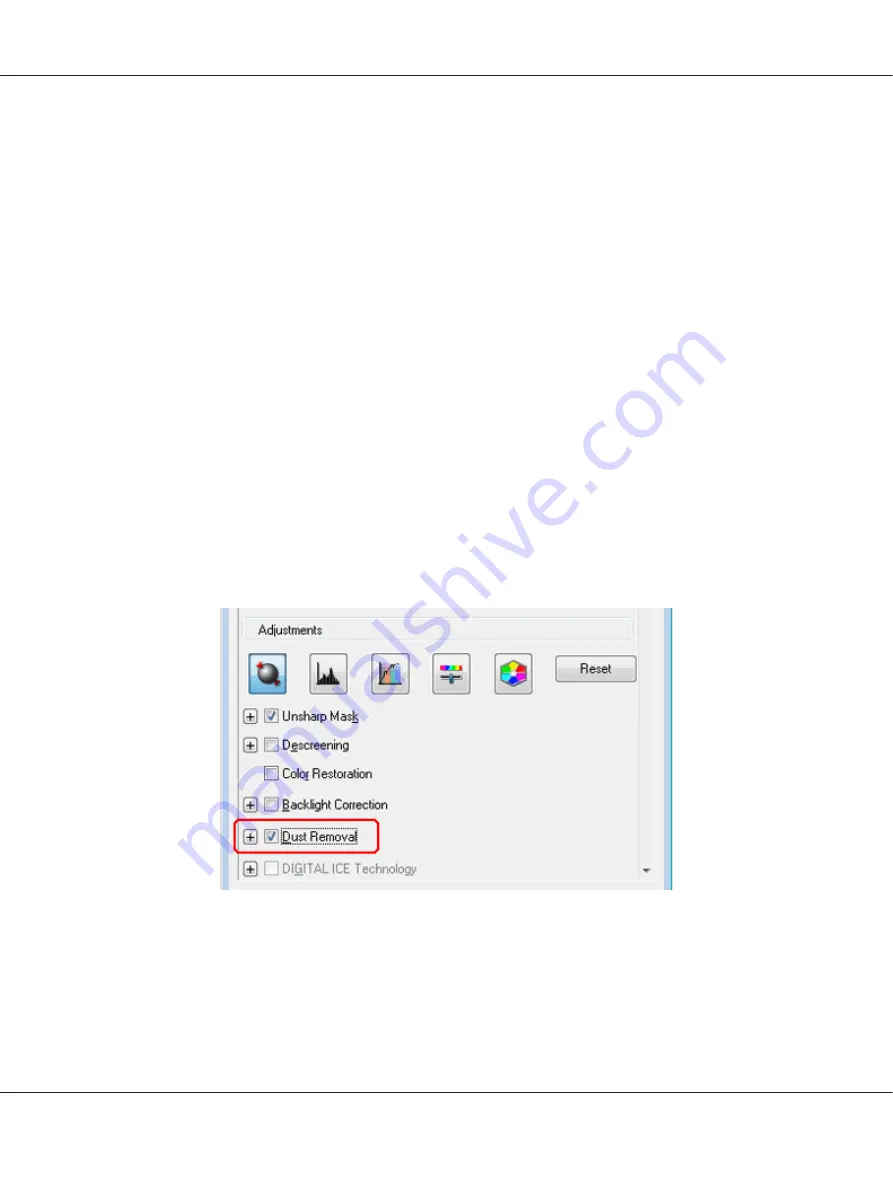
Dust Removal in Professional Mode
1. Place your original(s) on the document table. See one of these sections for instructions.
Documents or photos:
“Placing Documents or Photos” on page 19
Film or slides:
“Placing Film or Slides” on page 22
2. Start Epson Scan. See “Starting Epson Scan” on page 34 for instructions.
3. In the Professional Mode window, select the
Document Type
,
Document Source
,
Auto
Exposure Type
(for scanning documents or photos) or
Film Type
(for scanning film or slides),
Image Type
, and
Resolution
settings. For details, see “Scanning in Professional Mode” on
4. Click
Preview
to preview your image(s), then select your scan area. See “Previewing and
Adjusting the Scan Area” on page 54 for details.
5. Scroll down to the Adjustments area and click the
Dust Removal
check box. If you want to
increase or decrease the level of the dust removal effect, click the
+
(Windows) or
r
(Mac OS X)
button next to the option and select a setting in the
Level
list.
Note:
❏
The result of the Dust Removal does not appear in the image(s) in the Preview window.
Perfection V600 Photo User’s Guide
Scanning Special Projects
86


