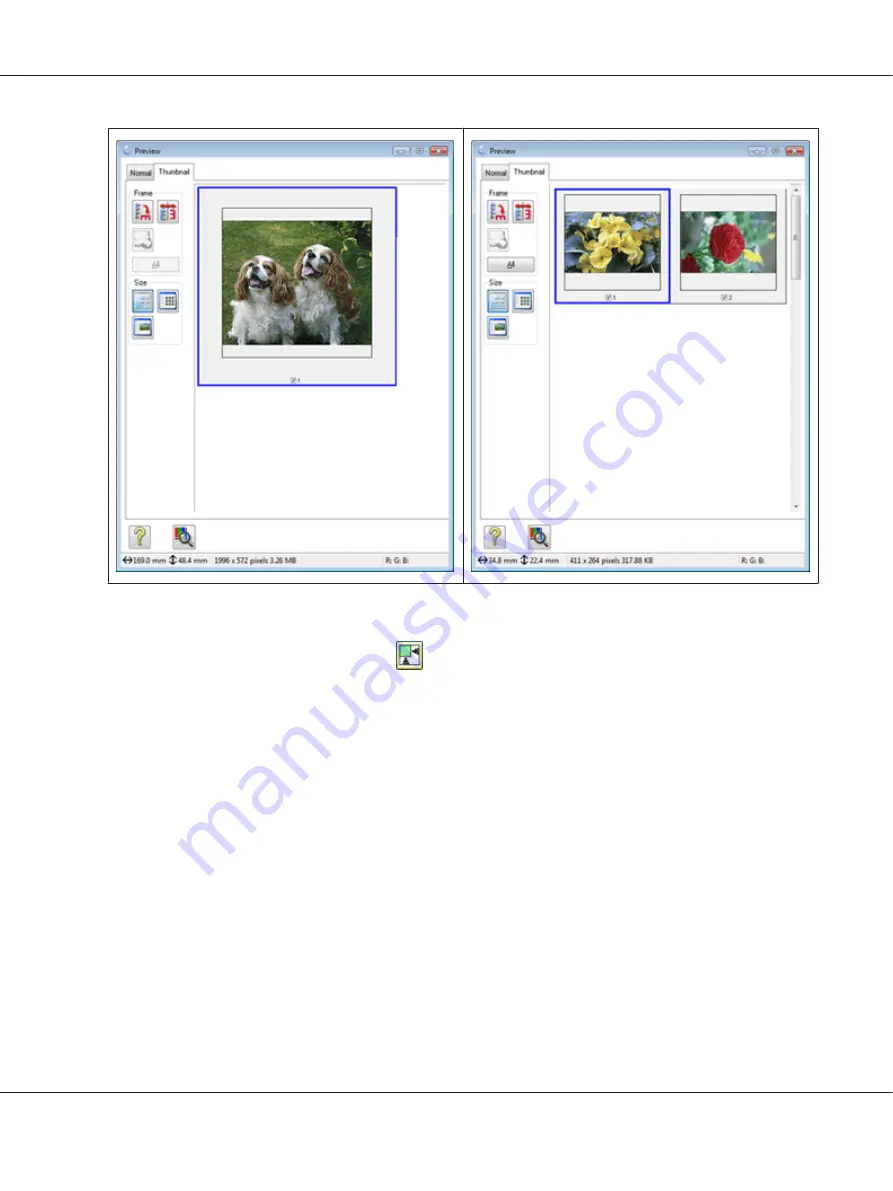
2. If you are viewing the normal preview, you can do the following to adjust the image(s).
❏
To select your scan area, click the
auto locate icon to create a marquee that marks the edges
of your image area. You can move the marquee to change the scan area. See “Creating a
Marquee on a Preview Image” on page 58 for instructions.
Note:
If you are going to scan at a different size than your original, you must first select your
Target
Size
and automatically create a marquee that is proportioned to that size. See “Selecting the Scan
Size” on page 70 for instructions. You can then copy the marquee and place it on each image
you will scan at that size.
❏
To enlarge or reduce the preview image in the Normal preview, resize the Preview window.
The image size changes corresponding to the Preview window size.
❏
To zoom in on an image in the Normal preview, click inside the scan area and click the
Zoom
button.
Note:
❏
Zoom
button changes into
Full
button on Zoom display.
Perfection V600 Photo User’s Guide
Scanning Your Originals
57


