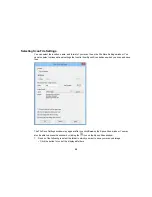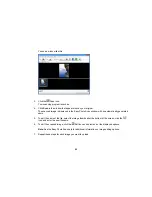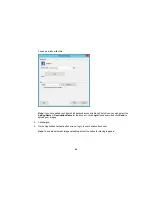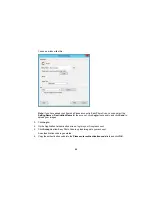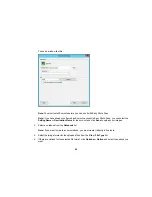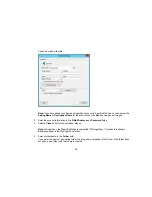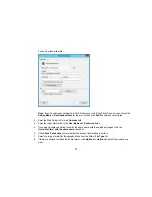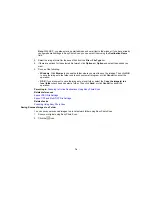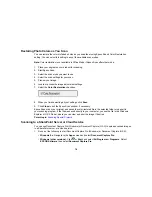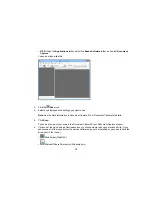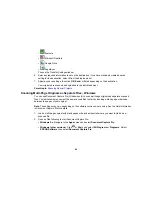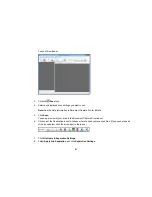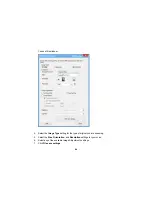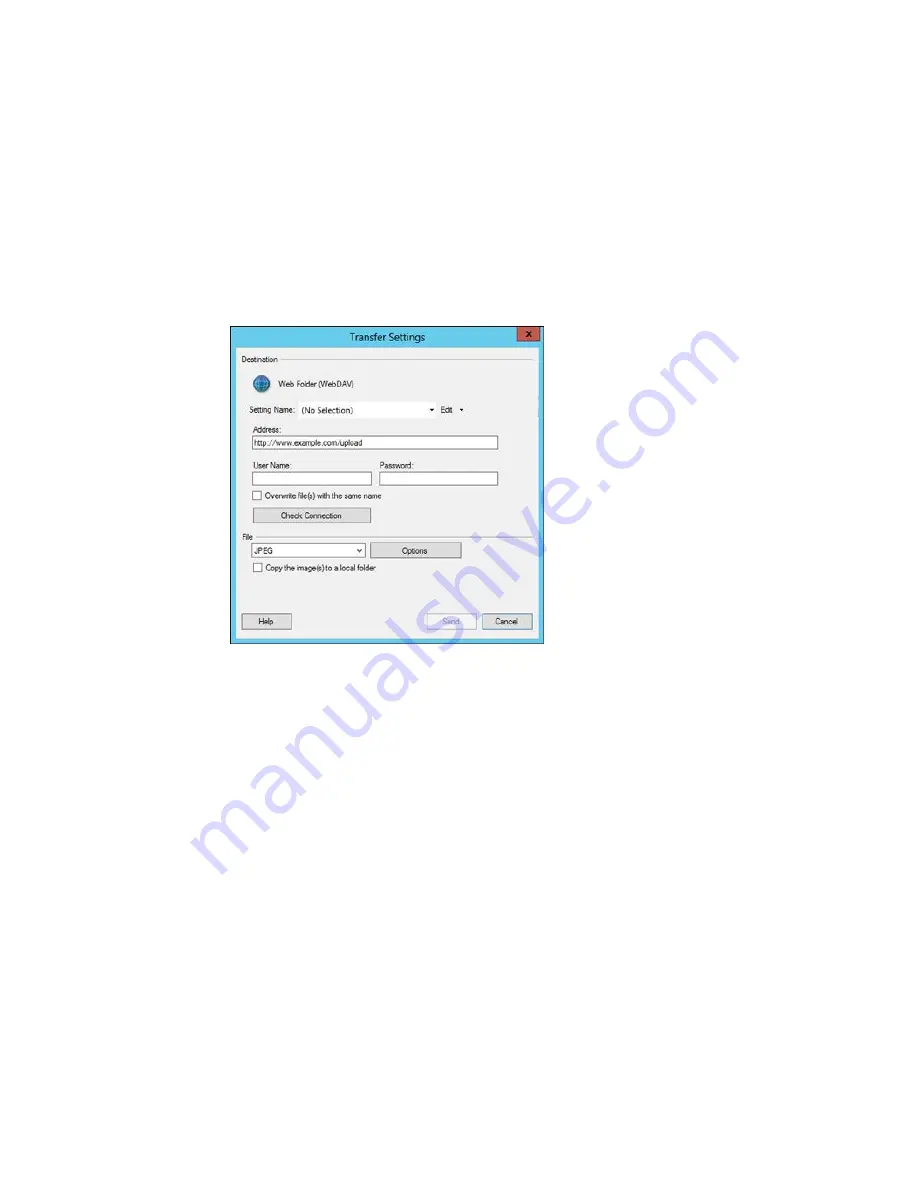
You see a window like this:
Note:
If you have already configured a Web Folder account in Easy Photo Scan, you can select the
Setting Name
or
Destination Name
for the account and click
Send
to upload your pictures.
3.
Enter the Web Folder URL in the
Address
field.
4.
Enter the login information in the
User Name
and
Password
fields.
5.
If you want to replace existing files with the same name with the uploaded images, click the
Overwrite file(s) with the same name
checkbox.
6.
Click
Check Connection
to test whether the account information is correct.
7.
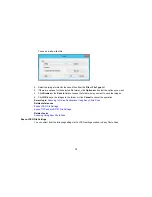
Select the image format for the uploaded files from the
File
or
File Type
list.
8.
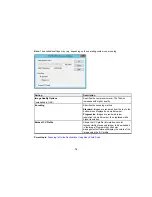
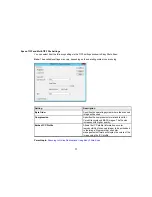
If there are options for the selected file format, click
Options
or
Option
and select the options you
want.
72
Содержание Perfection V19
Страница 1: ...Perfection V19 V39 User s Guide ...
Страница 2: ......
Страница 9: ...1 Document mat 2 Scanner glass 3 Carriage beneath scanner glass 9 ...
Страница 10: ...1 USB port 1 Scanner stand Parent topic Scanner Basics 10 ...
Страница 12: ...1 Stand the scanner upright 12 ...
Страница 13: ...2 Extend the scanner stand from the back of the scanner until it clicks into place 13 ...
Страница 14: ...3 Tilt the scanner until it rests on the scanner stand 14 ...
Страница 15: ...4 To put the scanner stand away rotate it into the back of the scanner Parent topic Scanner Basics 15 ...
Страница 17: ...1 Open the scanner cover 17 ...
Страница 20: ...1 Open the scanner cover 20 ...
Страница 35: ...You see this window 35 ...
Страница 49: ...You see this window 49 ...
Страница 85: ...You see this window 8 To change any of the displayed PDF Image Format settings click the Options button 85 ...
Страница 89: ...You see a window like this 2 Click the Scan icon 89 ...
Страница 113: ...Copyright Attribution 2015 Epson America Inc 1 15 CPD 42186 Parent topic Copyright Notice 113 ...

