41
3. Click
SmartPix
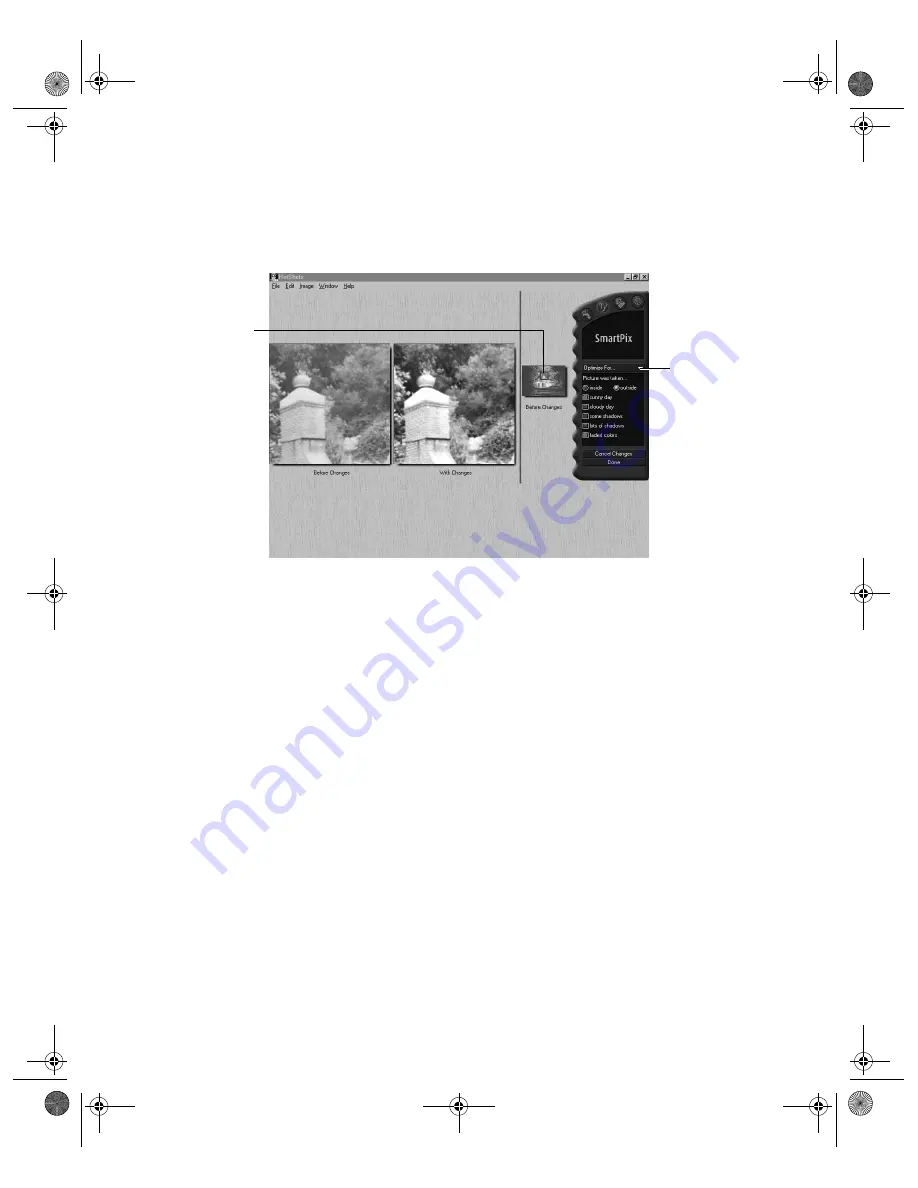
. You see the SmartPix editing window.
4. If the portion of the picture shown in the example area is too small or you want to
see a different example area, click and drag the example area selector to choose a
new area. Drag the edges of the selector to enlarge the area; drag the middle of the
selector to reposition it.
5. Click the arrow in the device pull-down list and select the type of device used to
capture your photo:
Camera
,
Internet
,
Scanner
, or
Other Device
.
6. Select the location where the picture was taken, either
inside
or
outside
.
7. Select the lighting conditions under which the photo was taken. If you chose
inside
, select
with a flash
,
fluorescent lighting
,
shadows
, or
faded colors
. If you
chose
outside
, select
sunny day
,
cloudy day
,
some shadows
,
lots of shadows
,
or
faded colors
.
8. The effects of your selections in steps 5 through 7 are shown in the With Changes
example in the SmartPix window. Remember, you can layer changes over
previous changes—such as
sunny day
and
some shadows
—to get the effect you
want.
9. If you don’t like the results, click
Cancel Changes
at the bottom of the remote
control.
To keep your changes and return to the main HotShots window, click
Done
.
Device
pull-down list
Example area
selector
basics.book Page 41 Wednesday, August 11, 1999 2:26 PM


