4.
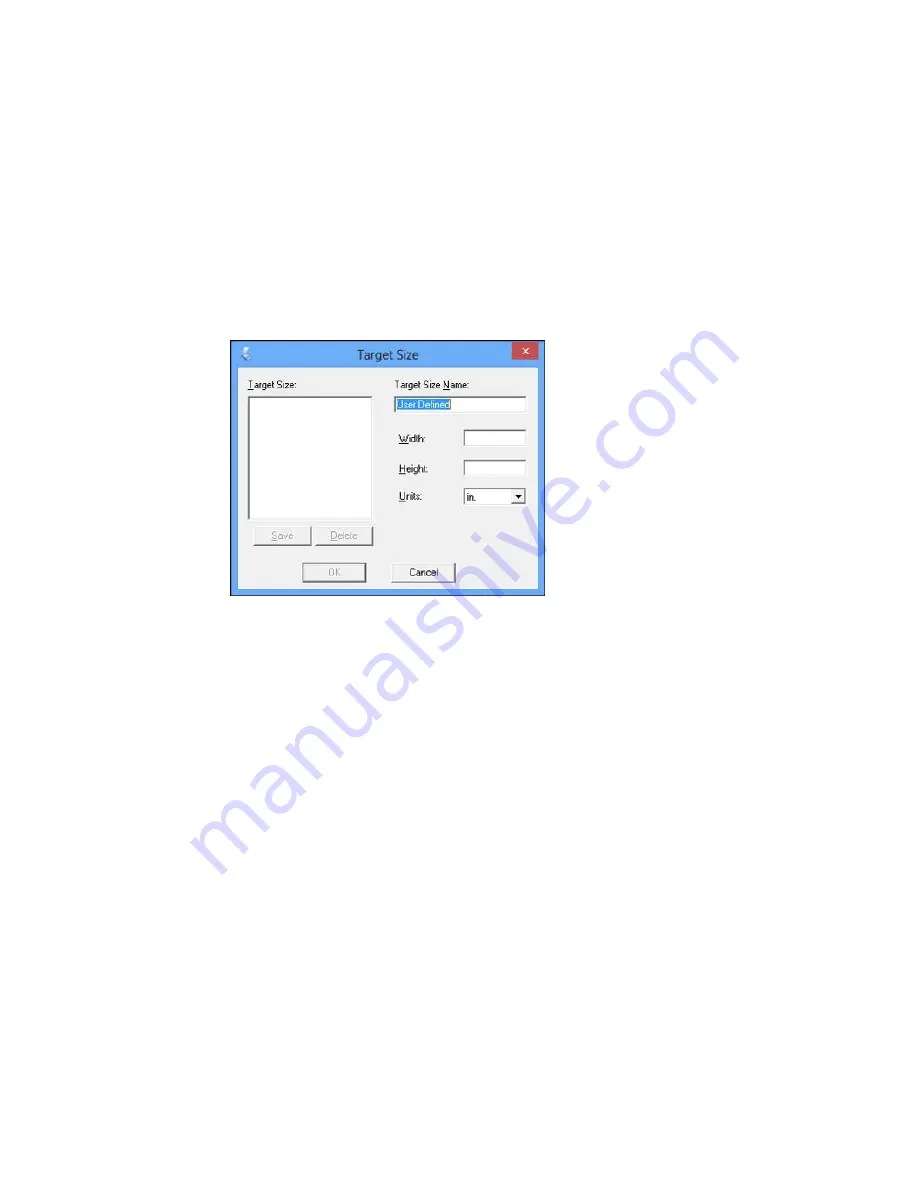
To create a scanned image size that is not available in the Target Size list, click the
Customize
option.
5.
Name the custom size, enter the size, click
Save
, and click
OK
. Then create a scan area on the
preview image.
The marquee is automatically proportioned for your custom scan size.
Parent topic:
Scanning in Home Mode
Scanning in Professional Mode
When you scan in Professional Mode, Epson Scan automatically saves your scanned file in JPEG
format in your operating system's Pictures or My Pictures folder, or opens it in your scanning program.
You can select settings, preview, and change the scanned file settings as necessary.
1.
Start Epson Scan and select
Professional Mode
as the Mode setting.
You see this window:
86
Содержание M200
Страница 1: ...M200 M205 User s Guide ...
Страница 2: ......
Страница 10: ......
Страница 16: ...1 ADF cover 2 Automatic Document Feeder ADF 3 ADF edge guide 4 ADF input tray 5 ADF output tray 16 ...
Страница 17: ...1 Document cover 2 Scanner glass 3 Control panel Parent topic Product Parts Locations 17 ...
Страница 70: ...Note Epson Scan may start in a different mode when you first access it Parent topic Starting a Scan 70 ...
Страница 81: ... Normal preview Click the Auto Locate icon to create a marquee dotted line on the preview image 81 ...
Страница 87: ...87 ...
Страница 118: ...4 Refill the ink tank to the upper line on the ink tank 118 ...
Страница 120: ...7 Close the ink tank unit cover Parent topic Refilling Ink Related concepts Purchase Epson Ink 120 ...
Страница 178: ...Parent topic Solving Problems 178 ...
Страница 188: ... Certification Number RCPEPWL12 0107 Parent topic Technical Specifications 188 ...


