Aligning the Print Head Using the Product Control Panel
You can align the print head using the control panel on your product.
1.
Load a few sheets of plain paper in the product.
2.
Press the
Ajustes
button.
3.
Press the up or down arrow buttons to select
Maintenance
and press the
OK
button.
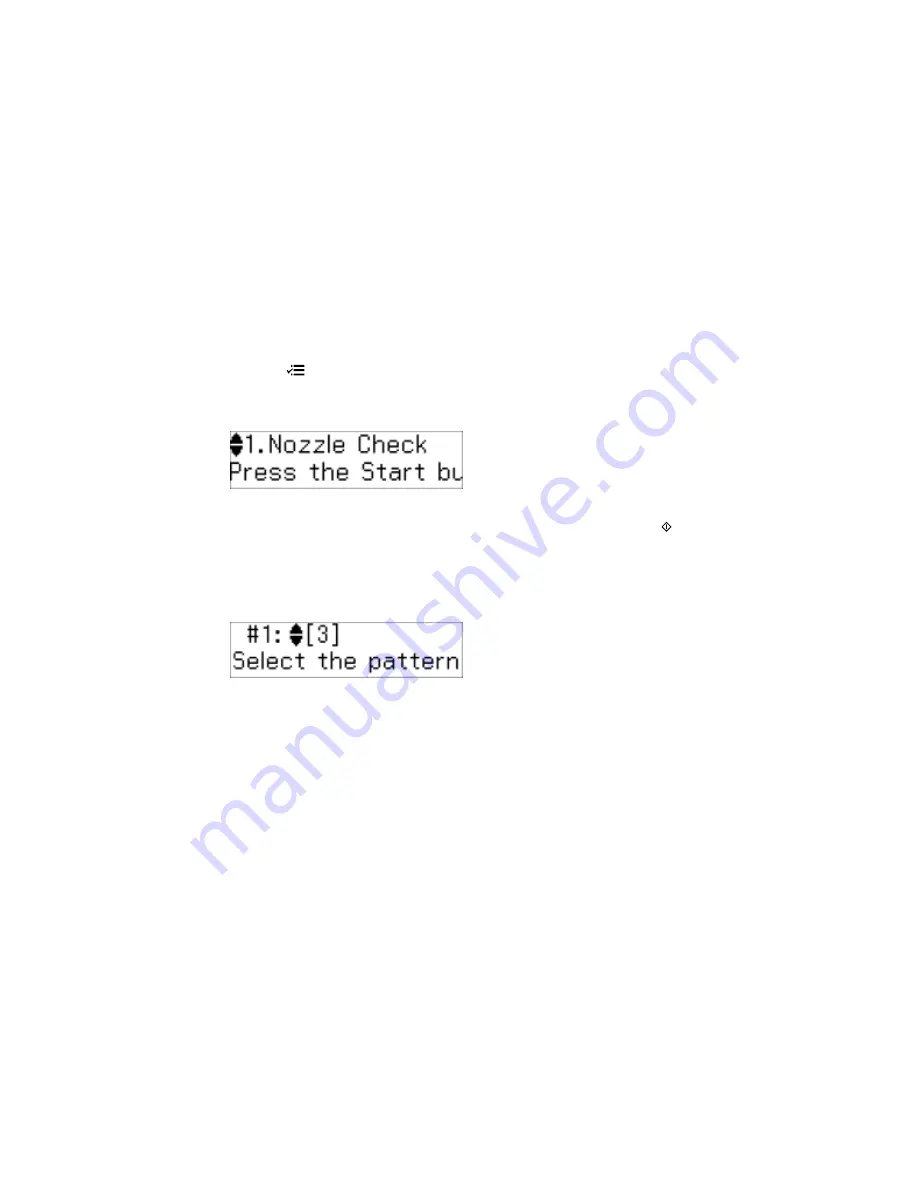
You see this screen:
4.
Press the up or down arrow buttons to select
Head Alignment
and press the
Iniciar
button to
print an alignment sheet.
Note:
Do not cancel printing while you are printing a head alignment pattern.
You see this screen:
5.
Check the printed pattern and press the up or down arrow buttons to choose the number
representing the best printed pattern for each set. Press the
OK
button after each selection.
Parent topic:
Print Head Alignment
Aligning the Print Head Using a Computer Utility
You can align the print head using a utility on your Windows computer or Mac.
1.
Load a few sheets of plain paper in the product.
2.
Do one of the following:
•
Windows:
Access the Windows Desktop and right-click the product icon in the Windows taskbar.
132
Содержание M200
Страница 1: ...M200 M205 User s Guide ...
Страница 2: ......
Страница 10: ......
Страница 16: ...1 ADF cover 2 Automatic Document Feeder ADF 3 ADF edge guide 4 ADF input tray 5 ADF output tray 16 ...
Страница 17: ...1 Document cover 2 Scanner glass 3 Control panel Parent topic Product Parts Locations 17 ...
Страница 70: ...Note Epson Scan may start in a different mode when you first access it Parent topic Starting a Scan 70 ...
Страница 81: ... Normal preview Click the Auto Locate icon to create a marquee dotted line on the preview image 81 ...
Страница 87: ...87 ...
Страница 118: ...4 Refill the ink tank to the upper line on the ink tank 118 ...
Страница 120: ...7 Close the ink tank unit cover Parent topic Refilling Ink Related concepts Purchase Epson Ink 120 ...
Страница 178: ...Parent topic Solving Problems 178 ...
Страница 188: ... Certification Number RCPEPWL12 0107 Parent topic Technical Specifications 188 ...


