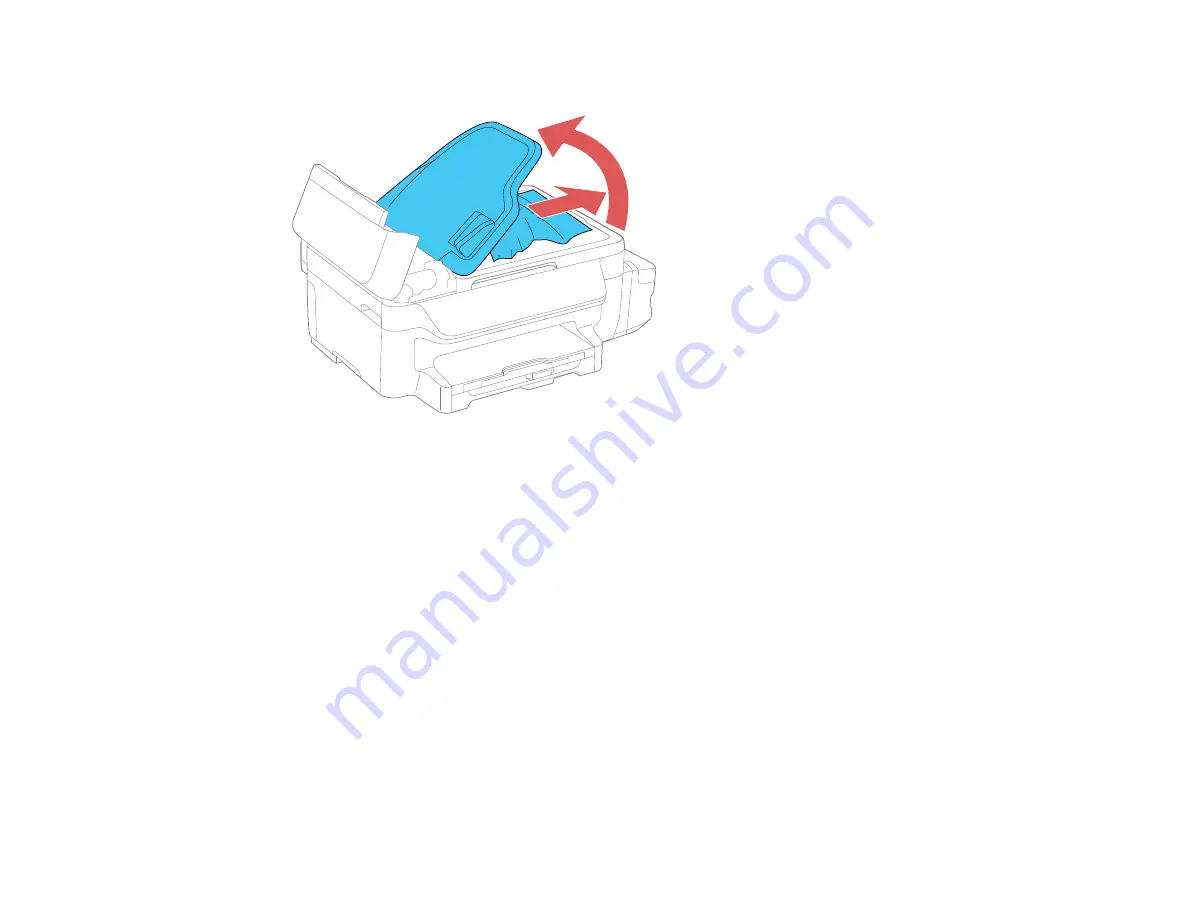
8. Raise the ADF input tray and carefully remove any jammed pages.
9. Lower the ADF input tray to its original position.
10. Reload your originals.
Caution:
Make sure you do not load the ADF beyond its capacity for your paper size. Also make sure
your originals are not bent, folded, or curled and do not have tape, staples, or other materials that
could obstruct the feeder.
11. Follow the prompts on the LCD screen to clear any error messages. If you still see a paper jam
message, check the other paper jam solutions.
Parent topic:
Related references
Paper Jam Problems Inside the Product
Paper Jam Problems in the Paper Cassette
Paper Jam Problems in the Duplexer (Rear Cover)
247
Содержание L655
Страница 1: ...L655 L656 User s Guide ...
Страница 2: ......
Страница 12: ......
Страница 21: ...1 Print head 2 Output tray 3 Edge guides 4 Paper cassette 21 ...
Страница 22: ...1 Document cover 2 Scanner glass 3 Control panel Parent topic Product Parts Locations 22 ...
Страница 23: ...Product Parts Inside 1 Scanner unit 2 Ink tank unit 3 Ink tanks Parent topic Product Parts Locations 23 ...
Страница 61: ...Faxing 61 ...
Страница 124: ...You see this window 124 ...
Страница 171: ...You see this window 4 Select Speed Dial Group Dial List 171 ...
Страница 205: ...You see a window like this 5 Click Print 205 ...
Страница 225: ...Parent topic Cleaning and Transporting Your Product Related concepts Print Head Cleaning Print Head Alignment 225 ...
Страница 243: ...4 Remove any jammed paper from the duplexer 5 Open the duplexer and carefully remove any jammed paper stuck inside 243 ...


