


Note:
You may not be able to clean the print head when the ink level in any of the tanks is low. You may
have to refill the ink tank first.
Cleaning the Print Head Using the Product Control Panel
Cleaning the Print Head Using a Computer Utility
Parent topic:
Related topics
Cleaning the Print Head Using the Product Control Panel
You can clean the print head using the control panel on your product.
1.
Load a few sheets of plain paper in the product.
2.
Press the up or down arrow button, select
Setup
, and press the
OK
button.
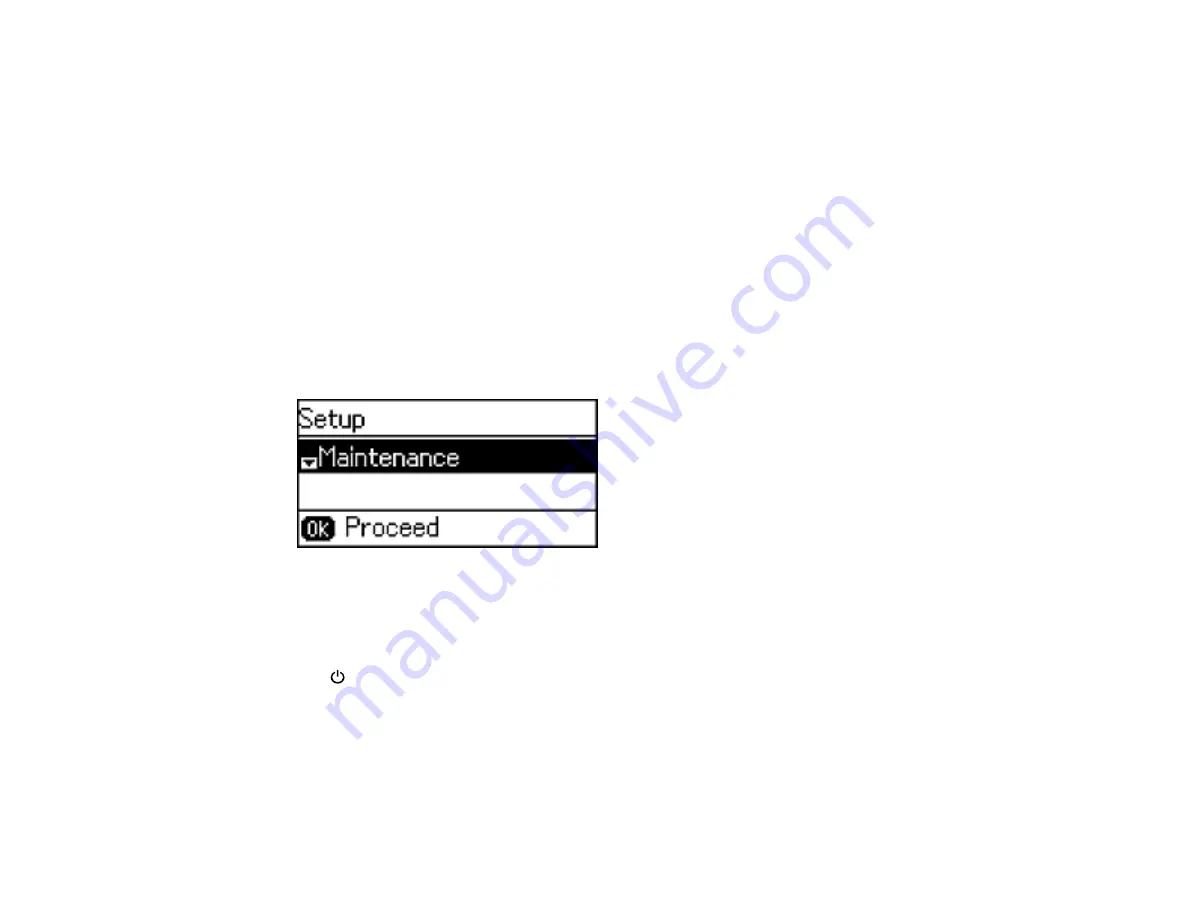
You see this screen:
3.
Select
Maintenance
and press the
OK
button.
4.
Press the up or down arrow button, select
Print Head Cleaning
, and press the
OK
button.
5.
Press one of the
Iniciar
buttons to start the cleaning cycle.
The
power light flashes throughout the cleaning cycle and stays on when the cleaning cycle is
finished.
Caution:
Never turn off the product or open the scanner unit during a cleaning cycle or you may not
be able to print.
6.
Press the
OK
button to run a nozzle check to confirm that the print head is clean.
207
Содержание L655
Страница 1: ...L655 L656 User s Guide ...
Страница 2: ......
Страница 12: ......
Страница 21: ...1 Print head 2 Output tray 3 Edge guides 4 Paper cassette 21 ...
Страница 22: ...1 Document cover 2 Scanner glass 3 Control panel Parent topic Product Parts Locations 22 ...
Страница 23: ...Product Parts Inside 1 Scanner unit 2 Ink tank unit 3 Ink tanks Parent topic Product Parts Locations 23 ...
Страница 61: ...Faxing 61 ...
Страница 124: ...You see this window 124 ...
Страница 171: ...You see this window 4 Select Speed Dial Group Dial List 171 ...
Страница 205: ...You see a window like this 5 Click Print 205 ...
Страница 225: ...Parent topic Cleaning and Transporting Your Product Related concepts Print Head Cleaning Print Head Alignment 225 ...
Страница 243: ...4 Remove any jammed paper from the duplexer 5 Open the duplexer and carefully remove any jammed paper stuck inside 243 ...