166
4.
Select the
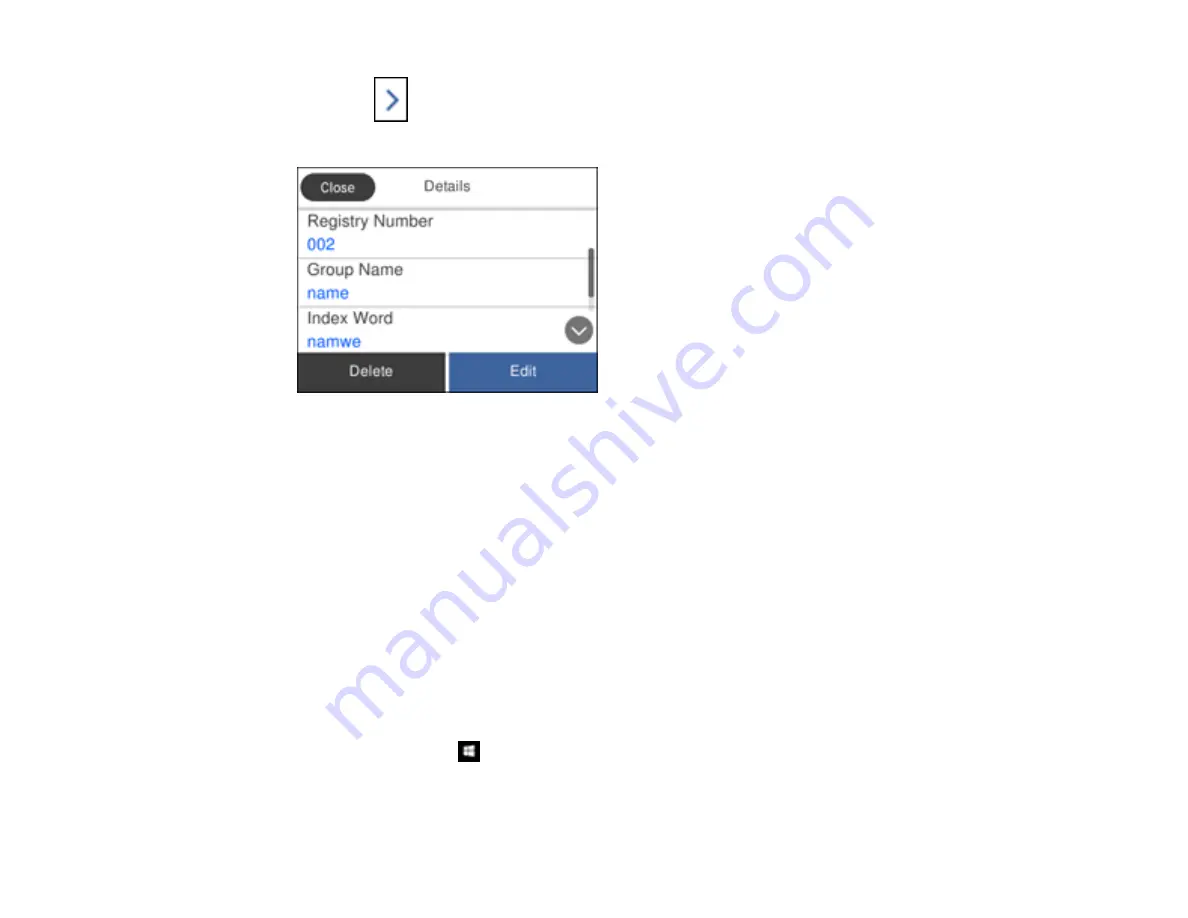
icon next to the group you want to edit or delete.
You see a screen like this:
Note:
If you want to delete the entire group, select
Delete
.
5.
To edit the group, select
Edit
.
6.
Select
Contact(s) Added to the Group
.
You see a list of the contacts in your group.
7.
To add or delete a contact, select the contact.
8.
When you are finished, select
Close
, select
OK
, and select
Close
again.
Parent topic:
Setting Up Contacts Using the Product Control Panel
Importing Contacts Using the Fax Utility - Windows
You can edit contacts stored in your product and import contacts from your Windows Address Book to
the PC-FAX Phone Book in the FAX Utility for Windows.
1.
Do one of the following:
•
Windows 10:
Click
and select
EPSON Software
.
•
Windows 8.x
: Navigate to the
Apps
screen.
Содержание L6191
Страница 1: ...L6191 User s Guide ...
Страница 2: ......
Страница 12: ......
Страница 13: ...13 L6191 User s Guide Welcome to the L6191 User s Guide For a printable PDF copy of this guide click here ...
Страница 18: ...18 3 Select General Settings 4 Select Basic Settings 5 Select Date Time Settings ...
Страница 26: ...26 Product Parts Inside 1 Document cover 2 Scanner glass 3 Control panel ...
Страница 60: ...60 2 Pull out the paper cassette until it stops 3 Slide the edge guides outward ...
Страница 202: ...202 3 Open the ink tank cover then open the cap for the ink tank you are going to fill ...
Страница 230: ...230 4 Slide out the paper cassette and remove the paper 5 Make sure the ink tank caps are securely closed ...
Страница 234: ...234 7 Make sure the ink tank caps are securely closed and close the ink tank cover 8 Lower the scanner unit ...


