127
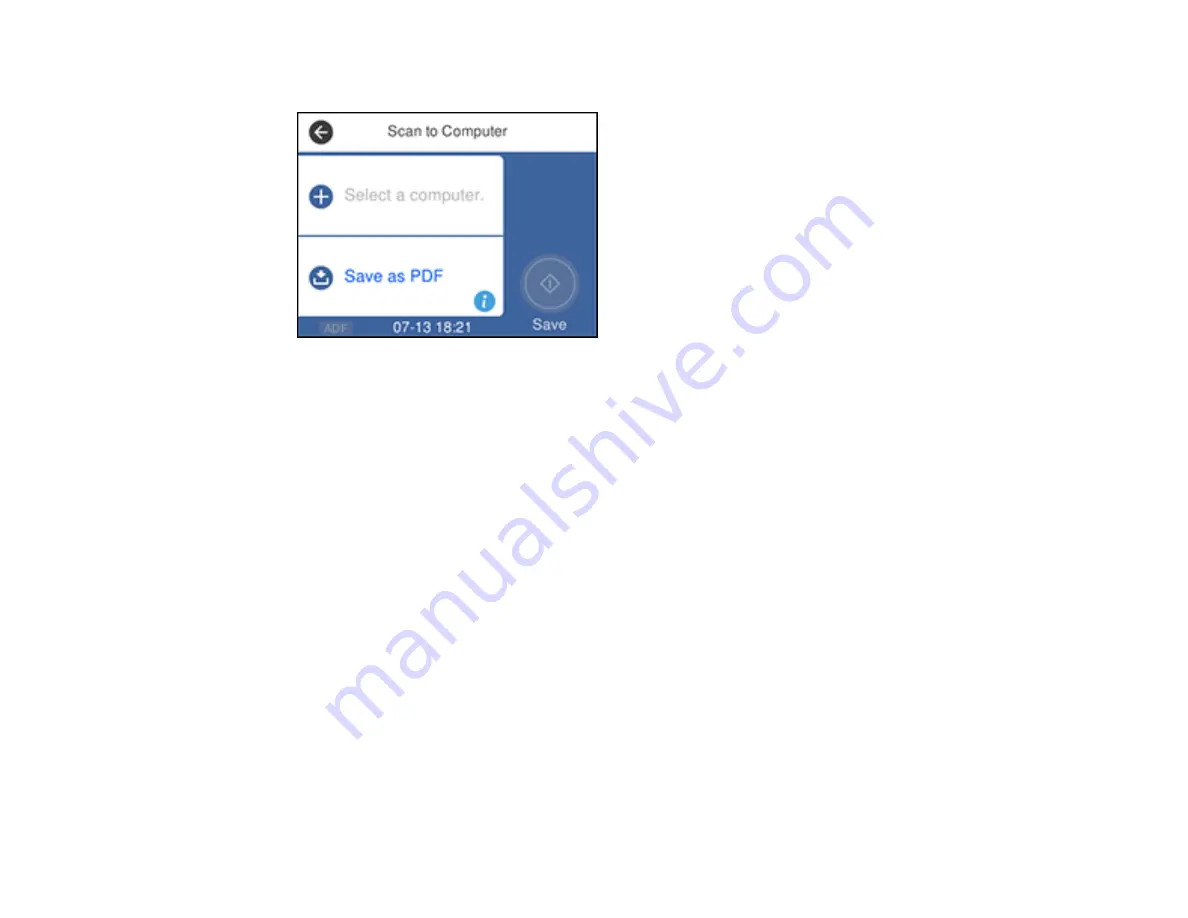
You see a screen like this:
5.
Select
OK
to close the information screen, if necessary.
6.
Select
Select a computer
and choose one of the following options:
• If your computer is connected to your product over a network, select a connected computer from
the displayed list. (If the computer is not listed, select
Search Again
.)
• If you computer is connected to your product using a USB cable, select
USB Connection
.
7.
Select
Save as PDF
and choose one of the following options:
•
Save as JPEG
to save the scanned scanned image as a JPEG file.
•
Save as PDF
to save the scanned document or image as a PDF file.
•
Attach to email
to open the default email software on your computer and save the scanned
document or images as an email attachment.
•
Follow custom setting
to save the scanned document or image using custom settings you have
selected using the Event Manager custom scan settings option.
Note:
You can customize the settings for each of these options using Event Manager.
8.
Select
Save
to start scanning.
Parent topic:
Starting a Scan Using the Product Control Panel
Related tasks
Содержание L6191
Страница 1: ...L6191 User s Guide ...
Страница 2: ......
Страница 12: ......
Страница 13: ...13 L6191 User s Guide Welcome to the L6191 User s Guide For a printable PDF copy of this guide click here ...
Страница 18: ...18 3 Select General Settings 4 Select Basic Settings 5 Select Date Time Settings ...
Страница 26: ...26 Product Parts Inside 1 Document cover 2 Scanner glass 3 Control panel ...
Страница 60: ...60 2 Pull out the paper cassette until it stops 3 Slide the edge guides outward ...
Страница 202: ...202 3 Open the ink tank cover then open the cap for the ink tank you are going to fill ...
Страница 230: ...230 4 Slide out the paper cassette and remove the paper 5 Make sure the ink tank caps are securely closed ...
Страница 234: ...234 7 Make sure the ink tank caps are securely closed and close the ink tank cover 8 Lower the scanner unit ...


