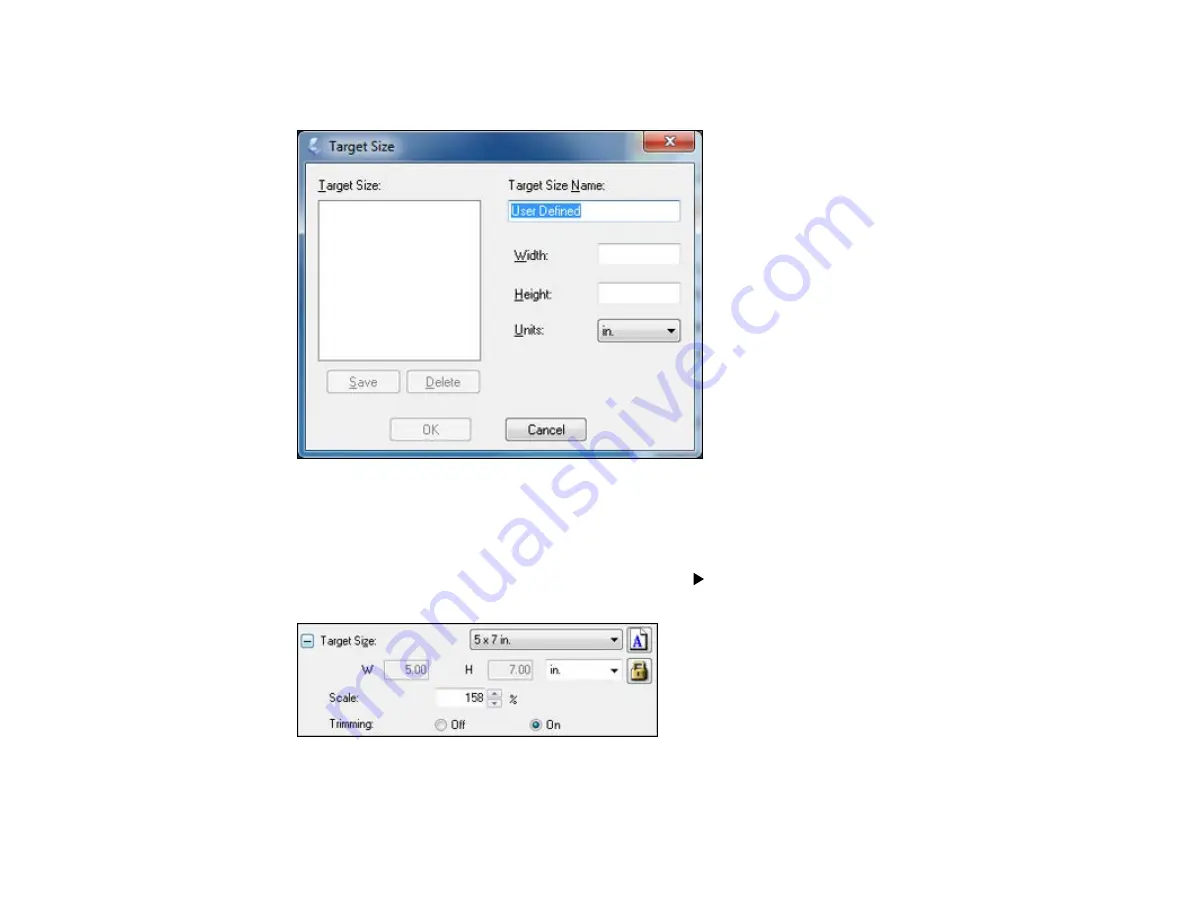
4.
To create a scanned image size that is not available in the Target Size list, click the
Customize
option.
5.
Name the custom size, enter the size, click
Save
, and click
OK
. Then create a scan area on the
preview image.
The marquee is automatically proportioned for your custom scan size.
6.
To use additional sizing tools, click the
+
(Windows) or
(Mac OS X) icon next to the Target Size
setting and select options as desired.
•
Scale
: Reduces or enlarges your image by the percentage you enter.
•
Trimming
: Turns automatic image cropping on or off.
90
Содержание L210
Страница 1: ...L210 L350 User s Guide ...
Страница 2: ......
Страница 9: ...L210 L350 User s Guide Welcome to the L210 L350 User s Guide 9 ...
Страница 13: ...Product Parts Inside 1 Scanner unit 2 Print head in home position Parent topic Product Parts Locations 13 ...
Страница 64: ...64 ...
Страница 70: ... Normal preview Click the Auto Locate icon to create a marquee dotted line on the preview image 70 ...
Страница 81: ...81 ...
Страница 112: ...7 Refill the ink tank with the correct color ink up to the upper line on the ink tank 112 ...
Страница 118: ...118 ...
Страница 119: ...4 Click Print 5 Check the printed pattern to see if there are gaps in the lines Print head is clean 119 ...
Страница 126: ...126 ...
Страница 129: ...129 ...


