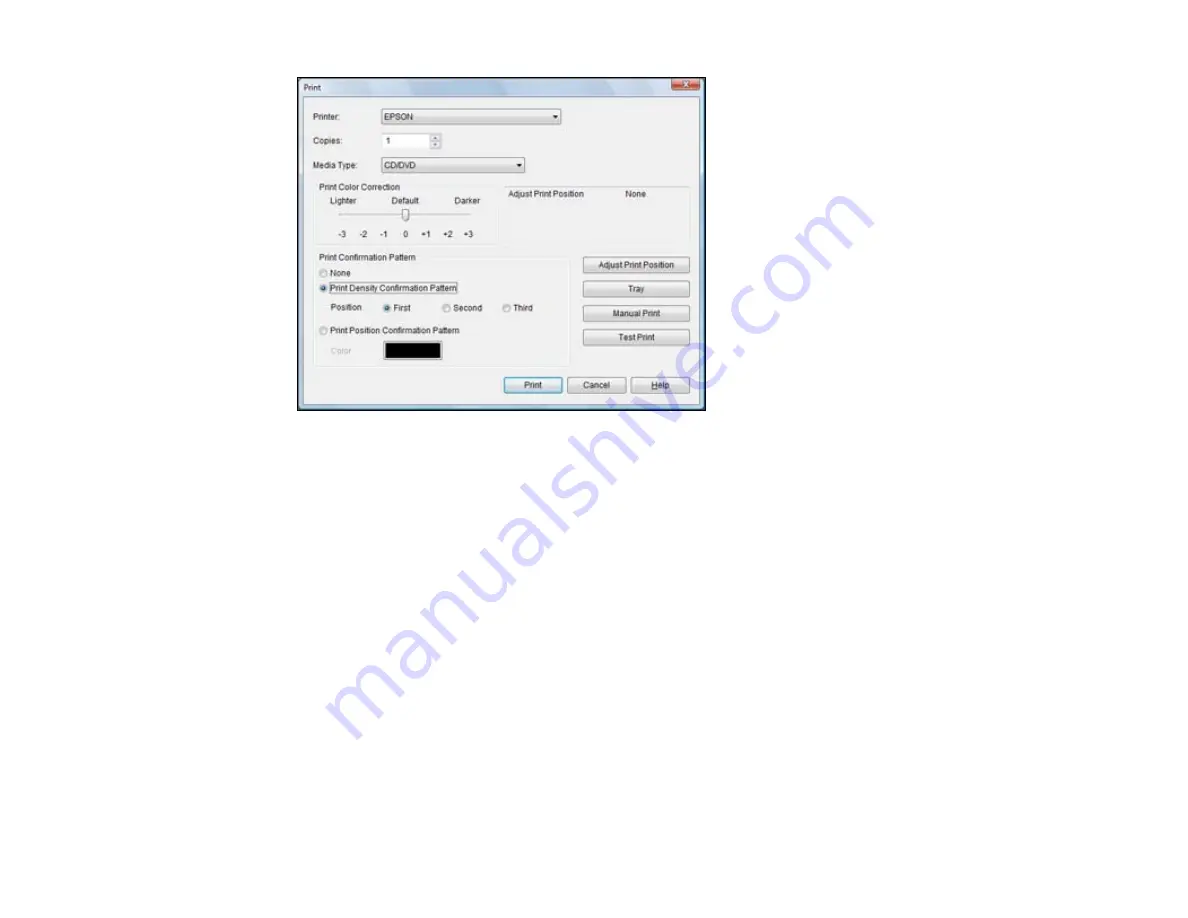
2.
Select
Print Density Confirmation Pattern
.
3.
Click
.
4.
Remove the disc after printing and check to see if you need to make the density darker or lighter.
5.
Load the same disc in the product again.
6.
Click
.
7.
Adjust the
Print Color Correction
slider to a darker or lighter setting as necessary.
8.
Select
Print Density Confirmation Pattern
and select the
Second
radio button.
9.
Click
to print another test pattern
10. Examine the disc after printing to see if further adjustment is needed.
When the ink density looks good, you are ready to print on your burned CD or DVD.
Parent topic:
Printing on a CD/DVD with Windows
Printing on a CD/DVD with Mac OS X
You can print with your product using the EPSON Print CD software, as described in these sections.
239
Содержание Expression Premium XP-800
Страница 1: ...XP 800 User s Guide ...
Страница 2: ......
Страница 13: ...XP 800 User s Guide Welcome to the XP 800 User s Guide 13 ...
Страница 18: ...1 Rear paper feed slot 2 Paper support Parent topic Product Parts Locations 18 ...
Страница 116: ... Normal preview Click the Auto Locate icon to create a marquee dotted line on the preview image 116 ...
Страница 122: ...122 ...
Страница 166: ...5 Select Fax Settings for Printer Select your product if prompted You see this window 166 ...
Страница 175: ...5 Select Fax Settings for Printer Select your product if prompted You see this window 175 ...
Страница 212: ...2 Press the left or right arrow button and then select Setup 3 Scroll down and select External Device Setup 212 ...
Страница 265: ...265 ...
Страница 293: ...3 Remove any jammed paper from the duplexer 4 Open the duplexer and remove any jammed paper from inside it 293 ...


