150
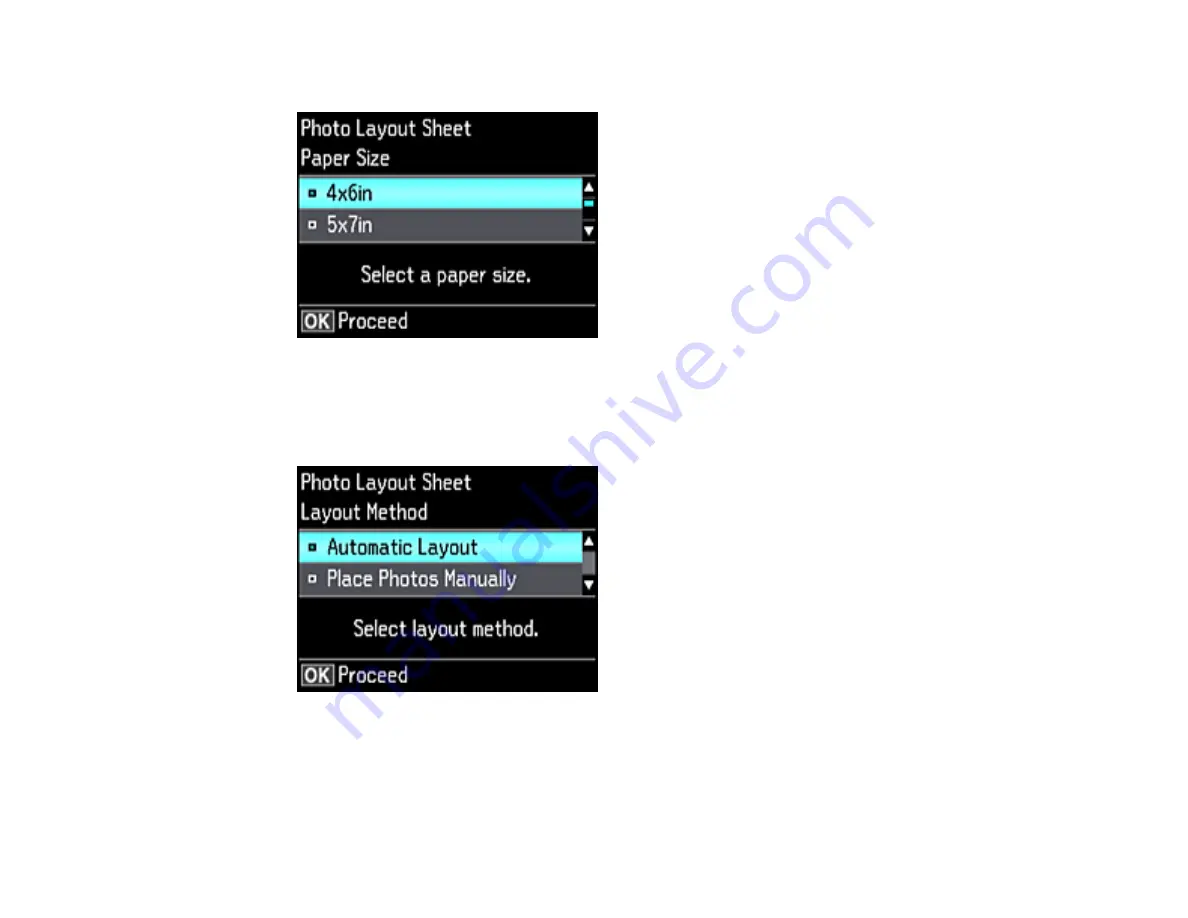
You see this screen:
6.
Select the
Paper Size
setting that matches the paper you loaded and press the
OK
button.
7.
Select the
Paper Type
setting that matches the paper you loaded and press the
OK
button.
Depending on the layout you selected, you may see this screen:
8.
If you see the screen above, do one of the following:
• To allow your product to place photos in the layout automatically, select
Automatic Layout
and
press the
OK
button. Press the
+
button to select a photo to print. If you need to deselect a photo,
press the
–
button. Press the
OK
button when you're finished.
Содержание ET-7700
Страница 1: ...ET 7700 User s Guide ...
Страница 2: ......
Страница 13: ...13 ET 7700 User s Guide Welcome to the ET 7700 User s Guide For a printable PDF copy of this guide click here ...
Страница 20: ...20 Product Parts Front 1 Control panel 2 Front cover ...
Страница 21: ...21 3 CD DVD tray 1 Output tray 2 Cassette 1 upper cassette 3 Cassette 2 lower cassette ...
Страница 109: ...109 10 Select the Layout tab 11 Select the orientation of your document as the Orientation setting ...
Страница 131: ...131 You see an Epson Scan 2 window like this ...
Страница 133: ...133 You see an Epson Scan 2 window like this ...
Страница 135: ...135 You see this window ...
Страница 156: ...156 Related tasks Inserting a Memory Card ...
Страница 207: ...207 You see a window like this 5 Click Print ...


