Confidential
Confidential
Adjus
Adjus
t
t
m
m
e
e
nt
nt
Adjus
Adjus
t
t
m
m
e
e
nt
nt
Pr
Pr
o
o
gr
gr
a
a
m
m
61
61
2.
2. Con
Connec
nect the pr
t the print
inter an
er and the P
d the PC with t
C with the US
he USB cab
B cable.
le.
3.
3. Sta
Start th
rt the ad
e adju
just
stme
ment p
nt pro
rogr
gram
am..
4.
4. Select th
Select the “Init
e “Initial Sett
ial Setting” fr
ing” from the m
om the menu. Th
enu. The initia
e initial settin
l setting scree
g screen appe
n appears.
ars.
5.
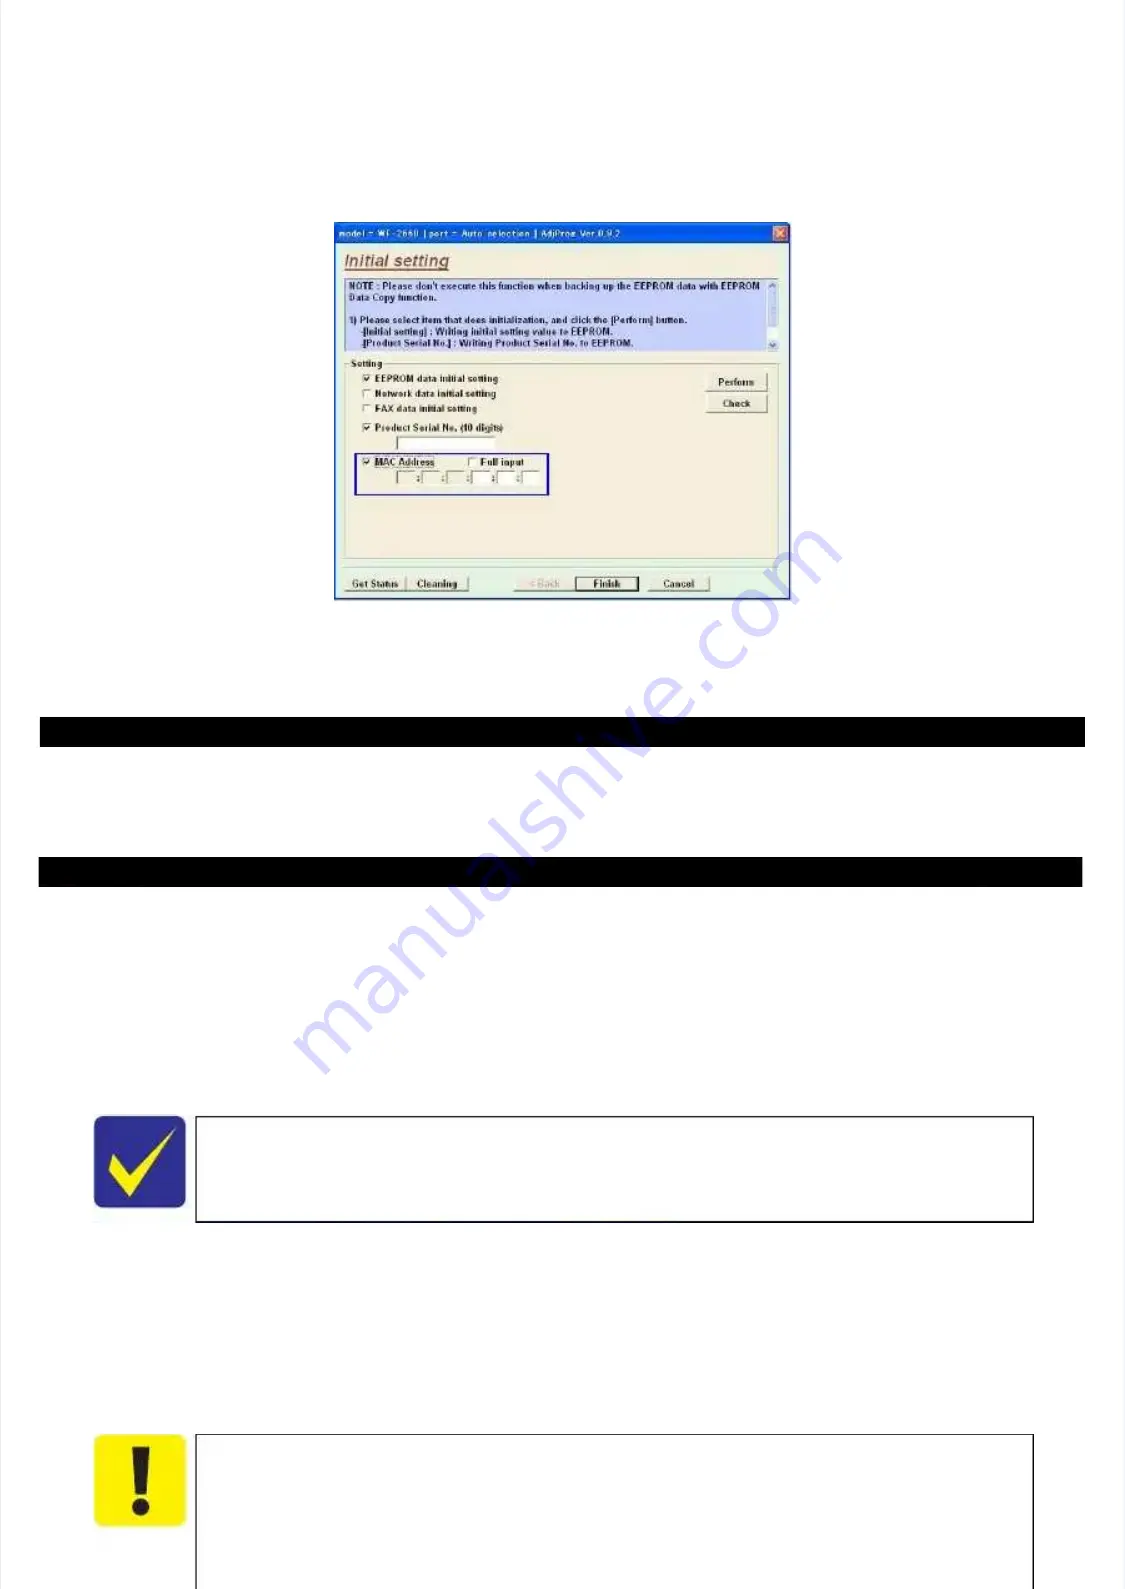
5. Enter th
Enter the last six dig
e last six digits of MAC ad
its of MAC address in
dress into the MAC ad
to the MAC address ent
dress entry field
ry field, and click t
, and click the Perfo
he Perform butto
rm button.
n.
6.
6. Select th
Select the networ
e network status she
k status sheet print m
et print menu on the pr
enu on the printer
inter’s contr
’s control panel
ol panel, and prin
, and print the sheet. C
t the sheet. Check the MA
heck the MAC
C
address printed on the sheet to see if it is correct.
address printed on the sheet to see if it is correct.
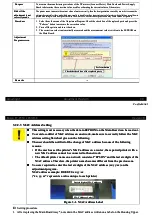
Figu
Figure 3-2.
re 3-2. MAC A
MAC Addre
ddress Set
ss Setting Sc
ting Screen
reen
E
E
p
p
s
s
o
o
n
n
E
E
T
T
-
-
4
4
5
5
5
5
0
0
,
,
L
L
6
6
5
5
5
5
/
/
6
6
5
5
6
6
R
R
e
e
v
v
i
i
s
s
i
i
o
o
n
n
B
B
3.3
3.3 De
Detai
tails o
ls of Ad
f Adju
justm
stmen
ents
ts
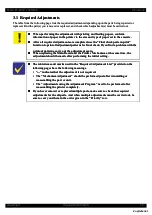
This section provides adjustment procedures for which explanation in details
This section provides adjustment procedures for which explanation in details is necessary. See
is necessary. See "3.1 Required
"3.1 Required
Adjustments (p55)"
Adjustments (p55)"
for the adjustments not
for the adjustments not explained here.
explained here.
3.3
3.3.1
.1 Che
Checki
cking t
ng the P
he Plat
laten G
en Gap
ap
This section describes the procedure for checking the
This section describes the procedure for checking the platen gap (PG).
platen gap (PG).
Tools
Tools
Thickness gauges for PG check: 1.48 mm gauge, 1.76 mm gauge
Thickness gauges for PG check: 1.48 mm gauge, 1.76 mm gauge
Teflon tape: Commercially available product (thickness: 0.08
Teflon tape: Commercially available product (thickness: 0.08 mm)
mm)
3.3
3.3.1.
.1.1
1 Pre
Prepar
parati
ation
on
This section describes how and
This section describes how and what to prepare for the preparation before starting t
what to prepare for the preparation before starting the PG check.
he PG check.
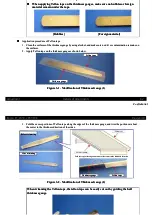
Modification of the thickness gauges
Modification of the thickness gauges
The standard range of the PG is as follows:
The standard range of the PG is as follows:
•• S
Sta
tan
nd
dar
ard
d: 1
: 1.7
.7
±
±
0.14 mm
0.14 mm
Check the platen gap before installing the
Check the platen gap before installing the CR Scale.
CR Scale.
The Printhead of this printer has
The Printhead of this printer has an integral structure of the
an integral structure of the Printhead Cover and
Printhead Cover and
Printhead nozzle surface. Therefore, if the thickness gauge touches the
Printhead nozzle surface. Therefore, if the thickness gauge touches the nozzle surface in
nozzle surface in
the same way as performed in
the same way as performed in the traditional procedure, the nozzle surface may be
the traditional procedure, the nozzle surface may be
damaged. When checking the platen gap, make sure to apply Teflon tape (thickness : 0.08
damaged. When checking the platen gap, make sure to apply Teflon tape (thickness : 0.08
mm) on all the
mm) on all the thickness gauges used for checking the Platen Gap i
thickness gauges used for checking the Platen Gap in advance.
n advance.
Use commercially available Teflon tape of 0 08
Use commercially available Teflon tape of 0 08 mm in thickness
mm in thickness
Содержание ET-4550
Страница 9: ...Confidential Confidential CHAPTER CHAPTER 1 1 TROUBLESHOOTING TROUBLESHOOTING ...
Страница 39: ......
Страница 46: ...Confidential Confidential Confidential Confidential CHAPTER CHAPTER 3 3 ADJUSTMENT ADJUSTMENT ...
Страница 48: ......

