33
6.
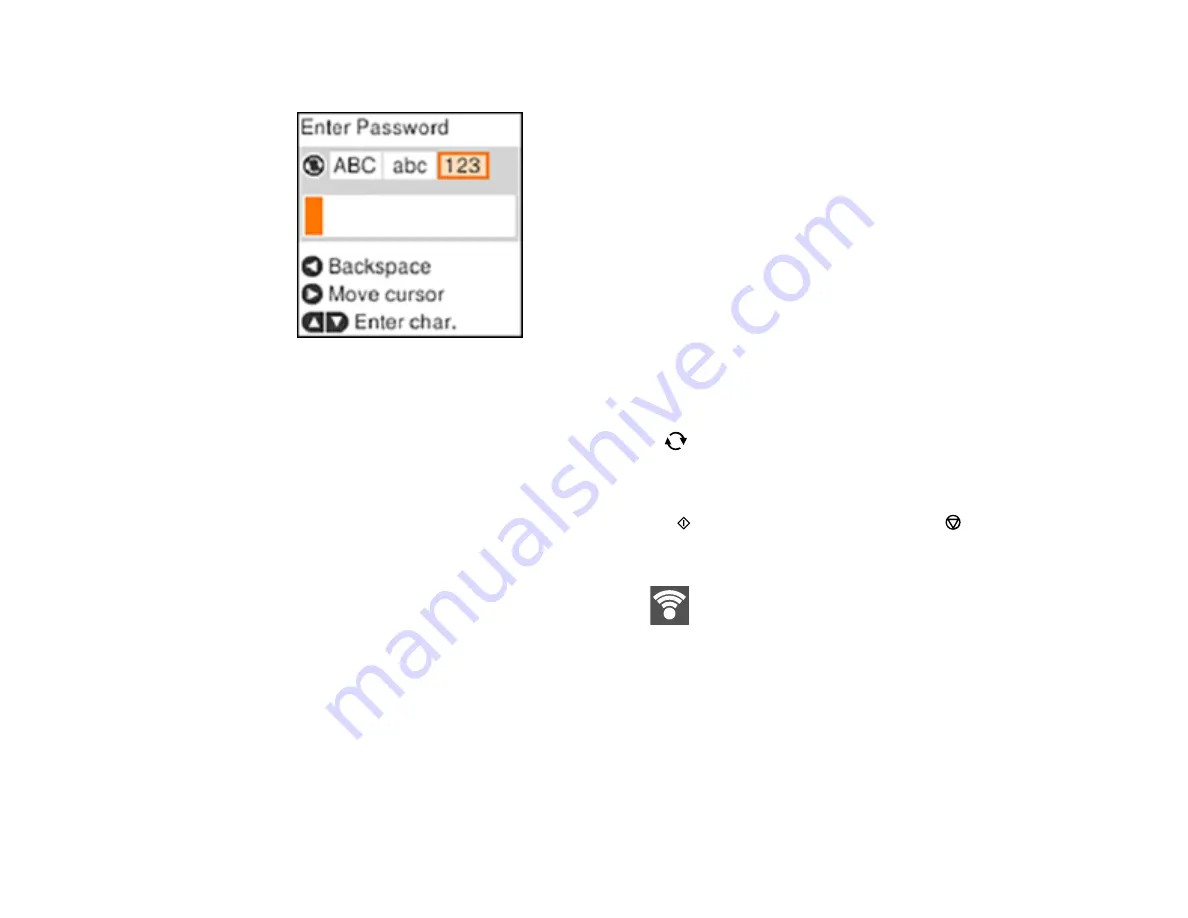
Enter your wireless password (or network name and then password).
• To scroll through the characters, press the up or down arrow button.
• To move the cursor to the right, press the right arrow button.
• To change the character case or type, press the
reset button.
• To delete the previous character, press the left arrow button.
• When you finish entering characters, press the
OK
button.
7.
If you want to print a network setup report, press the
start button. (Otherwise, press the
stop
button.)
8.
Press the
OK
button to exit, if necessary.
Your product should now display a Wi-Fi symbol
on the LCD screen.
Note:
If the Wi-Fi symbol is not displayed on the LCD screen, you may have selected the wrong
network name or entered the password incorrectly. Repeat these steps to try again.
Parent topic:
Wi-Fi Infrastructure Mode Setup
Related tasks
Содержание ET-2750 series
Страница 1: ...ET 2750 User s Guide ...
Страница 2: ......
Страница 11: ...11 ET 2750 User s Guide Welcome to the ET 2750 User s Guide For a printable PDF copy of this guide click here ...
Страница 17: ...17 Product Parts Inside 1 Document cover 2 Scanner glass 3 Scanner unit 4 Control panel ...
Страница 62: ...62 Related topics Copying Scanning ...
Страница 93: ...93 10 Select the Layout tab 11 Select the orientation of your document as the Orientation setting ...
Страница 145: ...145 1 Turn on your product 2 Lift up the scanner unit ...
Страница 146: ...146 3 Open the ink tank cover then open the cap for the ink tank you are going to fill ...
Страница 189: ...189 2 Remove any jammed paper from the rear paper feed ...
Страница 190: ...190 3 Lift the scanner unit and remove any jammed paper inside ...


