142
3.
Press the
home button, if necessary.
4.
Select
Scan
.
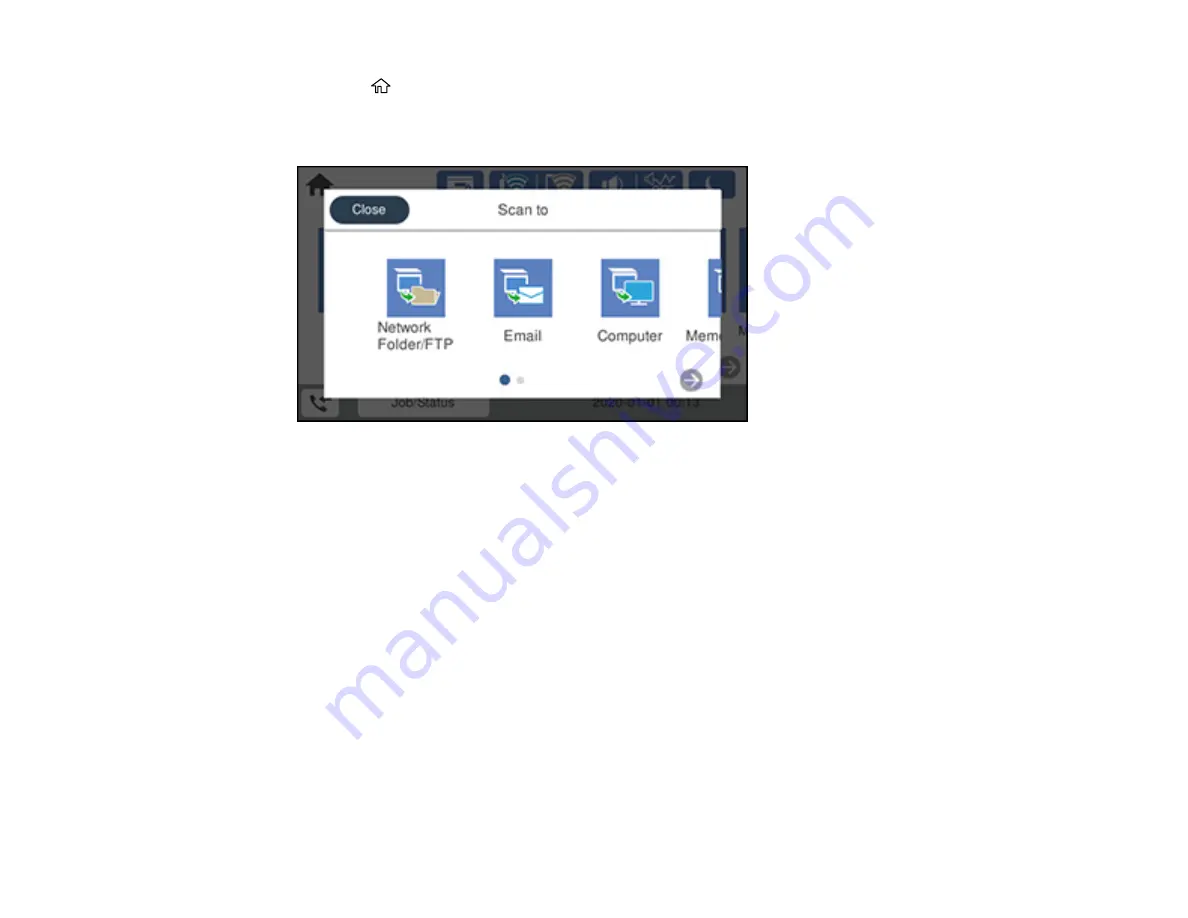
You see a screen like this:
5.
Select one of the following
Scan to
options:
•
Network Folder/FTP
saves your scan file to a specified folder on a network.
•
lets you send scanned files through a pre-configured email server.
•
Computer
lets you scan to a connected computer using your saved scan settings.
•
Memory Device
saves your scan file on a USB device and lets you select the file format, quality,
and other settings.
•
Cloud
sends your scanned files to a destination that you have registered with Epson Connect.
•
WSD
lets you manage network scanning in Windows 10, Windows 8.x, Windows 7, or Windows
Vista (English only). To use this feature, you must first set up a WSD (Web Services for Devices)
port on your Windows 7 or Windows Vista computer (the port is set up automatically on Windows
10 and Windows 8.x).
6.
Follow the instructions in the links below to complete your scan.
Scanning to Email
Scanning to a Connected Computer
Scanning to a Memory Device
Содержание ET-16600
Страница 1: ...ET 16600 ET 16650 User s Guide ...
Страница 2: ......
Страница 103: ...103 You see this window 3 Select the double sided printing options you want to use 4 Click OK to return to the Main tab ...
Страница 127: ...127 10 Select the Layout tab 11 Select the orientation of your document as the Orientation setting ...
Страница 160: ...160 You see an Epson Scan 2 window like this ...
Страница 162: ...162 You see an Epson Scan 2 window like this ...
Страница 178: ...178 You see a screen like this 2 Click the Save Settings tab ...
Страница 183: ...183 You see this window ...
Страница 248: ...248 You see a window like this ...
Страница 279: ...279 Print Quality Adjustment ...


