187
2.
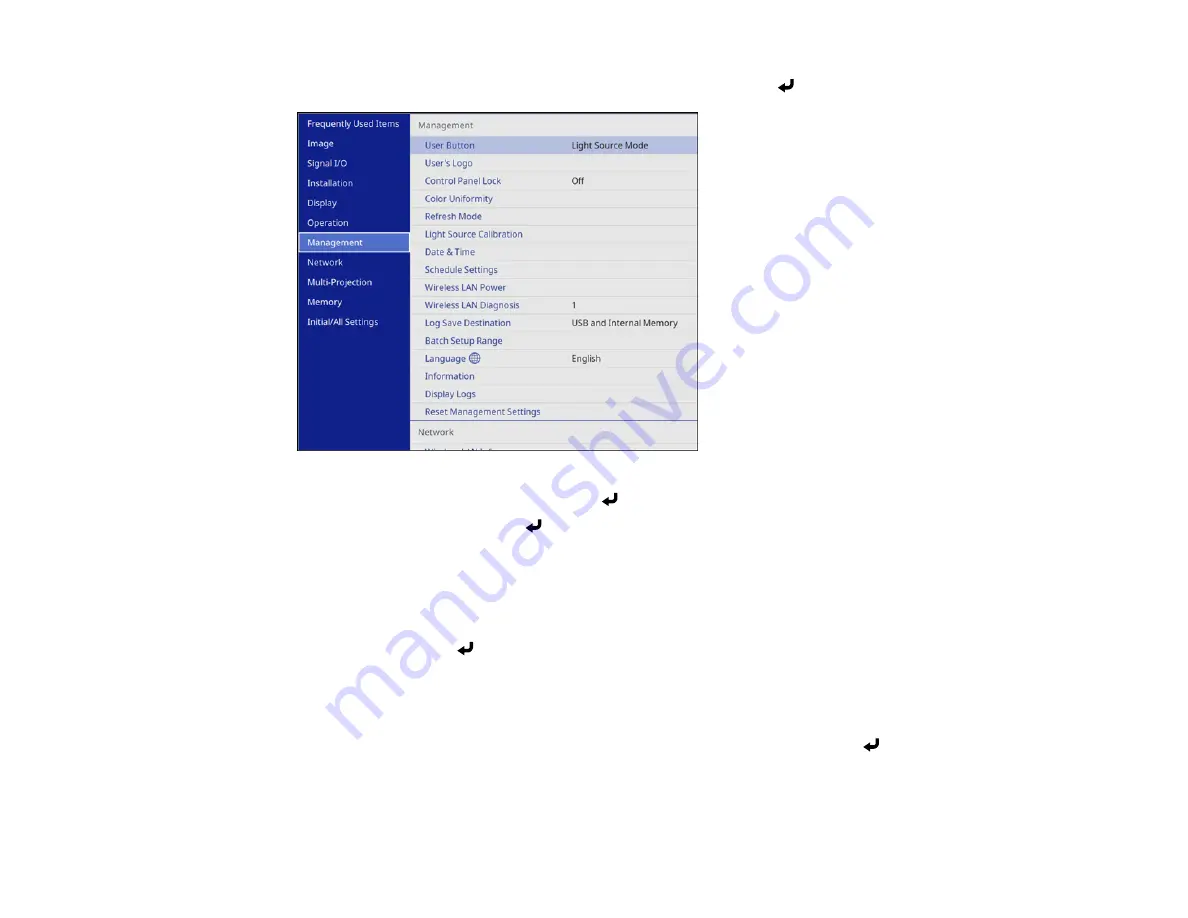
Press the
Menu
button, select the
Management
menu, and press
Enter
.
3.
Select the
User's Logo
setting and press
Enter
.
4.
Select
Start Setting
and press
Enter
.
You see a prompt asking if you want to use the displayed image as a user's logo.
Note:
When you select
User's Logo
, adjustments such as
Geometry Correction
,
E-Zoom
,
Aspect
,
Scale
, and
Screen Type
are temporarily canceled.
5.
Select
Yes
and press
Enter
.
Note:
Depending on the image signal, the screen size may change to match the resolution of the
image signal.
6.
Make sure the image appears as you want it, then select
Yes
again and press
Enter
.
You see a completion message.
7.
Press
Esc
to exit the message screen.
Содержание EB-L520U
Страница 1: ...PowerLite EB L520U EB L530U EB L630U EB L630SU EB L635SU EB L730U EB L735U User s Guide ...
Страница 2: ......
Страница 26: ...26 Projector Parts Remote Control 1 Power button 2 HDMI button cycles through connected HDMI sources ...
Страница 29: ...29 Front Rear Front ceiling ...
Страница 82: ...82 2 Select the Management menu and press Enter 3 Set the Wireless LAN Power setting to On ...
Страница 262: ...262 Parent topic Adjusting the Menu Settings Related concepts Updating the Firmware ...
Страница 266: ...266 4 Loosen the screws and remove the air filter cover 5 Pull the air filter out of the projector ...


