Using the Printer Software with Windows
57
3
3
3
3
3
3
3
3
3
3
3
3
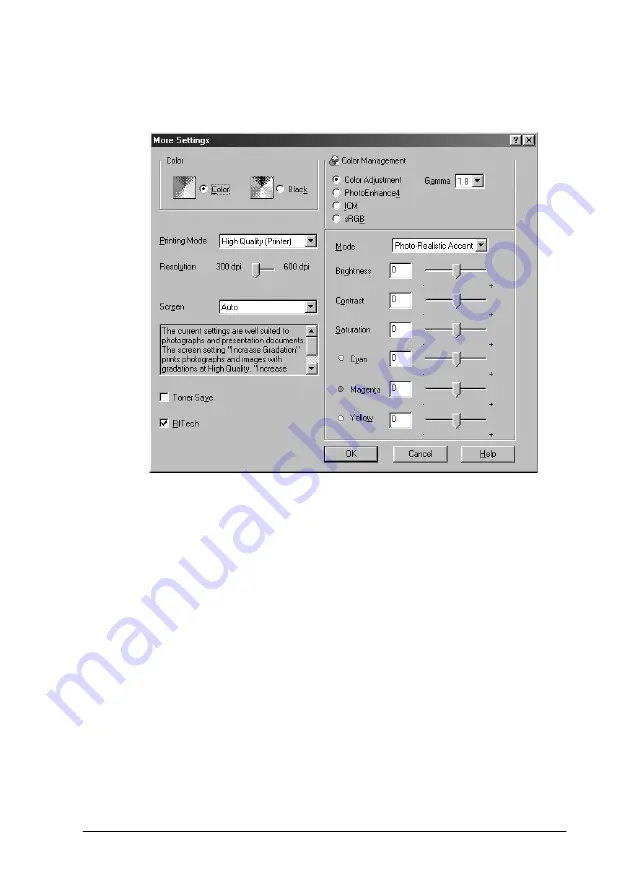
1. Click the
Advanced
radio button in the Basic Settings menu,
then click
More Settings
. The following dialog box appears.
Note:
This screen is a Windows 98, 95 screen.
2. Choose
Color
or
Black
as the Color setting, then make other
settings. For details on each setting, click the
Help
button.
3. Choose
Color
or
Black
as the Color setting.
4. Choose desired printing resolution from 300 dpi or 600 dpi
with the
Resolution
slider bar, then make other settings. For
details on each settings, see online help.
5. Click
OK
to apply your settings and return to the Basic
Settings menu. Click
Cancel
to return to the Basic Settings
menu without applying your settings.
Содержание AcuLaser C8600
Страница 2: ...ii ...
Страница 4: ...ii ...
Страница 14: ...xii Index ...
Страница 15: ...Product Information 13 1 1 1 1 1 1 1 1 1 1 1 1 Chapter 1 Product Information ...
Страница 52: ...50 Paper Handling ...
Страница 229: ...Using Options 227 7 7 7 7 7 7 7 7 7 7 7 7 2 Prepare the printer as shown below to access the Hard Disk Drive socket ...
Страница 235: ...Using Options 233 7 7 7 7 7 7 7 7 7 7 7 7 1 Access the Hard Disk Drive as shown below ...
Страница 239: ...Using Options 237 7 7 7 7 7 7 7 7 7 7 7 7 2 Prepare the printer as shown below to access the DIMM slots ...
Страница 246: ...244 Using Options 2 Prepare the printer as shown below ...
Страница 268: ...266 Replacing Consumable Products 8 Insert the photoconductor unit as shown below 9 Turn the small lever to the left ...
Страница 336: ...334 Troubleshooting ...
Страница 356: ...354 Technical Specifications ...
Страница 391: ...Working with Fonts 389 C C C C C C C C C C C C ...
Страница 392: ...390 Working with Fonts ...
Страница 410: ...408 Glossary ...


