Troubleshooting
405
11
11
11
11
11
11
11
11
11
11
11
11
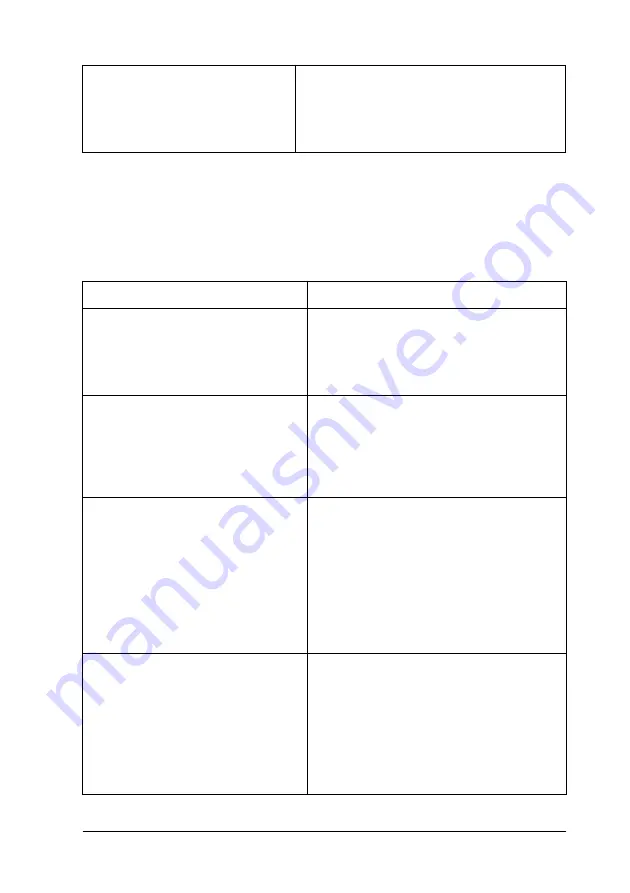
The printer does not print normally via the
network interface
For Macintosh users only
The Data Format setting in the
printer’s Properties is not set to
ASCII.
The printer cannot print binary data when it
is connected to the computer via the USB
interface. Make sure that the Data Format
setting, which is accessed by clicking Print
from the File menu, is set to ASCII.
Cause
What to do
The Data Format setting is different
from the data format setting
specified in the application (except
on Mac OS X)
If the file is created in an application that
allows you to change the data format or
encoding, such as Photoshop, make sure
that the setting in the application
matches that in the printer driver.
For Windows 2000 users only
Job Management On is selected in
the printer’s Properties.
When AppleTalk is active and Job
Management ON is selected, the printer
does not print normally. Make sure to
clear the Job Management On check
box on the Job Settings sheet of the
printer’s Properties.
For Windows users only
The computer is connected to the
network using AppleTalk in a
Windows 2000 environment, and
the Send CTRL+D Before Each Job
or Send CTRL+D After Each Job
setting on the Device Settings sheet
of the printer’s Properties dialog box
is set to Yes.
Make sure that both the Send CTRL+D
Before Each Job and Send CTRL+D After
Each Job settings are set to No.
For Windows users only
The print data is too large.
Click Advanced on the PostScript sheet of
the printer’s Properties, then change the
Data Format setting from ASCII data
(default) to TBCP (Tagged binary
communications protocol).
When the
Binary
setting is set to
On
, TBCP
is not available. Use the Binary protocol.
See "PS3 Menu" on page 238 for details.
Содержание AcuLaser C4200DN
Страница 32: ...32 Getting to Know Your Printer Transfer Unit 3022 Fuser Unit 110 120 V 3020 Fuser Unit 220 240 V 3021 ...
Страница 320: ...320 Replacing Consumable Products 2 Press the latch on cover A and open the cover 3 Raise cover D ...
Страница 332: ...332 Replacing Consumable Products 2 Grasp the two orange tabs and pull them up ...
Страница 336: ...336 Replacing Consumable Products 7 Close cover A ...
Страница 344: ...344 Cleaning and Transporting the Printer 2 Press the latch on cover A and open the cover 3 Raise cover D ...
Страница 428: ...428 Information about Fonts 4 In the dialog box that appears click Local 5 Click Custom ...
Страница 455: ...Information about Fonts 455 C C C C C C C C C C C C 4 In the dialog box that appears click Local 5 Click Custom ...


