9
|
ENGLISH
fill out the correct data such ‘IP address’, ‘
Subnet
mask’
and ‘
default
gateway’
. ( Use
the mouse to select and change the data). Also, fill out the correct ‘Preferred’ and
‘
Alternate
DNS
Server’
. Click ‘
Next’
.
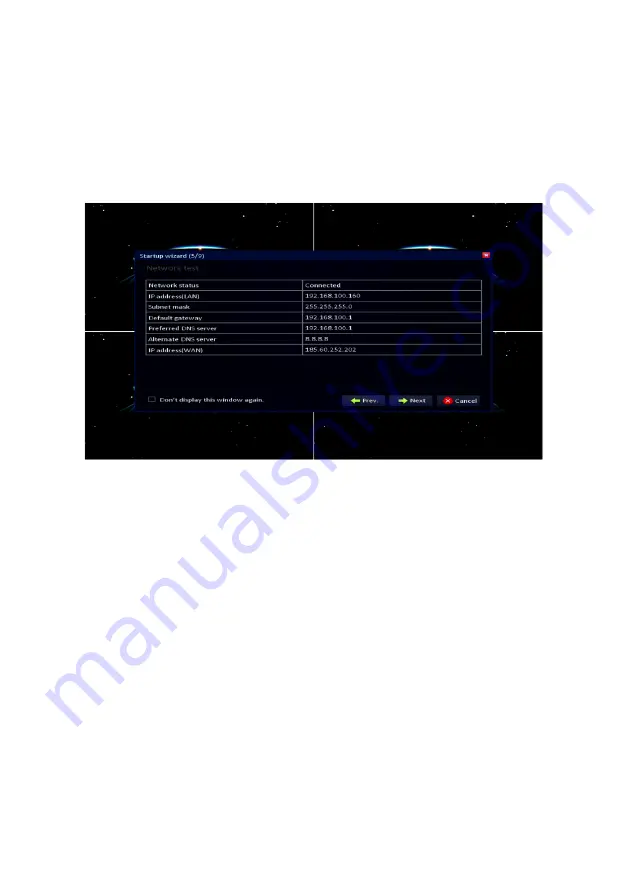
Step 5
:
A new screen appears. The network connection will be tested first. Then, an overview
appears. This overview shows the IP-Address data, DNS server addresses and your
(Internet) WAN IP Address. Click ‘
Next’
.
Step 6
:
If you want to use a DDNS account, set the ‘
DDNS’
option to ‘
Enable
’ in the following
screen and then select your DDNS provider. Also, you need to fill out the hostname,
user name and password of your DDNS account.
Click ‘
Port’
. In this screen, the ‘
Media
port’
and the ‘
Web
port’
are shown. The
‘Media port’ is used by devices such as smartphones which are accessing the
surveillance recorder externally. The ‘
Web
port’
is used by computers which are
accessing the surveillance recorder externally. If needed, the ‘
Media
port’
and ‘
Web
port’
can be changed manually. Click ‘
Next’
.
Содержание EM6304
Страница 1: ...EM6304 Full HD Network Video Recorder...
Страница 13: ...13 ENGLISH 4 Click Basic and then select User 5 Click Add user...
Страница 44: ...44 ENGLISH 4 Click Advance 5 Click the Settings field below Trigger...
Страница 59: ...59 ENGLISH 20 Set the security settings like below picture...
Страница 63: ...63 ENGLISH 4 Click Local Settings...
Страница 70: ...70 ENGLISH 6 Press Add and then select add device...
Страница 71: ...71 ENGLISH The following screen will appear...
Страница 72: ...72 ENGLISH...