21
22
Configuration
8. WEB CONFIGURATION
The camera includes a built-in web interface that can be accessed using a
web browser.
8.1 Supported Browsers
• Google Chrome, Mozilla Firefox, and Apple Safari® (via Adobe Flash
Player)
• Microsoft Internet Explorer® 7.0 or later, 32-bit version (via ActiveX®)
8.2 Chrome, Firefox, and Safari Setup
1.
Connect the camera to your local network and find the camera’s IP
address. See “6. Finding the Camera’s IP Address” on page 12.
2.
Open your browser and enter the camera’s IP address in the address bar
in the following format:
http://
http://
192.168.0.120
:
80
Colon
Camera IP address
HTTP port number
NOTE:
You can also connect to the camera using a DDNS address (DDNS
setup and port forwarding required; see “7. Configuring Remote
Connection” on page 16 for details).
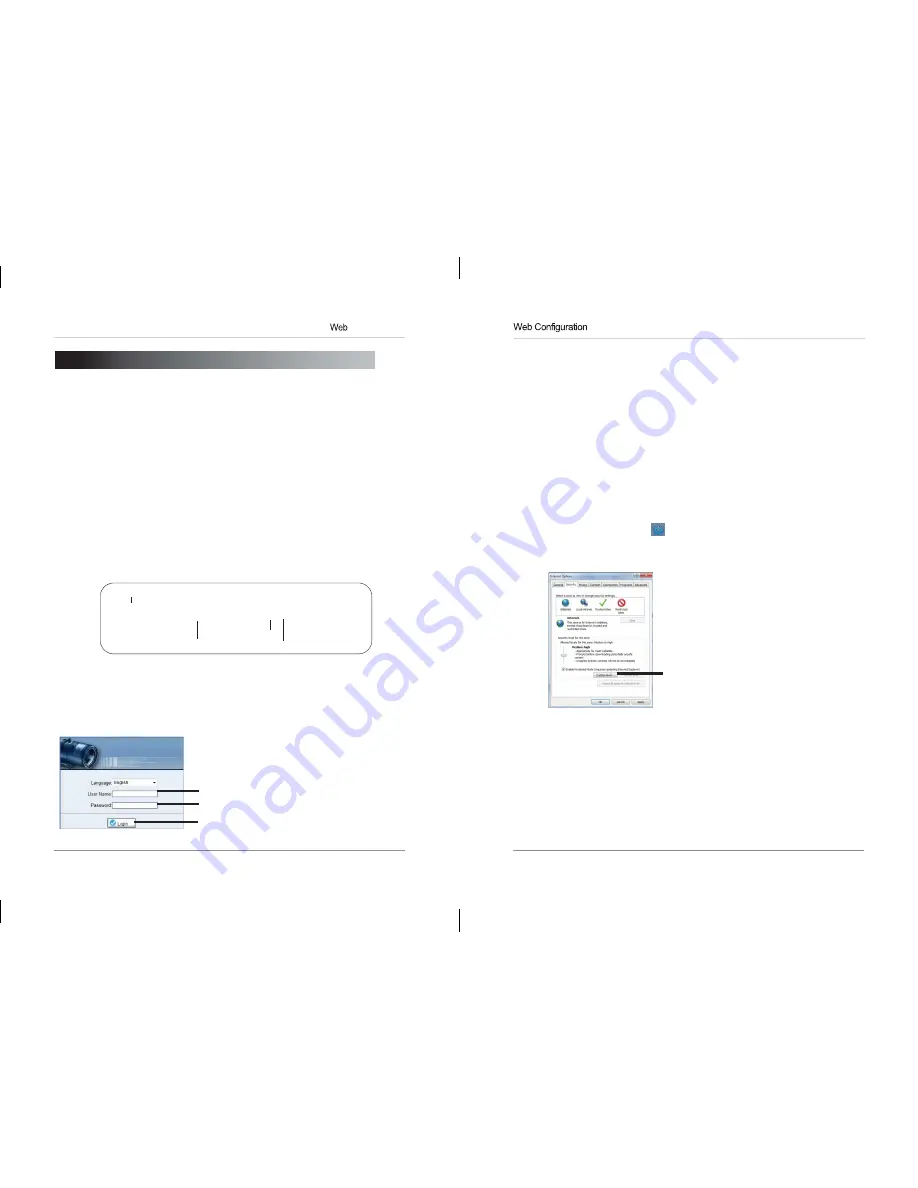
3.
Under
User Name
and
Password
, enter the camera’s User Name
(default:
admin
) and Password (default:
admin
) and click
Login
.
Enter Camera User Name (default:
admin
)
Enter Camera Password (default:
admin
)
Click Login
4.
The main screen for the camera web interface opens. From here you can
view and configure the camera.
NOTE:
If you do not see video from the camera, make sure your computer
has the latest version of Adobe Flash Player installed (visit
http://
www.adobe.com/
to download the latest version). After installing Flash
Player, restart your browser and reconnect to the camera.
8.3 Internet Explorer® Setup
Step 1 of 2: Change Internet Explorer security settings for ActiveX®:
1.
Open Internet Explorer and open the Security tab.
•
Internet Explorer 8:
Click
Tools > Internet Options
and select the
Security
tab.
•
Internet Explorer 9:
Click
> Internet Options
and select the
Security
tab.
2.
Click
Custom Level
.
Click Custom level
eLineTechnology.com


