TROUBLESHOOTING
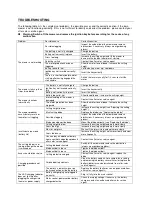
The following table lists the symptoms of problems, the possible causes and the corrective action, if the lawn
mower is not functioning correctly. If this is not sufficient to identify and correct the problem, please contact your
after-sales service agent.
●
Warning: Switch off the mower and remove the ignition key before searching for the cause of any
malfunction
Problem
Possible cause
Corrective action
The mower is not working
Possible clogging
Inspect the underside of the mower and remove
obstructions if necessary (always wear gardening
gloves)
The battery is not fully charged
Charge the battery
Battery not (correctly) in place
Insert the battery
Grass too long
Increase the cutting height and tilt the mower to
decrease the load on the motor at start-up
Defective switch
Contact the after-sales service agent
The motor protection has been
triggered
Allow the motor to cool down / Increase the cutting
height
Battery too cold / hot
Let the battery warm up / cool down
Ignition key not inserted correctly /
fully
Insert the key correctly
There is a short delay before motor
start-up after having engaged the
start handle
Switch the lever manually for 1–3 secs to start the
motor
The mower starts up, then
stops immediately
The battery is not fully charged
Charge the battery
Ignition key not inserted correctly /
fully
Insert the key correctly
Battery not (correctly) in place
Insert the battery
Battery too cold / hot
Allow to cool down / increase the cutting height
The mower functions
intermittently
Internal cabling of the mower is
damaged
Contact the after-sales service agent
The motor protection has been
triggered
Allow the motor to cool down / Increase the cutting
height
The mower produces
unsatisfactory results or
the motor is struggling
Cutting height too low
Increase the cutting height (see “Adjusting the cutting
height”)
Blunt cutting blade
Replace the blade (see “Replacing the blade”)
Possible clogging
Inspect the underside of the mower and remove
obstructions if necessary (always wear gardening
gloves)
Blade mounted upside down
Mount the blade correctly (see “Replacing the blade”)
Insufficient area mown
(battery life)
Cutting height too low
Increase the cutting height and walk more slowly
Grass too high
Increase the cutting height and walk more slowly
Moist or wet grass
Wait until the grass is dry and walk more slowly
Grass too dense
Increase the cutting height, walk more slowly and mow
more frequently
You can buy an additional battery
from an authorised garden products
after-sales service agent
Contact the after-sales service agent
The cutting blade is not
turning although the mower
is switched on
Cutting blade obstructed
Switch off the mower and remove the obstruction
(always wear gardening gloves)
Blade nut/bolt is loose
Tighten the blade nut/bolt
Excessive vibrations/noise
Blade nut/bolt is loose
Tighten the blade nut/bolt
Cutting blade is damaged
Contact the after-sales service agent, replace the
blade
Charging procedure not
possible
Oxidised battery contacts
Clean the battery contacts (for example, by inserting
and removing the battery several times) or replace the
battery (batteries can be purchased from after-sales
service agents)
The battery is defective, due to a
faulty connection inside the battery
Replace the battery (batteries can be purchased from
after-sales service agents)
The LED charging indicator
does not light up after
plugging the charger into
the mains power supply
Battery charger plug not plugged in
(correctly)
Plug in (fully) into the mains socket
Mains socket, power cord or battery
charger defective
Check the supply voltage, if necessary, the battery
charger, contact an authorised after-sales service
agent
Содержание 5411074207595
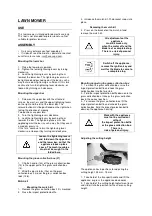
Страница 2: ...ASSEMBLAGE ASSEMBLAGE ASSEMBLY ...
Страница 3: ...14 15 ...
Страница 6: ...TONTE COLLECTE MAAIEN OPVANGEN MOW COLLECT ...
Страница 7: ...TONTE EJECTION MAAIEN UITWERPEN MOW EJECT MULCHING 17 17A ...
Страница 8: ...INSTRUCTIONS DE COUPE MAAINSTRUCTIES CUTTING INSTRUCTIONS ...
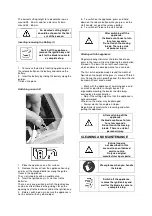
Страница 9: ...NETTOYAGE MAINTENANCE REINIGEN ONDERHOUD CLEANING MAINTENANCE ...
Страница 10: ...LAME MAAIMES BLADE Φ 330mm Ref SF8A111 19 20 21 ...
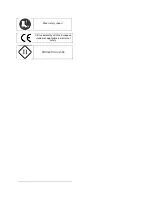
Страница 43: ...Draag werkhandschoenen Draag CE veiligheids schoenen conform de Europese veiligheidsnormen BESCHERMINGSKLASSE ...
Страница 77: ......
Страница 78: ......
Страница 79: ......
Страница 80: ......

