LAWN MOWER
USE
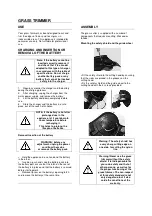
This lawn mower is intended for domestic use only.
This tool is not intended for professional use. Not
suitable for professional use.
ASSEMBLY
• Only carry out work you feel capable of.
• If in doubt, seek the aid of a specialist or contact
our after sales service:
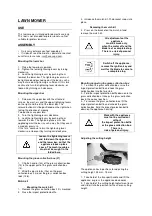
Mounting the lower bar
1. Raise the lower bar upwards.
2. Tighten the lower tightening levers by turning
clockwise.
3. Lock the tightening levers by pushing them
towards the lower bar. The tightening levers must
be tightened and pushed against the bar in such a
way that medium tightening is sufficient. If this fails,
continue to turn the tightening lever clockwise, or
loosen it by turning anti-clockwise.
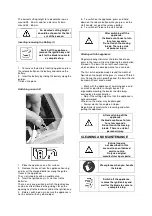
Mounting the upper bar
1. Screw on the upper bar with the attached
screws, the washers and the upper tightening levers
on the right and the left of the lower bar. The
release button must be positioned on the right when
facing the direction of mowing.
Two positions are possible.
2. Turn the tightening levers clockwise.
3. Lock the tightening levers by pushing them
towards the bar. The tightening levers must be
applied against the bar in such a way that they exert
a medium pressure.
If this fails, continue to turn the tightening lever
clockwise, or loosen it by turning anti-clockwise.
Loosen the tightening levers
and fold down the upper bar
and the lower bar, so that the
appliance takes up less
space. The machine cables
must not be caught in the
folded bars.
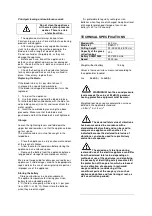
Mounting the grass collection box (D)
1. Clip the handle (13c) of the grass collection box
(13) in the upper part of the grass collection box
(13).
2. Wind the plastic tabs (13a) on the grass
collection box (13) over the grass collection box
rods (13b).
Mulch kit
Mounting the mulch kit
1. Remove the grass collection box if it is mounted.
2. Raise the impact protection baffle.
3. Introduce the mulch kit. The bracket snaps into
place.
Removing the mulch kit
4. Press on the bracket on the mulch kit and
remove the mulch kit.
All adjustments of the
appliance
must be made only
when the motor off and the
blade is at a complete stop.
There is a risk of personal
injury.
Switch off the appliance,
remove the ignition key and
wait for the blade to come to
a complete stop.
Mounting/removing the grass collection box
1. To mount the grass collection box, raise the
impact protection baffle and hook the grass
collection box into the two slots.
2. Fold the impact protection baffle down onto the
grass collection box. It keeps the grass collection
box in the correct position.
3. To remove the grass collection box, lift the
impact protection baffle and unhook the grass
collection box. Fold the impact protection baffle
down on the appliance housing.
Work with the appliance
must not be carried out
without
the impact protection baffle
or the grass collection box.
There is a
risk of personal injury.
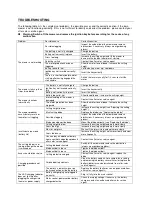
Adjusting the cutting height
The appliance has 5 positions for adjusting the
cutting height: 25 mm ~75 mm
1. Take hold of the transport handle and lift the
appliance, or press the appliance downwards.
2. Take hold of the cutting height adjustment lever
and slide it into the position for the chosen cutting
height.
Содержание 5411074207595
Страница 2: ...ASSEMBLAGE ASSEMBLAGE ASSEMBLY ...
Страница 3: ...14 15 ...
Страница 6: ...TONTE COLLECTE MAAIEN OPVANGEN MOW COLLECT ...
Страница 7: ...TONTE EJECTION MAAIEN UITWERPEN MOW EJECT MULCHING 17 17A ...
Страница 8: ...INSTRUCTIONS DE COUPE MAAINSTRUCTIES CUTTING INSTRUCTIONS ...
Страница 9: ...NETTOYAGE MAINTENANCE REINIGEN ONDERHOUD CLEANING MAINTENANCE ...
Страница 10: ...LAME MAAIMES BLADE Φ 330mm Ref SF8A111 19 20 21 ...
Страница 43: ...Draag werkhandschoenen Draag CE veiligheids schoenen conform de Europese veiligheidsnormen BESCHERMINGSKLASSE ...
Страница 77: ......
Страница 78: ......
Страница 79: ......
Страница 80: ......

