


electrolux
automower
13
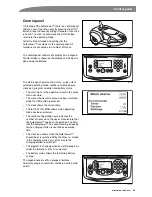
Installation
Installation
This chapter describes how you install the
Automower™. Before starting the installation read the
previous chapter ”Presentation” on page 9 to page 12.
Carry out the installation in the following steps:
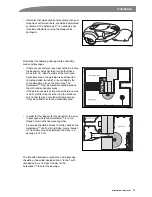
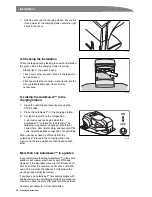
A.
Preparations.
B.
Planning the installation
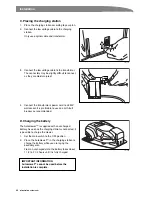
C.
Placing the charging station.
D.
Charging the battery.
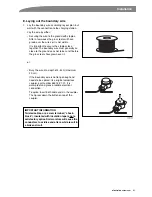
E.
Laying the boundary wire.
F.
Connecting the boundary wire.
G.
Checking the installation.
H.
Linking the Automower™ to the charging station.
The letters refer to the following headings.
To carry out a complete start-up of an Automower™
the charging station must be in position and
connected, the boundary wire connected, and the
mower connected to the charging station. To start the
mower without having completed the full boundary
installation it is possible to connect a temporary short
loop round the mower.
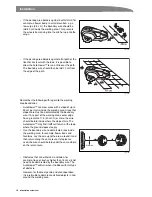
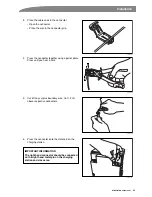
A. Preparations
1.
If the lawn in the working area is longer than
15 cm, mow it using a conventional lawn mower.
Then collect the clippings.
2.
Read carefully through all the steps before the
installation.
3.
Check that all parts for the installation are
included:
The numbers in brackets refer to the detail
diagram ”Automower™, what’s what?” on
page 14.
• Operator’s Manual (22)
• Automower™
• Charging station (14)
• Boundary wire in the right length (16)
• Transformer (17)
• Low voltage cable (18)
• Staples (19)
• Boundary wire connector (20)
• Boundary wire coupler (21)
During installation you will also need:
• Hammer to simplify putting the staples in the
ground
• Combination pliers
• Straight spade, if the boundary wire is to be
buried
3012-401
Содержание Automower
Страница 1: ...Automower Operator s Manual ...
Страница 4: ...4 electrolux automower ...
Страница 55: ......


