15
Chapter 3 Settings and Adjustments
3-2. Using OSD menu
●
Basic operation of OSD menu
1.
Displaying OSD menu
Press
.
Use
or
to select the menu.
2.
Setting/Adjusting
Use
to select the set/adjust items.
Use
or
for setting/adjustment.
3.
Storing/Exiting
After completing the setting/adjustment, selecting
allows you to store the setting.
Selecting
repeatedly closes the OSD menu.
●
Functions
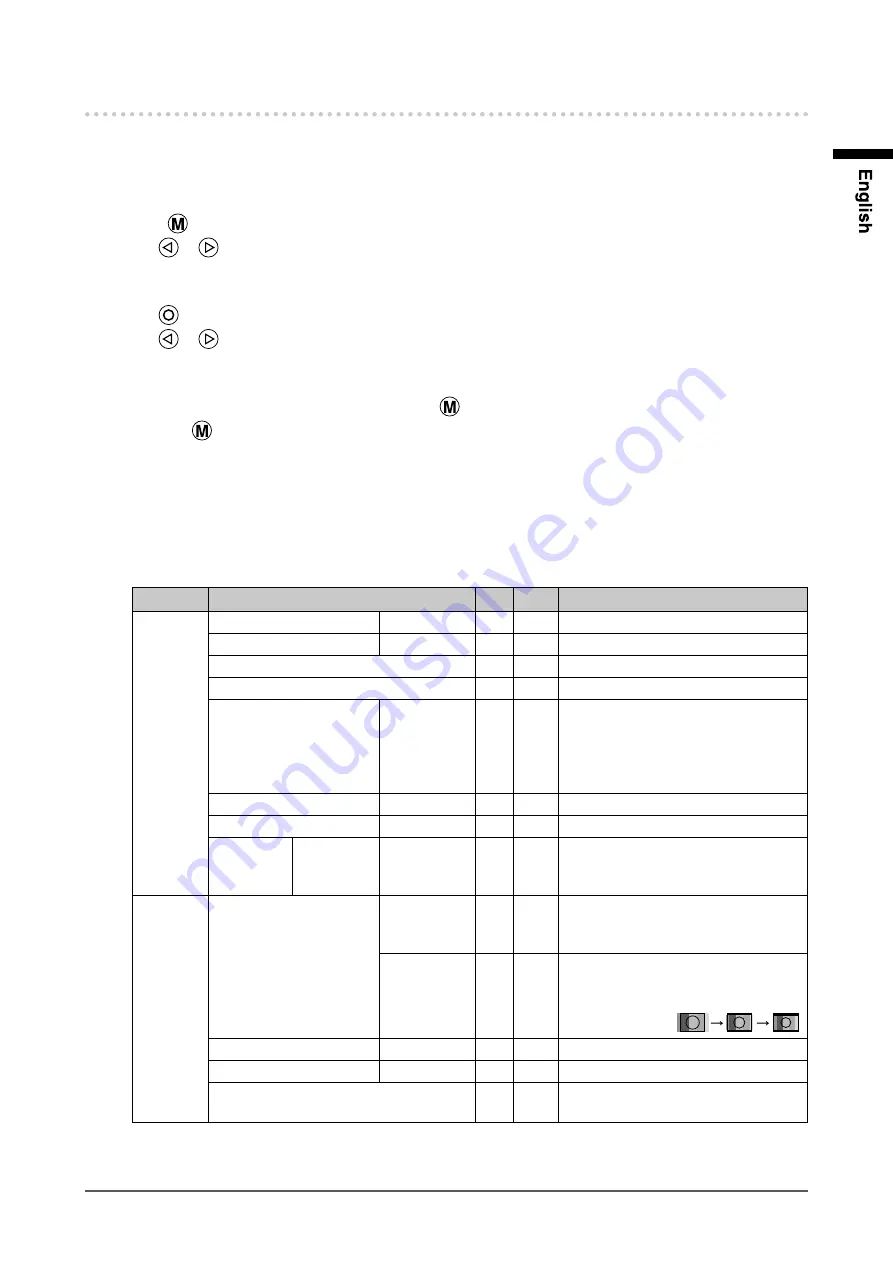
The settings adjustable in the OSD menu are as shown below. The availability of functions depends on the
input signal (PC or Video).
√ : Configurable ― : Not configurable
Menu
Functions
PC Video
Description
Picture
Brightness
0 to 100
√
√
Adjusts the brightness.
Contrast
0 to 100
√
√
Adjusts the contrast.
Phase
√
―
Adjusts the flickering or blurring.
Frequency
√
―
Adjusts the frequency (clock).
Sharpness
0 to 15
√
√
Adjusts the sharpness of the image
outline.
0 (blur) to 15 (sharp)
* This adjustment has no effect for
images of 1280 × 1024 resolution.
Saturation
0 to 100
―
√
Adjusts the saturation.
Hue
0 to 100
―
√
Adjusts the hue.
Color Temp Red/
Green/
Blue
0 to 100
√
√
Adjusts the intensity of each color: Red,
Green, and Blue.
Img. Adj
Screen Size
Fill All/
1 TO 1/
Fill Aspect
√
―
Changes the screen display size.
Fill All/
16:9/4:3
―
√
Changes the screen display size.
* There are three sizes available for
“16:9”. The sizes change in the
following order:
.
H Position
0 to 100
√
―
Adjusts the display position (horizontal).
V Position
0 to 100
√
―
Adjusts the display position (vertical).
Auto Adjust
√
―
Performs the automatic screen
adjustment.


