23
5.
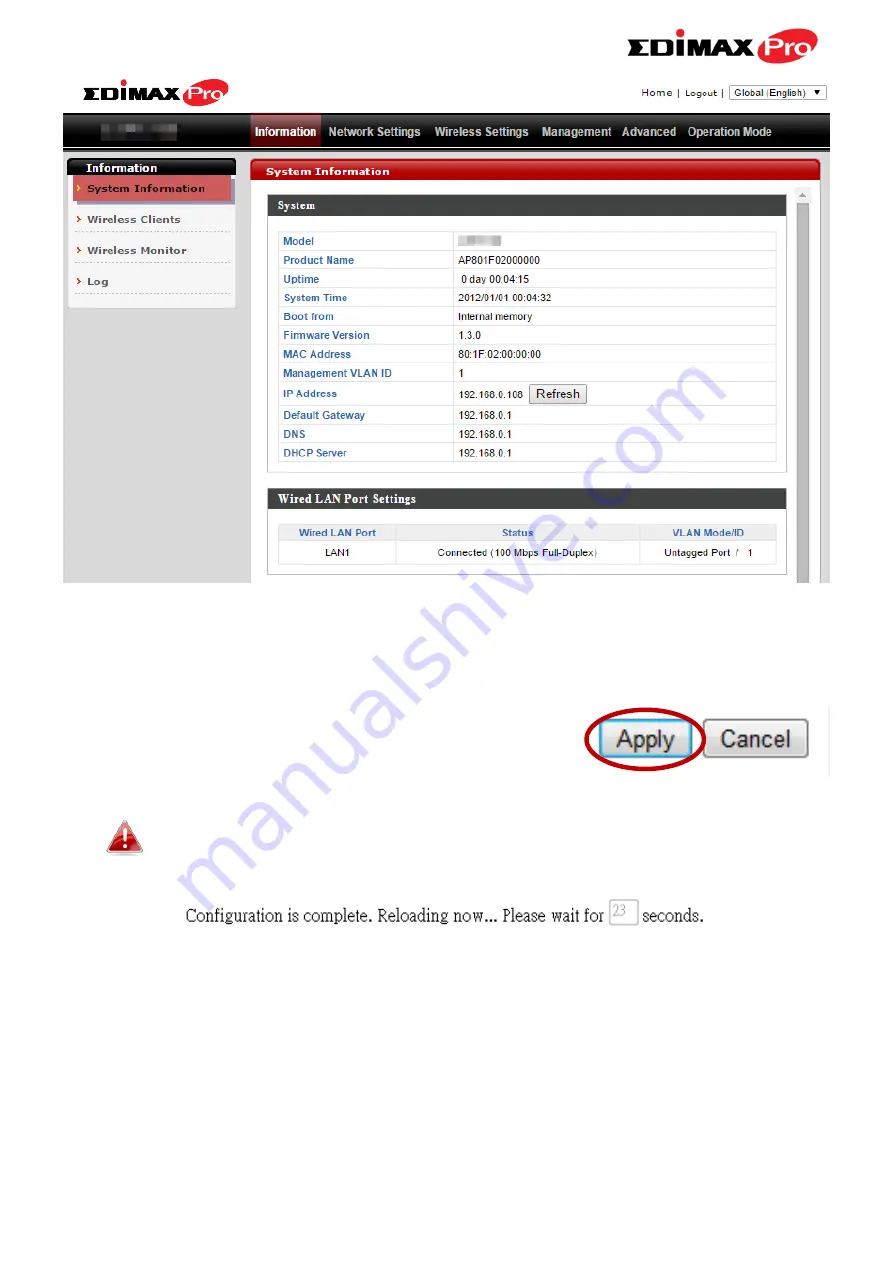
Use the menu across the top and down the left side to navigate. Click
“Apply” to save changes and reload the access point, or “Cancel” to cancel
changes.
Please wait a few seconds for the access point to reload after you
“Apply” changes, as shown below.
6.
Please refer to the following chapters for full descriptions of the browser
based configuration interface features.
Содержание CAP1750
Страница 1: ...CAP1750 User Manual 12 2015 v1 1...
Страница 24: ...18 A i ii iii...
Страница 25: ...19 B i ii iii iv...
Страница 27: ...21 D E i i ii ii iii iii...
Страница 31: ...25...
Страница 82: ...76 3 Remember to Apply your changes and make sure Enable is checked...
Страница 96: ...90 a password check the Open file with password box and enter the password in the field underneath...
Страница 101: ...Edimax Pro NMS 95 Edimax Pro NMS...
Страница 108: ...Edimax Pro NMS 102...
Страница 116: ...Edimax Pro NMS 110 Toolbox The Toolbox panel provides a network diagnostic tools ping and traceroute...
Страница 232: ...Edimax Pro NMS 226 3 Click Local Area Connection 4 Click Properties...
Страница 233: ...Edimax Pro NMS 227 5 Select Internet Protocol Version 4 TCP IPv4 and then click Properties...
Страница 240: ...Edimax Pro NMS 234 5 Enter the IP address 192 168 2 10 and subnet mask 255 255 255 0 Click on Apply to save the changes...
Страница 254: ...248...


