25
III
‐
2.
Save
Settings
1.
After
you
configure
any
settings,
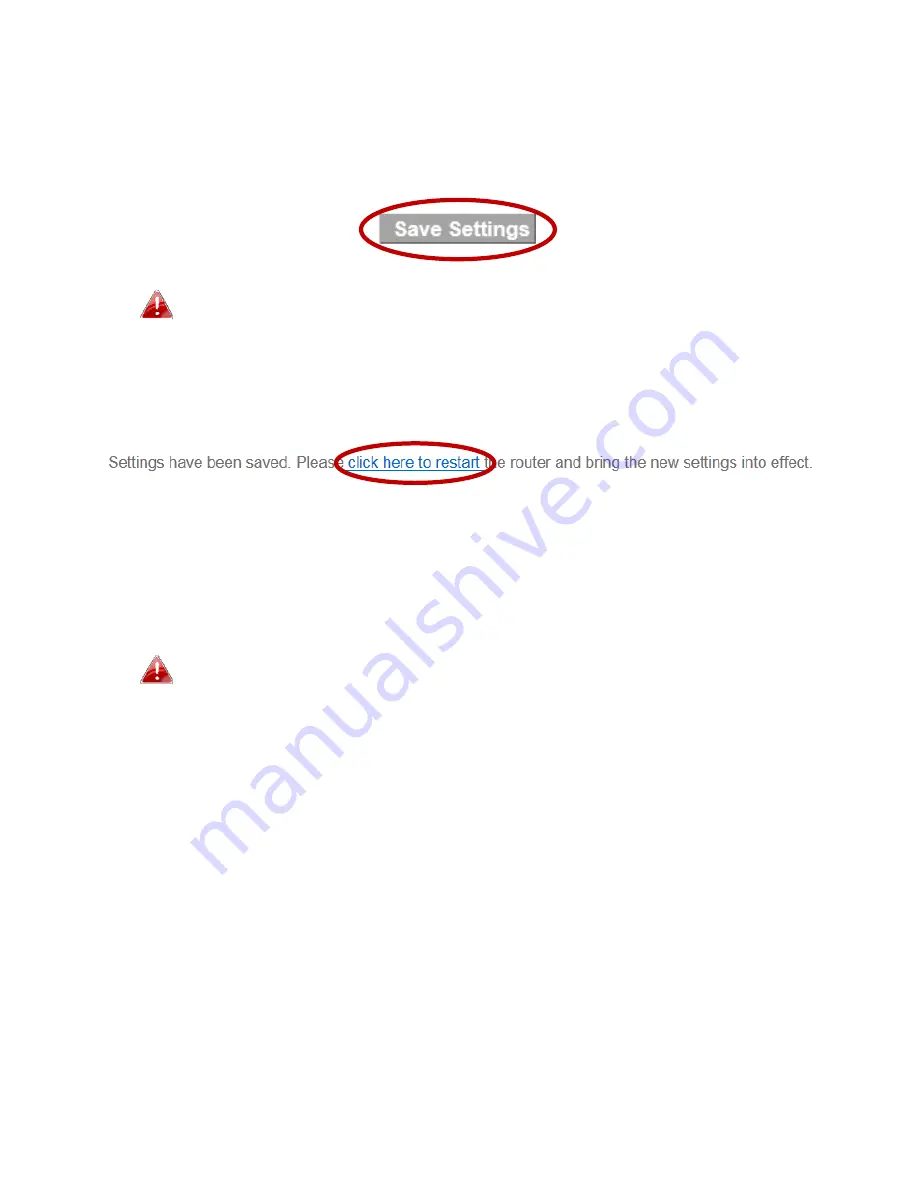
click
the
“Save
Settings”
button
at
the
bottom
of
the
screen
to
save
your
changes.
The
device
needs
to
restart
in
order
to
bring
any
changes
into
effect.
2.
Then,
click
“Click
here
to
restart”
in
order
to
restart
the
device
and
bring
the
changes
into
effect.
3.
To
make
several
changes
at
once,
use
the
“Save
Settings”
button
after
each
change
and
then
click
“click
here
to
restart”
after
your
final
change.
Only
one
restart
is
necessary
as
long
as
each
change
is
saved
with
the
“Save
Settings”
button.
After
you
click
“click
here
to
restart”,
all
saved
changes
will
come
into
effect.
Содержание BR-6228nC V2
Страница 1: ...BR 6228nS V2 BR 6228nC V2 User Manual 09 2013 v1 1 ...
Страница 28: ...24 3 You will arrive at the Status screen Use the menu down the left side to navigate ...
Страница 45: ...41 CyberGate http cybergate planex co jp ddns NS2GO http www ns2go com NO IP http www noip com ...
Страница 48: ...44 ...
Страница 89: ...85 ...
Страница 91: ...87 ...
Страница 93: ...89 4 Click Properties 5 Select Internet Protocol Version 4 TCP IPv4 and then click Properties ...
Страница 94: ...90 6 Select Obtain an IP address automatically and Obtain DNS server address automatically should be selected ...
Страница 98: ...94 ...
Страница 100: ...96 ...
Страница 105: ...101 4 Click Properties ...
Страница 113: ...109 6 Click Apply to save the changes ...
Страница 120: ...116 3 Your router s IP address will be displayed next to Default Gateway ...
Страница 122: ...118 3 A new window will open type ipconfig and press Enter ...
Страница 123: ...119 4 Your router s IP address will be displayed next to Default Gateway ...
Страница 125: ...121 4 Click the TCP IP tab and your router s IP address will be displayed next to Router ...
Страница 139: ...135 ...


