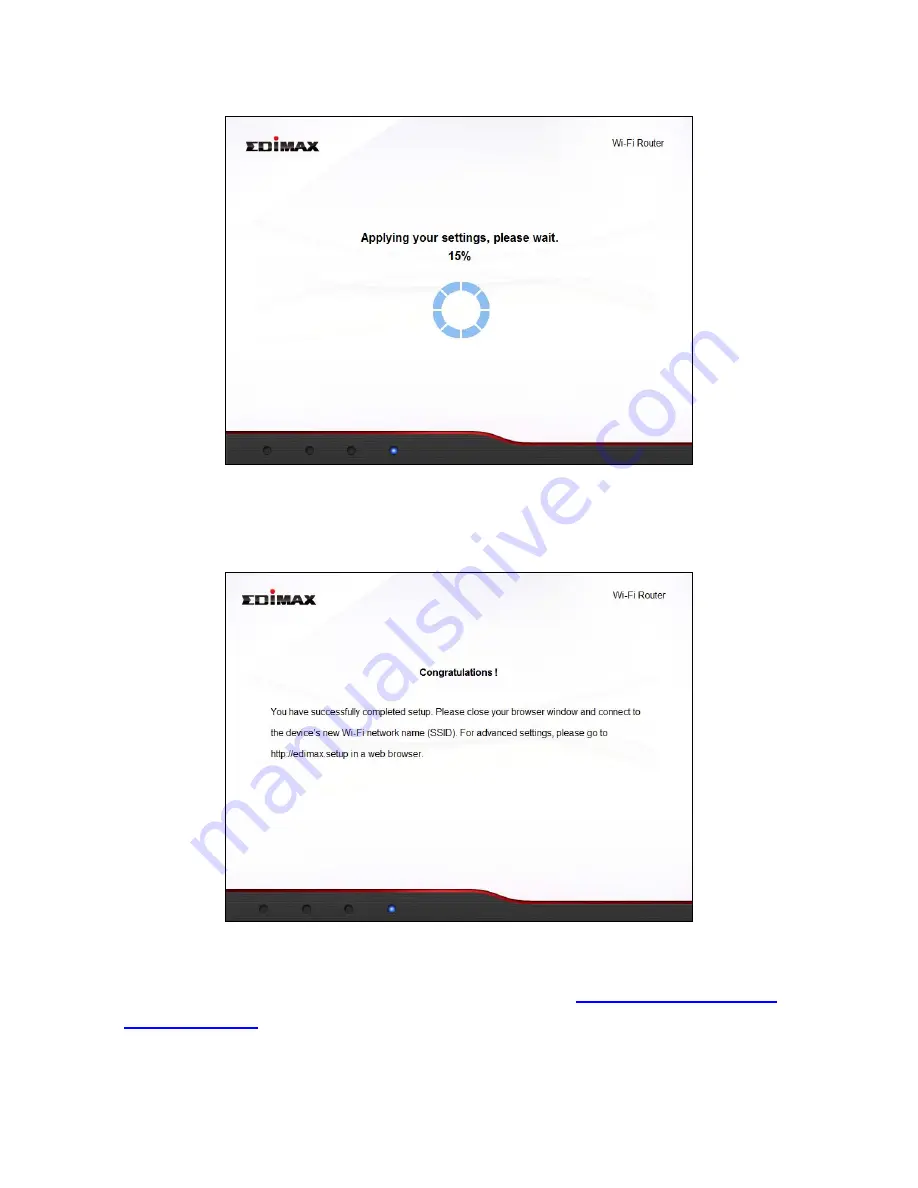
11
6.
Please
wait
a
moment
until
the
device
is
ready.
7.
A
final
congratulations
screen
will
indicate
that
setup
is
complete.
Please
close
the
browser
window.
8.
The
BR
‐
6228nS
V2/nC
V2
is
working
and
ready
for
use.
You
can
now
connect
to
the
device’s
new
SSID.
Please
refer
to
IV
‐
2.
Connecting
to
a
Wi
‐
Fi
network
if
you
require
more
guidance.
Содержание BR-6228nC V2
Страница 1: ...BR 6228nS V2 BR 6228nC V2 User Manual 09 2013 v1 1 ...
Страница 28: ...24 3 You will arrive at the Status screen Use the menu down the left side to navigate ...
Страница 45: ...41 CyberGate http cybergate planex co jp ddns NS2GO http www ns2go com NO IP http www noip com ...
Страница 48: ...44 ...
Страница 89: ...85 ...
Страница 91: ...87 ...
Страница 93: ...89 4 Click Properties 5 Select Internet Protocol Version 4 TCP IPv4 and then click Properties ...
Страница 94: ...90 6 Select Obtain an IP address automatically and Obtain DNS server address automatically should be selected ...
Страница 98: ...94 ...
Страница 100: ...96 ...
Страница 105: ...101 4 Click Properties ...
Страница 113: ...109 6 Click Apply to save the changes ...
Страница 120: ...116 3 Your router s IP address will be displayed next to Default Gateway ...
Страница 122: ...118 3 A new window will open type ipconfig and press Enter ...
Страница 123: ...119 4 Your router s IP address will be displayed next to Default Gateway ...
Страница 125: ...121 4 Click the TCP IP tab and your router s IP address will be displayed next to Router ...
Страница 139: ...135 ...


