47
III-3-3.
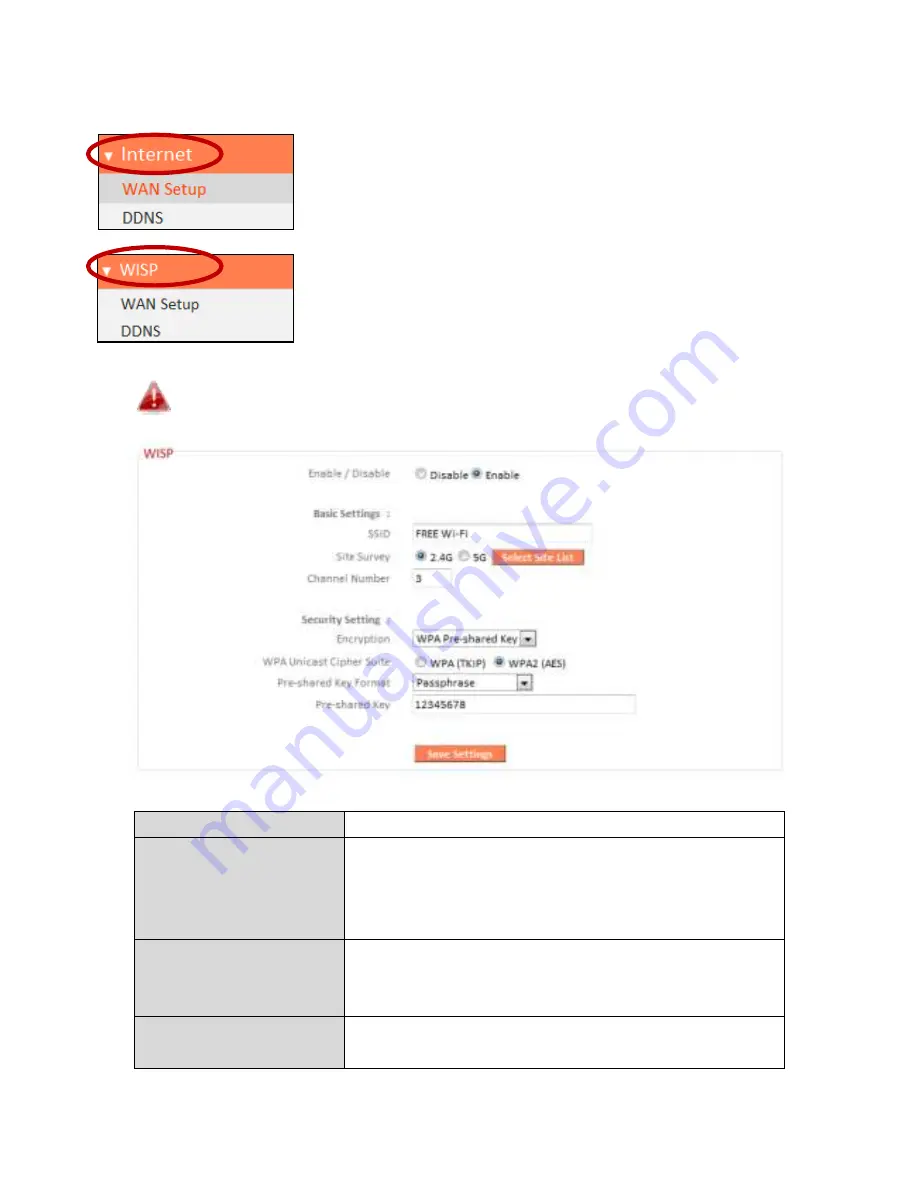
Internet/WISP
The I te et e u p o ides a ess to WAN a d
DDNS settings. Click on an item from the submenu to
view and/or configure the settings.
In WISP mode, the screen below will be displayed:
Enable / Disable
Enable or disable your WISP connection.
SSID
The name of the WISP network which your
BR-6208AC V2 is connected to. Manually
e te a SSID if ou ish o use Site Su e
below.
Site Survey
Select wireless frequency and cl
i k Sele t
Site List to ope a e i do a d sele t
your WISP network.
Security Setting
Please refer to
III-3-5-1. Basic
for a
description of security settings.
Содержание BR-6208AC V2
Страница 1: ...1 BR 6208AC V2 User Manual 09 2016 v1 0 ...
Страница 45: ...41 3 You will arri e at the Status s ee Use the menu down the left side to navigate ...
Страница 65: ...61 ...
Страница 114: ...110 ...
Страница 116: ...112 ...
Страница 118: ...114 4 Cli k P ope ties 5 Sele t I te et P oto ol Ve sio 4 TCP IPv4 a d the li k P ope ties ...
Страница 119: ...115 6 Sele t O tai a IP add ess auto ati all a d O tai DNS se e address automatically should e sele ted ...
Страница 123: ...119 ...
Страница 125: ...121 ...
Страница 130: ...126 3 Cli k Lo al A ea Co e tio 4 Cli k P ope ties ...
Страница 134: ...130 5 Choose your connection and right click then sele t P ope ties ...
Страница 138: ...134 6 Cli k Appl to sa e the ha ges ...
Страница 145: ...141 3 You oute s IP add ess ill e displa ed e t to Default Gate a ...
Страница 147: ...143 3 A e i do ill ope t pe ip o fig a d p ess E te ...
Страница 148: ...144 4 You oute s IP add ess ill e displa ed e t to Default Gate a ...
Страница 150: ...146 4 Click the TCP IP tab and your router s IP address will be displayed next to Router ...
Страница 152: ...148 3 After correctly entering your password you will be successfully connected to the BR 6208AC V2 s i eless et o k ...
Страница 167: ...163 ...


