Echoflex Installation Guide
Magnetic Contact Sensor
Magnetic Contact Sensor (MC-31)
Page 2 of 12
Echoflex
Installation
The MC-31 sensor has two parts: the contact sensor and the magnet. The
sensor should be installed on the casing and the magnet on the moving
window or door. The location of the MC-31 directly affects the quality of
the controller’s message reception.
If installing on a beveled window or door trim, ensure the magnet is
oriented to accommodate the angle. See
to confirm the location.
Use hand tools for the installation. Over-torquing with a screw gun can
damage the device.
Mount the Sensor
The sensor can be mounted using
screws through the mounting plate,
with double-sided tape, or with Velcro.
To mount with screws:
1. Insert a flatblade screwdriver into
one of the two slots at the side
and gently pry to remove the
sensor from the mounting plate.
2. Mount the mounting plate using
two #6 screws.
3. Snap the sensor back into place.
Mount the Magnet
Orienting the magnet in relation to the
sensor is critical. Mount the magnet
using screws through the mounting
plate, with double-sided tape, or with Velcro.
To mount with screws:
1. Insert a flatblade screwdriver into the single slot at the side and gently
pry to remove the magnet from the mounting plate.
2. Mount the mounting plate using two #6 screws. To confirm the
location relative to the sensor, see
3. Perform a thorough check to ensure normal use of the window or door
does not damage the device.
4. Snap the magnet back in place.
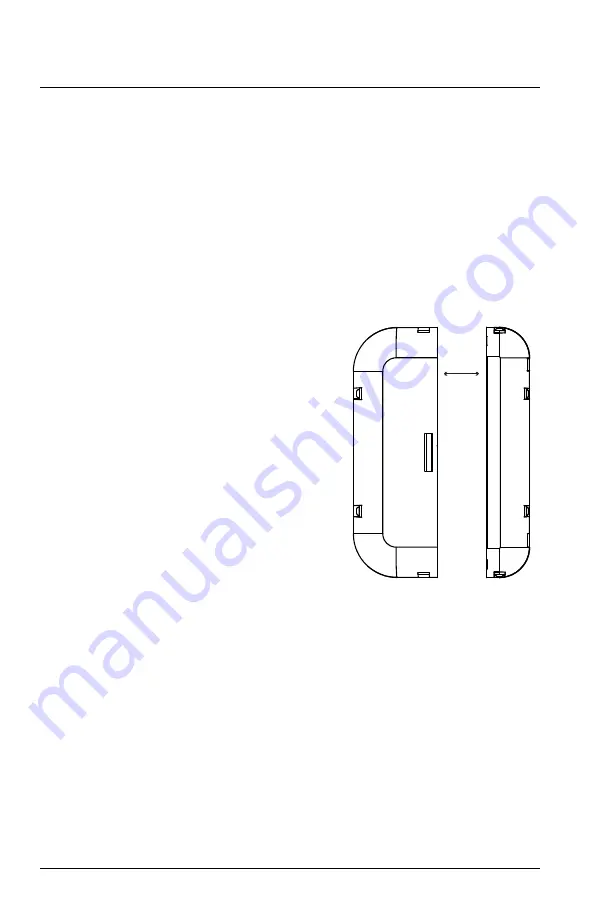
The gap between the sensor and magnet should not exceed 12.7 mm
(1/2 in) to prevent damage when opening and closing the door. The ideal
planar alignment of the magnet is level with the sensor.
Magnet
Sensor
Ideal alignment (contact closed)
12.7 mm
(1/2 in)


