WCB11070 (PDF FORMAT)
4
©
Copyright Eaton Corp. 2007, All Rights reserved.
2.0 INSTALLATION
Only qualified maintenance personnel should
install, adjust or repair these units. Faulty work-
manship will result in unreasonable exposure to
hazardous conditions or personal injury.
Read these instructions thoroughly and
review until you fully understand the installa-
tion sequence before proceeding with the
work described in this section. Failure to fol-
low these instructions will result in unreason-
able exposure to hazardous conditions or
personal injury.
Do not paint the clamp tubes (12), wear spac-
ers (29), or the release springs (34), as this
may hinder the engagement or disengage-
ment of the tensioner.
Note :
Some three and four disc units may require
support on the cylinder end of the tensioner in certain
high torque applications. Contact the factory for spe-
cific application information.
Figure 3
2.1
Preparation and Arrangements
2.1.1
Refer to the appropriate catalog information (available
upon request) for appropriate envelope dimensions,
mounting register diameters, mounting bolt circles and
positions, and stud support bracket recommendations
for each specific tensioner.
2.1.2
The tensioner reaction member (such as the machine
frame) should have a machined register to allow for
mounting and alignment control of the tensioner. The
mounting surface should be designed to provide full
support of the face of the mounting flange (1), prevent-
ing deflection during operation.
2.1.3
For proper operation and service life, the tensioner
reaction member must be aligned to the shaft within
the limits shown in Table 2.
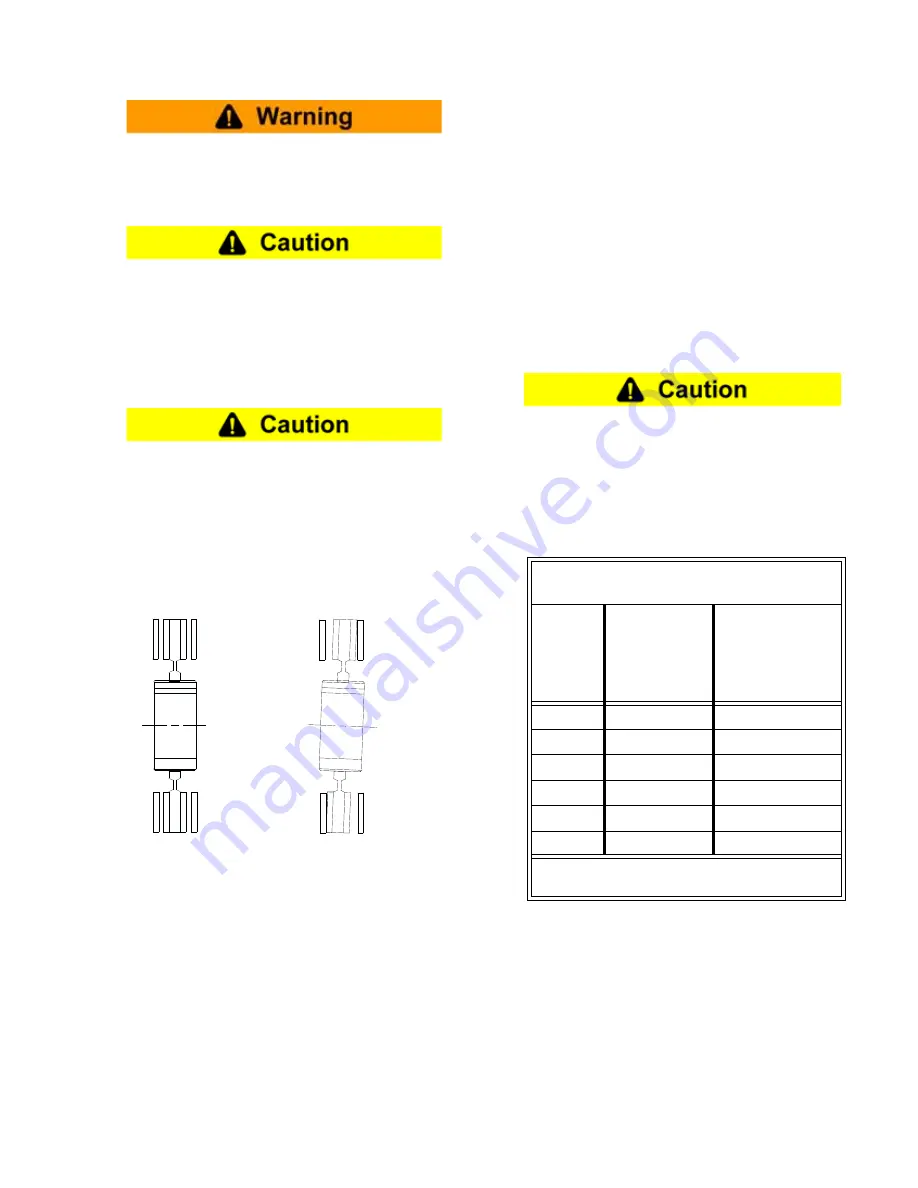
Proper alignment is necessary to ensure that
the friction discs track properly. Improper
alignment will result in excessive wear to the
friction material and mating surfaces, plus the
gear and splined bore of the friction disc
assemblies. See Figure 3.
Correct
Incorrect
TABLE 2
Alignment Requirements
Size
Concentricity
(Parallel, TIR)
of Shaft and
Tensioner
Inches (mm)
Perpendicularity
(Angular, TIR) of
Mounting
Flange to Shaft*
Inches (mm)
8WCB2
0.0005 (0.13)
0.0005 (0.13)
14WCB2
0.010 (0.25)
0.007 (0.18)
18WCB2
0.010 (0.25)
0.010 (0.25)
24WCB2
0.010 (0.25)
0.012 (0.30)
36WCB2
0.010 (0.25)
0.019 (0.48)
48WCB2
0.010 (0.25)
0.025 (0.64)
* Perpendicularity measured near the outside
diameter of the mounting flange.


