13
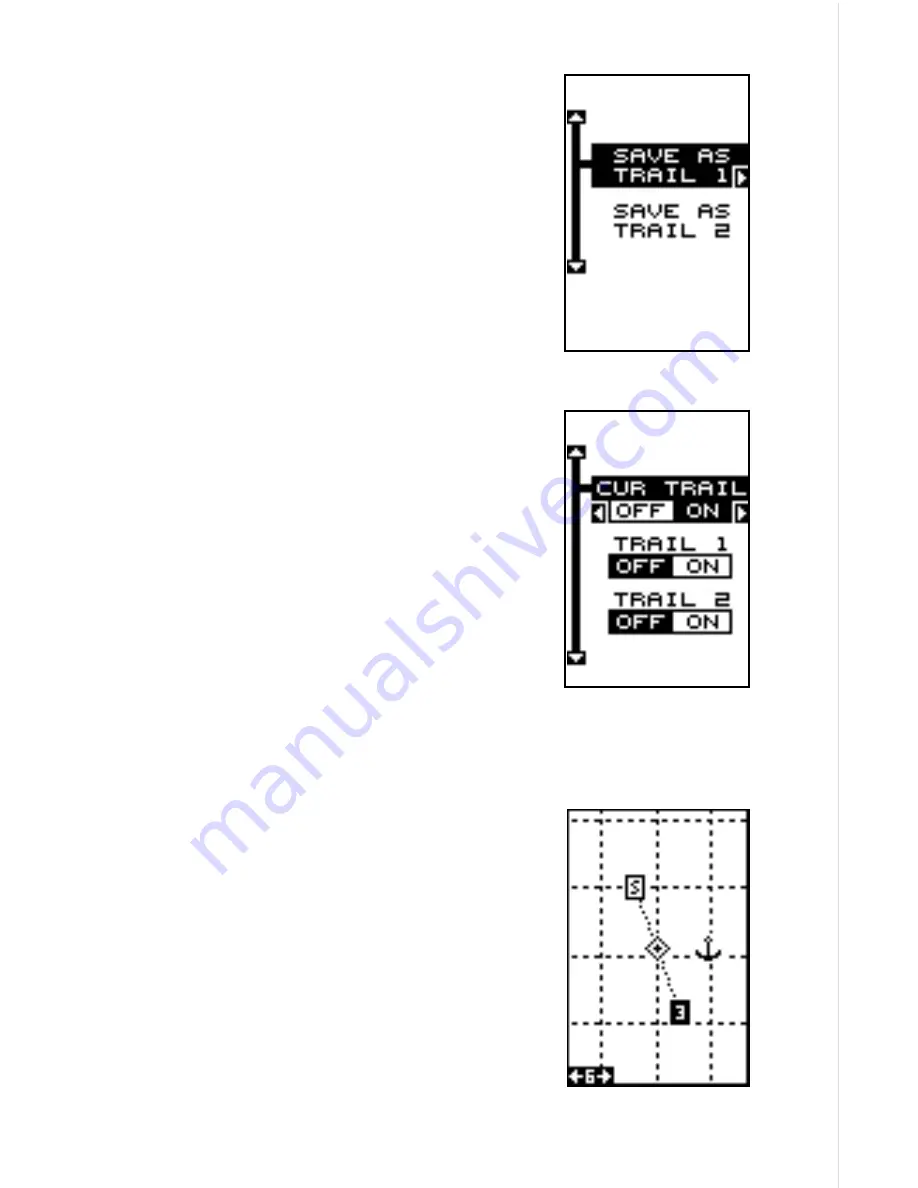
Use the up or down arrow key to highlight the
desired trail number, then press the right arrow
key to save the current trail. A message appears,
asking if you really want to save this trail. Follow
the directions on the screen. After you’ve saved
the trail, press the EXIT key to erase the plot trail
save menu.
Recall Plot Trail
Once you’ve saved a plot trail, you’ll want to show
it on the plotter screen. To do this, highlight the
“Trails Shown” menu on the “Plotter Options” menu
and press the right arrow key. A screen similar to
the on shown below right appears.
The first menu item lets you turn the current plot
trail off or on again. If you turn the current trail off,
the plotter’s present position icon will continue to
move on the screen, but a trail will not be shown.
To recall a saved trail, highlight “Trail 1” or “Trail
2”, then press the right arrow key. Press the EXIT
key repeatedly until all menus are erased. The
recalled trail will be displayed on the plotter screen.
Note: You may need to scroll over to the saved
trail or zoom out to see it if you are some distance
away from it.
Grid Lines
The Eagle Expedition can place grid lines on the
plotter to help you see your position, or the posi-
tion of waypoints and icons.
To do this, highlight the “Grid” label on the “Plotter
Options” menu, then press the right arrow key to
turn them on. Press the EXIT key to exit this menu.
A plotter screen similar to the one at right ap-
pears. The grid lines appear as vertical and hori-
zontal dashed lines.
GRID LINES
Содержание Expedition
Страница 1: ...INSTALLATION AND OPERATION INSTRUCTIONS Eagle Expedition TM TM PAGES ...
Страница 49: ...45 GROUP J GROUP K GROUP L GROUP M GROUP N GROUP O ...
Страница 59: ...55 NAV SCREENS NAV 1 NAV 2 PLOT SCREENS PLOT 1 PLOT 2 GRP D GRP E GRP F GRP G GRP O GRP L GRP M GRP N ...
Страница 60: ...56 ...


