


trk-101-P Installation Manual
10
6. For each unit, do one of the following:
If your network uses a DHCP server:
i.
Select
Use DHCP
.
ii.
Click
Update
. A new IP address is automatically assigned to the selected device(s) by
the network DHCP server.
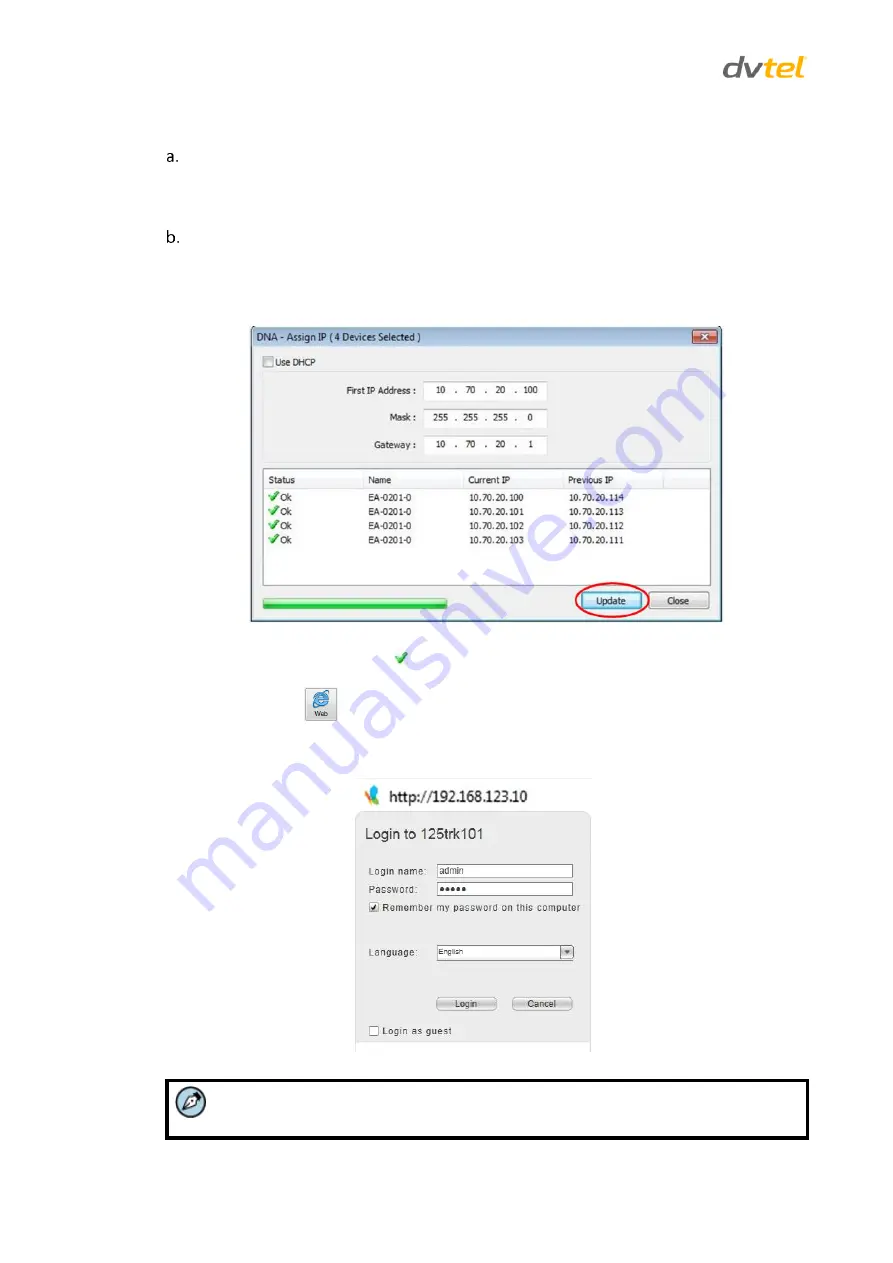
If your network uses Latitude:
i.
Set a static IP address.
ii.
Do not select the
Use DHCP
checkbox.
iii.
In the IP Address, Gateway, and Mask, enter the respective LAN/VLAN (optional DNS)
values.
Figure 9: DNA Assign IP – Static IP Dialog Box
iv.
Click
Update
and wait for
OK
status to be displayed.
7. Repeat Step 5 for each unit.
8. Select the
Web
icon
from the DNA navigation bar or right-click
Web.
9.
Enter the unit’s IP address in your browser.
10.
When the unit’s
Login
window opens, enter the default user name (“admin”) and password
(“admin”). The unit’s user interface opens.
Figure 10: Login Window
Note:
User name and password are case-sensitive.
Содержание TRK-101-P
Страница 2: ......
Страница 12: ......
Страница 36: ...Call Us or Visit Our Showroom 1300 737 998 3 172 The Entrance Rd Erina...


