Rugged Notebook User Guide
29
R13S User Guide
Getting Familiar With Your Notebook
Precautions for Handling DVDs and CDs
Keep these precautions in mind when handling DVDs and
CDs:
Always hold the disk by the edges; avoid touching the
surface of the disk.
Use a clean, dry, cloth to remove dust, smudges, or
fingerprints.
Wipe from the center outward.
Do not write on the surface of the disk.
Extremes in temperature may damage disks. Store disks in
a cool dry place.
Do not use benzene, thinners, or cleaners with detergent.
Only use cleaning kits designed for DVDs or CDs.
Do not bend or drop the disks.
Do not place objects on top of disks.
Device Security
Your device includes several security features to help prevent
theft and protect data. These include a security slot, multiple
levels of password protection, an optional fingerprint scanner,
an optional Smart Card slot, stealth mode and Trusted
Platform Module (TPM).
Security Slot
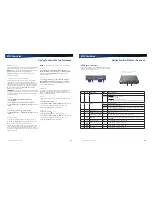
The security slot located on the back edge of the device lets
you connect a Kensington compatible notebook security lock
so you can connect the device to an immovable object to
prevent theft. Insert the lock into the notch and turn the key to
secure the lock. Some keyless models are also available.
See the documentation that comes with your lock for more
information.
BIOS Level Passwords
Passwords protect your device from unauthorized access.
When set, no one can access the device without entering the
correct password.
There are two types of passwords you can set:
Supervisor Password secures your device against
unauthorized entry to critical parameters in the BIOS
Utility.
User Password secures your device against unauthorized
use, and allows limited access to the BIOS Utility.
NOTE
Do not forget to set your password! If you forget
your password, please get in touch with your dealer or an
authorized service center.
Smart Card Reader (Option)
If your device has the Smart Card Reader option, you can use
smart card technology for added security.
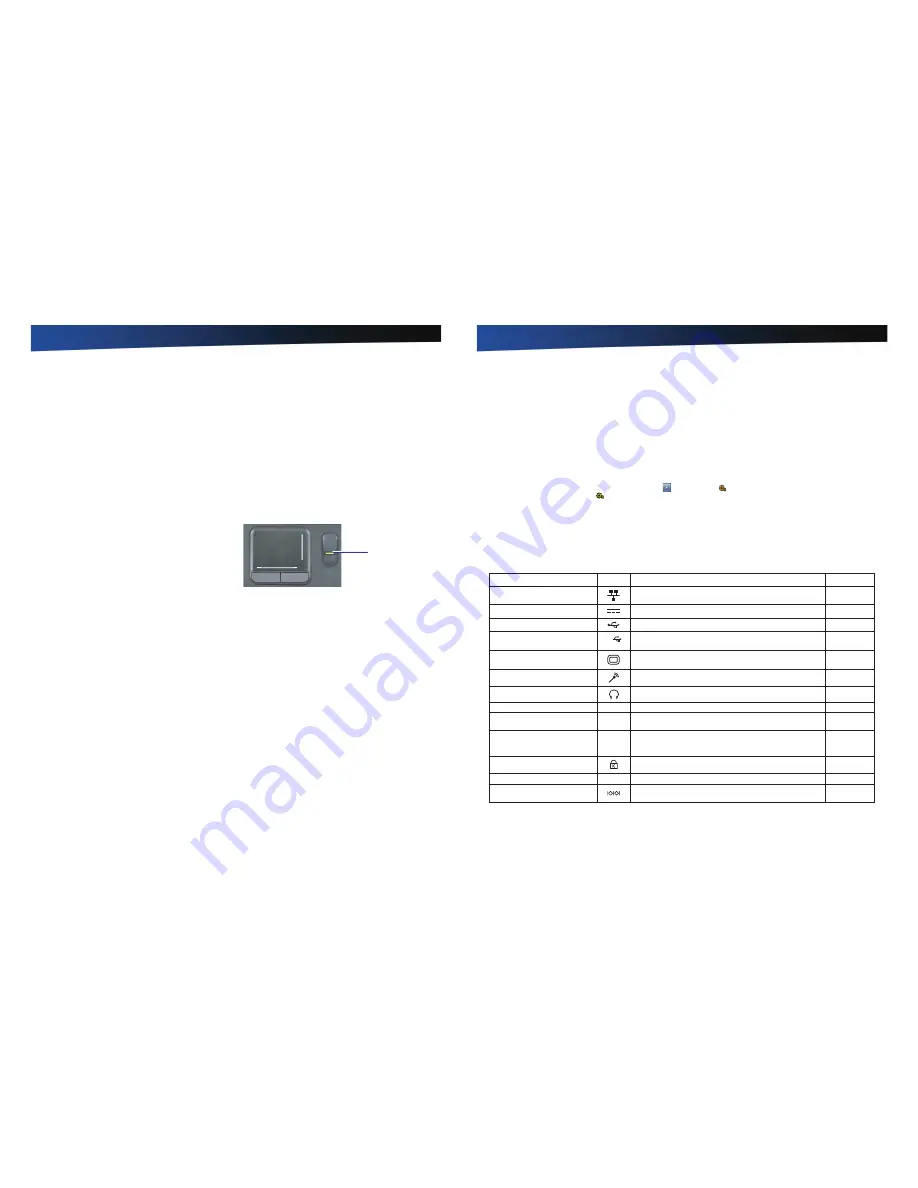
Fingerprint Scanner (Option)
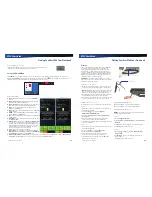
Fingerprint Scanner
The optional swipe style fingerprint scanner can be used for
all standard security uses. The optional fingerprint scanner
provides a greater level of security and convenience for your
device and your private data. Use the fingerprint scanner
instead of passwords for the following:
during device login
during login at secure websites
when opening password protected applications
to provide encryption security for individual files
Fingerprint scanner
Fingerprint Scanner Software
Before using the fingerprint scanner, you must first install
compatible software. If the optional fingerprint scanner was
present during initial user setup, you should have the “
Install
Finger Print Software
” link on your desktop. Click this link and
follow the instructions to install the software. A wizard may
guide you through the process.
CAUTION
Before installing any third party software, ensure
it is approved for use with this device.
When accessing some secure websites, you may need
to specify you are using the fingerprint scanner instead
of a password. Refer to the fingerprint scanner software
documentation for setup information.
NOTE
In Windows 7 environment, the user is prompted to
enter the Windows product key during the fingerprint scanner
software installation.
Rugged Notebook User Guide
30
R13S User Guide
Getting Familiar With Your Notebook
Stealth Mode
The Stealth mode feature enables you to use the device where light or sound could be dangerous or disruptive, such as a
military or public safety environment. Enabling Stealth mode allows you to disable sound and light features such as system
beeps, the fan, and the display backlight.
The Stealth mode includes two modes:
Stealth mode
: Turn off the LCD backlight, LEDs (LED indicators and keypad backlight), speakers, camera flash, and RF
devices.
Night vision mode
: Adjust the brightness of the LCD under 1.7 nits and turn off the LEDs (LED indicators and keypad
backlight) and camera flash.
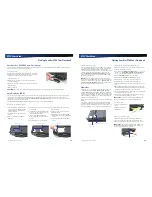
To switch your laptop to the Stealth mode in both Windows 7 and Windows 10 environments, follow the instructions below:
1.
Click the arrow on the task bar to display hidden icons (
) and then click
icon (for Windows 7) or click the System Tray
area of the Taskbar and then click
icon (for Windows 10).
2.
Toggle the
Stealth Mode
button to
Stealth Mode
if you want to use the Stealth mode or to
Night Vision
if you want to use the
Night Vision mode.
3.
Press the
Fn + F12
hotkey to switch your laptop to your desired mode set in step 2.
Trusted Platform Module (TPM)
Enable or disable TPM in the System BIOS. TPM provides a platform root of trust which uniquely identifies a particular platform
and provides various crypto capabilities including hardware-protected storage.
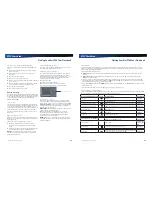
Ports and Connectors Icon
Connection
Location
2 RJ-45
Ethernet
Left Side
DC-in
AC Adapter (power)
Left Side
2 USB Universal Serial Bus 2.0
USB Peripherals such as a mouse, printer or optical disk drive
Right Side
USB Universal Serial Bus 3.0
ss
USB 3.0
USB Peripherals such as a mouse, printer or optical disk drive
Right Side
External Monitor
External Monitor
Left Side
Audio In
Microphone
Left Side
Audio Out
Speakers or headphones
Left Side
PC Card Slot
Type II PC Cards
Right Side
Smart Card Reader or EXPRESS
Card Slot
Smart Cards or EXPRESS Cards
Left Side
2 SD Card Slot
SDXC Cards
Left Side and
Bottom (HDD
Bay)
Security Slot
Notebook lock such as a Kensington lock
Back Edge
Multi I/O Docking Connector
Compatible office dock or vehicle dock
Bottom
Serial Port
Connects your device to serial devices such a fax/modem or a
serial mouse. This port is identified as COM1
Right Side

