48
Section 5: Troubleshooting and Maintenance
5A. Solving Print Alignment Problems
Image is Vertically Offset
The LX3000e decides where to start printing by detecting the start of die-cut label,
detecting a black mark on the back of the label or detecting a through-hole that
corresponds to the start of the label.
The following items can cause the label sensor to improperly detect the start of a label:
1.
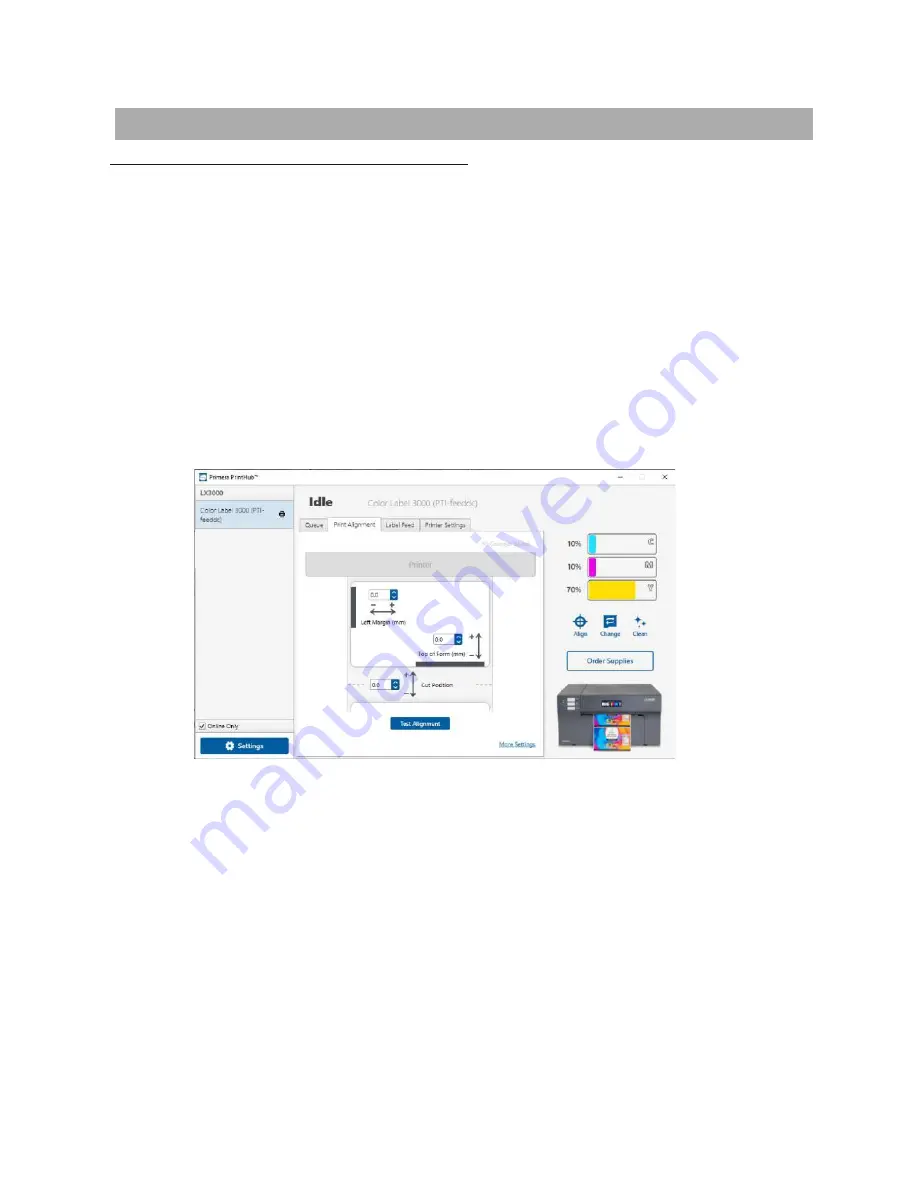
Top of Form (TOF).
TOF stands for Top of Form and this setting allows you to fine
tune the alignment of your printing on your label stock. This will be factory
calibrated. If fine tuning is needed, increase this setting to move the image down on
the label; decrease this setting to move the image up on the label. The unit of
measure is
0.1mm. This setting is found on the Alignment Tab of the PrintHub.
2.
Nonstandard / Non-translucent Backing Material
. Test the unit with the label
sample material that came with the unit. If it prints correctly, your label stock may
not be compatible with the printer. The label sensor needs to see the difference
between a label and a backing material by seeing through the label stock for light
variations. If it can not see through the label, problems will arise. If you must use
this type of backing, try label stock that has a black mark on the back to show
where the label begins. You will need to change the Stock Sensor Mode in the
PrintHub.
3.
Insufficient Label Gap Distance.
See Section 2A for label specifications.
4.
Page Size is Bigger than Label Stock Size.
If the page size set in the driver is larger
than the actual label stock, ink will be printed on the gaps and the sensor will start
looking for a gap too late. This can cause label skipping or inconsistent print starting
points. Adjust the page size in the printer driver settings.
Содержание LX 3000e
Страница 1: ...User s Manual 2021 All rights reserved 210616 ...
Страница 4: ...4 Section 6 Technical Specifications 59 ...
Страница 9: ...Print Head Carrier ...
Страница 10: ...Yellow Ink Tank Cyan Ink Tank Magenta Ink Tank ...
Страница 13: ...4 Repeat the process for the remaining colors Magenta Cyan Yellow ...
Страница 18: ...8 Close the lid on the print head by lightly pressing down from the top until you hear a click Click ...
Страница 40: ...36 3 Select Color Label 3000 Click Next 4 Select Specify Custom Settings Click Next ...
Страница 41: ...37 5 Select Single Item per page Click Next 6 Select No it does not for Side Edges ...
Страница 64: ...60 Dimensions 17 25 W x 9 1 H x 17 25 D 438mmW x 231mmH x 438mmD ...
Страница 65: ......


