24
In this mode, there is no way to set the print starting position. The printer will simply
start printing the first label and print each subsequent label immediately after that
previous one. To produce a gap between prints, simply add the desired amount of
white space to the end of the label being printed.
Important Note:
You must also set the Stock Sensor Position (Section 2C) so that the sensor is
sensing the correct point on the label stock.
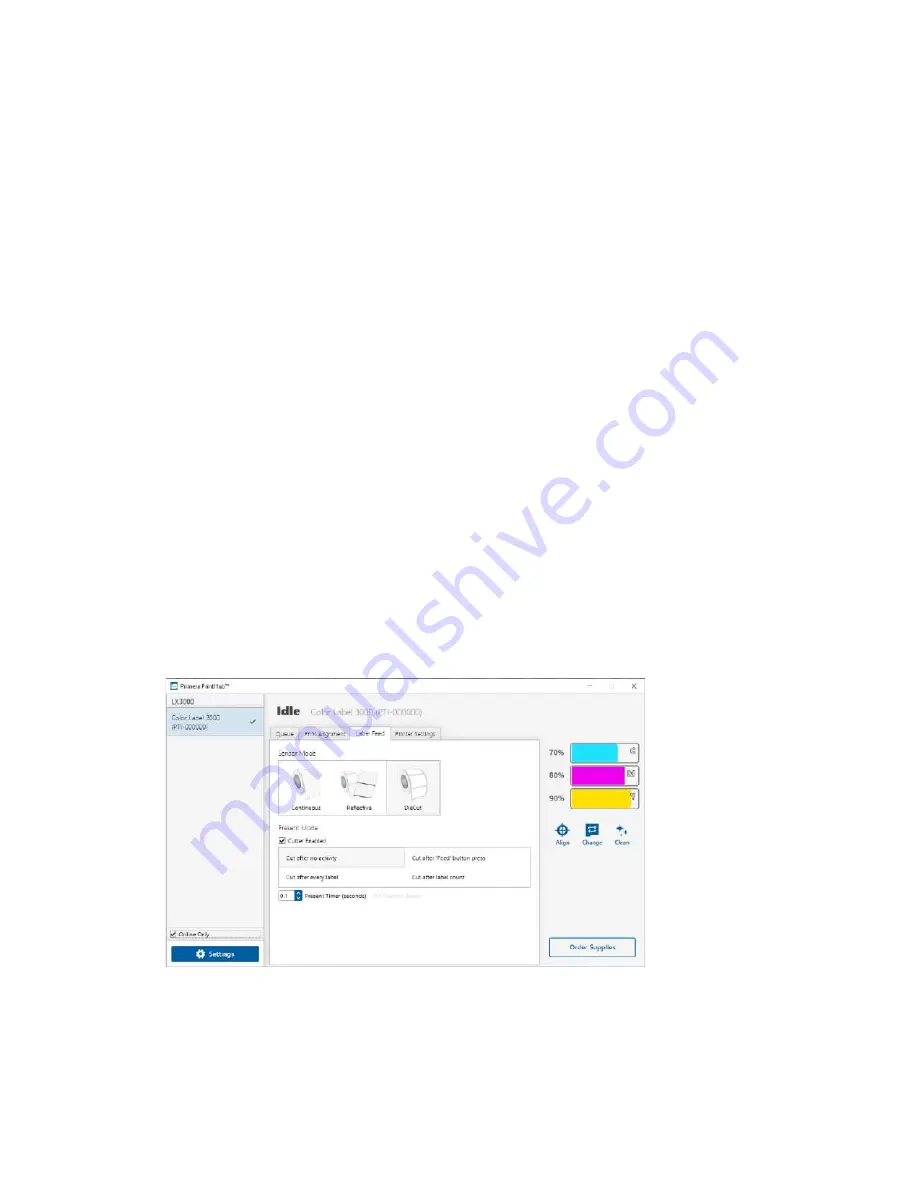
2E: Set the Present/Cut Mode
Use the Present/Cut Mode to adjust how the printer presents labels after they are
printed or if/when they are cut after printing. To adjust the Present/Cut Mode, open
the PrintHub program.
1.
Connect the printer via USB and turn on the power. The Output/Cut Mode Setting is
stored on the printer main board so you will not be able to access it unless the
printer is turned on and properly communicating with the computer.
2.
Go to Start - Programs - Primera Technology - Primera PrintHub.
3.
Click on the Label Feed Tab.
4.
Click on the Output/Cut Mode button.
There are different options available which change if the Cutter is enabled or disabled.
If the Cutter is disabled, the label present options will be available. If the Cutter is
enabled the present options are are no longer available, but cut options become
available.
Cutter Options
:
Cut after button press
. This setting will cut after you press the Load/Feed button on
the printer. This can be used after one label or an entire job. This feature is useful if you
will not be present at the end of the print to catch the cut label.
Содержание LX 3000e
Страница 1: ...User s Manual 2021 All rights reserved 210616 ...
Страница 4: ...4 Section 6 Technical Specifications 59 ...
Страница 9: ...Print Head Carrier ...
Страница 10: ...Yellow Ink Tank Cyan Ink Tank Magenta Ink Tank ...
Страница 13: ...4 Repeat the process for the remaining colors Magenta Cyan Yellow ...
Страница 18: ...8 Close the lid on the print head by lightly pressing down from the top until you hear a click Click ...
Страница 40: ...36 3 Select Color Label 3000 Click Next 4 Select Specify Custom Settings Click Next ...
Страница 41: ...37 5 Select Single Item per page Click Next 6 Select No it does not for Side Edges ...
Страница 64: ...60 Dimensions 17 25 W x 9 1 H x 17 25 D 438mmW x 231mmH x 438mmD ...
Страница 65: ......


