


- 84 -
U s e r M a n u a l D r e a m b o x D M 8 0 0 H D P V R
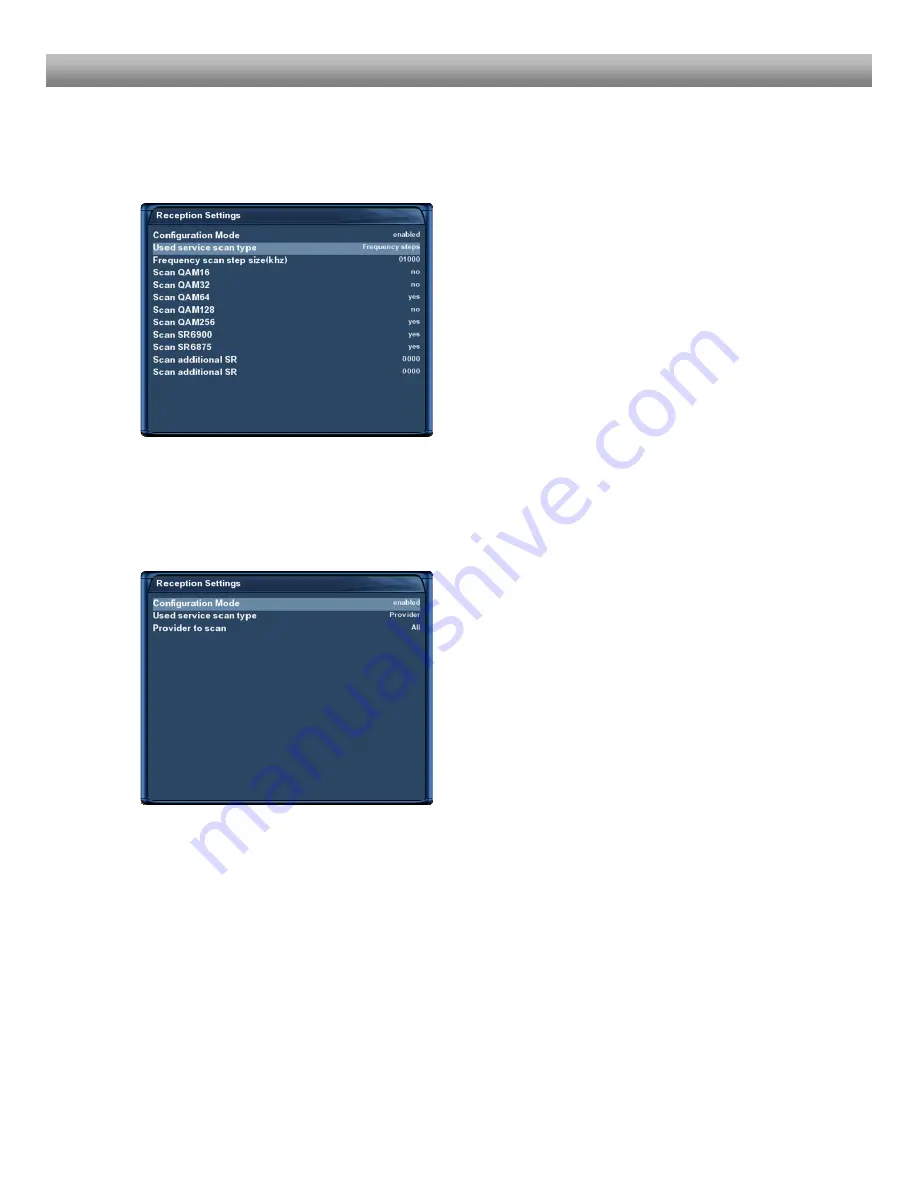
Frequency steps
This type of searching scans the set frequencies step by step in a set increment.
Use the
Navigation-Buttons left/right
to set the
“Used service scan type” option to “Frequency
steps”.
Frequency scan step size (kHz): Use the
Numeric-
Keypad
to set the step increment.
Press the
OK-Button
to save your settings.
You will be taken back to the “Select slot” menu.
Provider
This type of searching scans using a list of known providers.
Use the
Navigation-Buttons left/right
to set the
“Used service scan type” option to “Provider”.
Press the
OK-Button
to save your settings.
You will be taken back to the “Select slot” menu


