


17
...via LAN
7.2
Connection through Ethernet port
To connect to the Remote Power Switch (DC) via LAN, all you need is the unit's IP address
(Default IP address is 192.168.1.100).
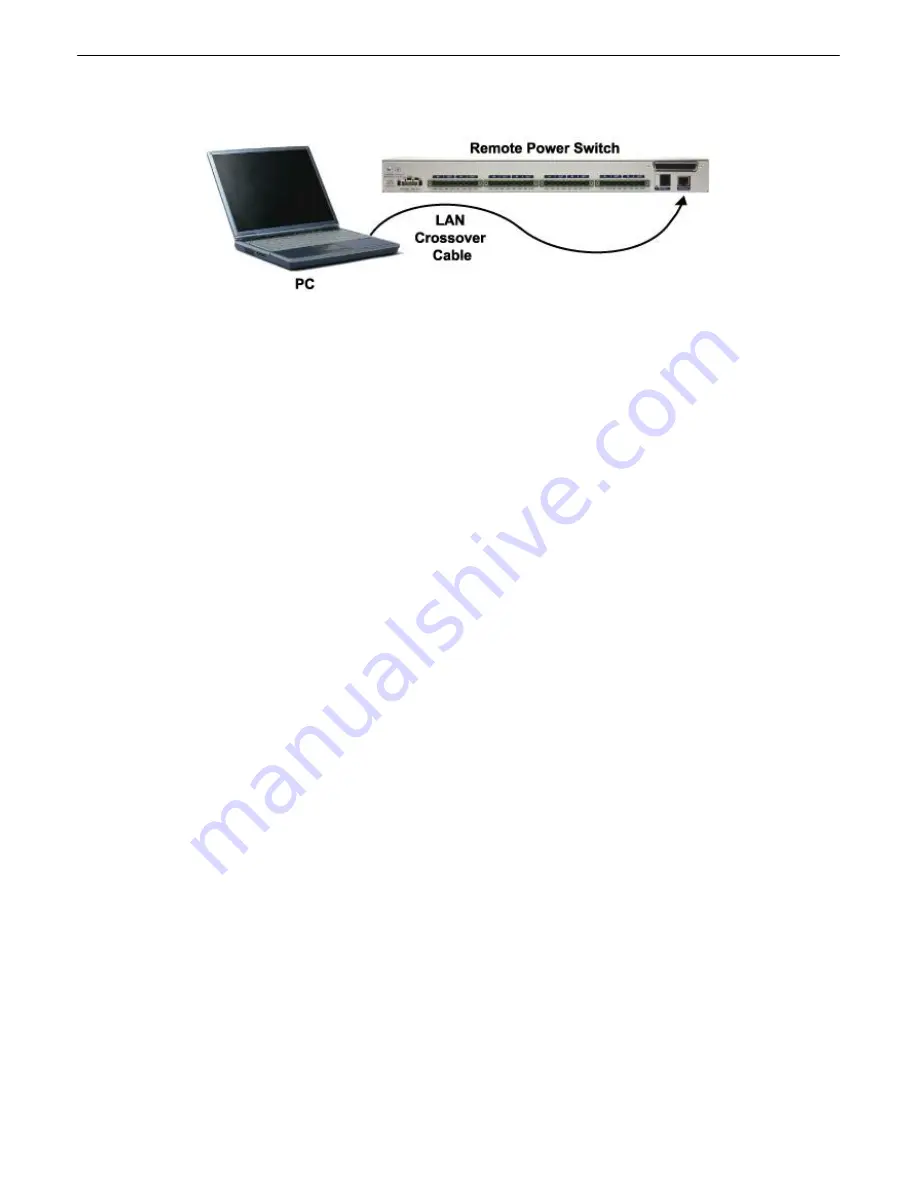
If you DON'T have LAN, but DO have physical access to the Remote Power Switch (DC),
connect using a LAN crossover cable.
NOTE:
Newer PCs should be able to use a standard straight-
through LAN cable and handle the crossover for you. To do this, you will temporarily change your PC's
IP address and subnet mask to match the factory default IP settings. Follow these steps:
1. Get a LAN crossover cable and plug it directly into the Remote Power Switch (DC)'s LAN port.
2. Look up your PC's current IP address and subnet mask, and write this information down.
3. Reset your PC's IP address to
192.168.1.200
. Contact your IT department if you are unsure how
to do this.
4. Reset your PC's subnet mask to
255.255.0.0
. You may have to reboot your PC to apply your
changes.
5. Once the IP address and subnet mask of your computer coincide with the unit, you can access
the Remote Power Switch (DC) via a Telnet session or via Web browser by using the unit's
default IP address of
192.168.1.100
.
6. Provision the Remote Power Switch (DC) with the appropriate information, then
change your
computer's IP address and subnet mask back to their original settings.
Now you're ready
to do the rest of your configuration via LAN. Plug your LAN cable into the Remote
Power Switch (DC) and see Section 9, "Logging On to the Remote Power Switch (DC)" to continue
databasing using the Web Browser.


