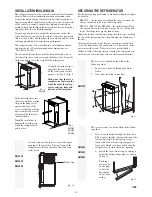
14
MOUNTING INSTRUCTIONS
REPOSITIONING THE HINGES
The refrigerator is equipped with reversible doors. A special
door reversing kit must be used to reverse the doors. This kit
is delivered with RM 2350 but must be bought separately for
RM 2455 and RM 2555 (part number 2932750-13/2) as well as
for RM 4605 (part number 2932750-11/6). For further informa-
tion, please contact your dealer.
MOUNTING THE DOOR PANEL
Door panels are not supplied with the refrigerators and must be
supplied by the manufacturer. This enables the manufacturer to
match the door panel with the rest of the cabinetry inside the
motor home or caravan.
Before starting the mounting work, read the instructions thor-
oughly and check that the panel dimensions are in compliance
with those given in the following table:
Dimensions (mm)
Height
Width
Thickness max.
RM 2355
666±1
497±1
4
RM 2455
826±1
526±1
4
RM 2555
982±1
526±1
4
RM 4605
402±1
(upper door)
525 ±1
4
826±1
(lower door)
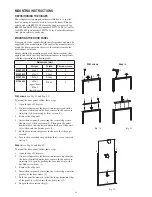
With screws
(see Fig. 20 and Fig. 22)
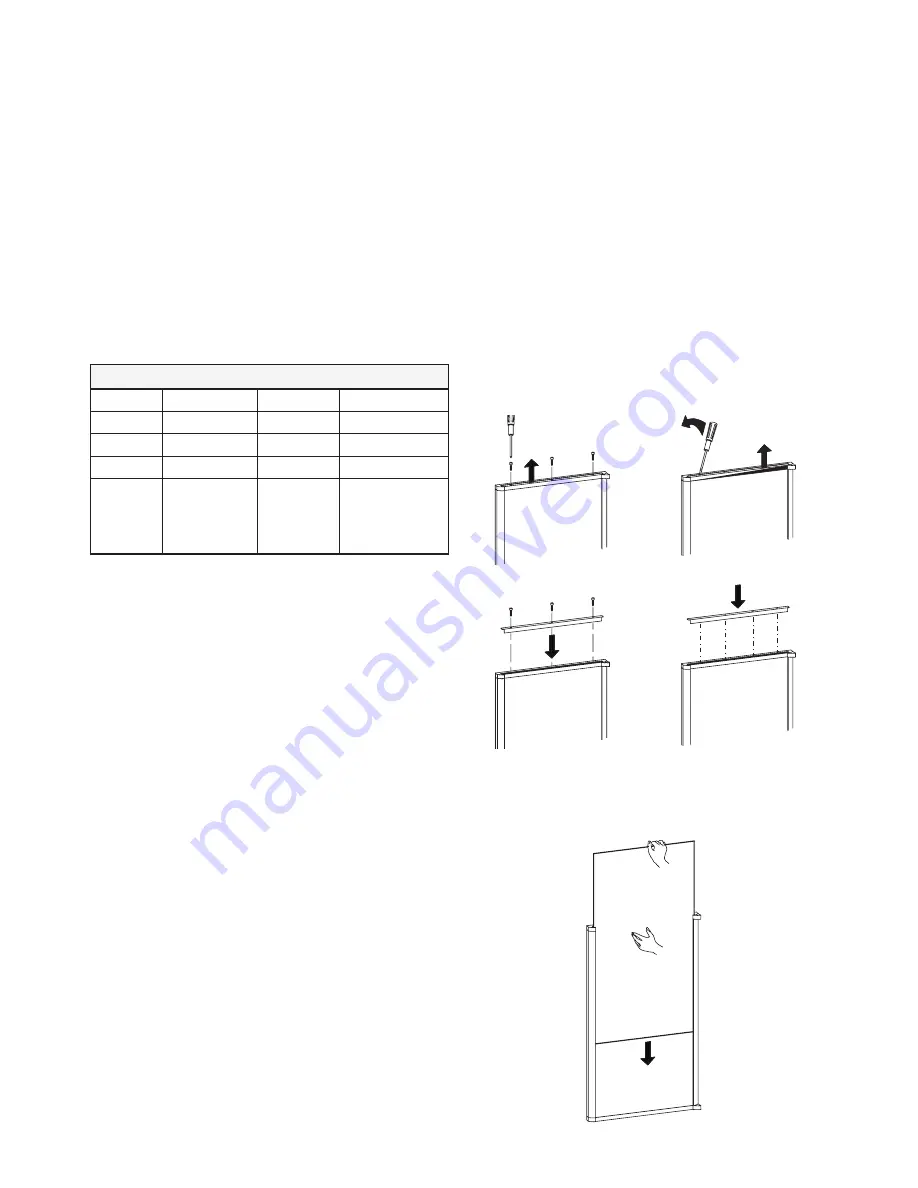
To mount the door panel, follow these steps:
Open the door 90 degrees.
On new refrigerators, the decoration strip is taped inside
the door; if installed on the door, remove the door decora-
tion strip (2) by removing its three screws (1).
Remove the old panel.
Insert the new panel by inserting the vertical edges into
the grooves of the door frame (3). Then, push the panel
downwards so that the lower horizontal edge of the panel
(4) is fitted into the bottom grove (5).
Put the decoration strip across the door so that the gap is
covered.
Secure the decoration strip with the three screws removed
in step 2.
Snap in
(see Fig. 21 and Fig. 22)
To mount the door panel, follow these steps:
Open the door 90 degrees.
On new refrigerators, the decoration strip are taped inside
the door; if installed on the door, remove the door decora-
tion strip (2) by gently pushing the four tabs away with a
flat blade screwdriver (1).
Remove the old panel.
Insert the new panel by inserting the vertical edges into the
grooves of the door frame (3).
Push the panel downward so that the lower horizontal edge
of the panel (4) is fitted into the bottom grove (5).
Snap in the decoration strip (2).
1.
2.
3.
4.
5.
6.
1.
2.
3.
4.
5.
6.
1
1
1
2
1
1
1
With screws
Fig. 20
Snap in
1
2
2
Fig. 21
3
3
4
5
Fig. 22
Содержание RM 23455
Страница 2: ......
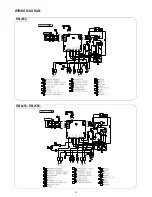
Страница 18: ...18 WIRING DIAGRAM RM 2355 RM 2455 RM 2555...
Страница 19: ...19 RM 4605 WIRING DIAGRAM...
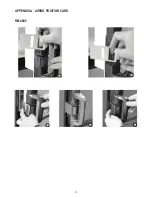
Страница 22: ...22 Appendix A Airing position card RM 4605 1 2 5 4 3...
Страница 23: ...NOTES...
Страница 24: ......


