46
47
6. PC Software
6.1 Installing the software
- Install the “PortableCapture Plus” file suitable for your system from the CD-ROM
supplied.
- If necessary, check at “www.cameradownload.net” for a new version and download
it for installation.
6.2 Starting the programme
- Connect your computer to the microscope via the USB cable (remove the memory
card from the microscope, otherwise only this card will be recognised by the
computer) and start the “PortableCapture Plus” programme on your computer.
Depending on your operating system, it may also appear as a desktop icon:
27
2. Start Microscope
Connect your Microscope to your PC USB port, start the
software by clicking the
icon generated on the
desktop after installation and you will see the following
screen pop up.
When the Microscope is disconnected from your PC
USB port, the following message will pop up.
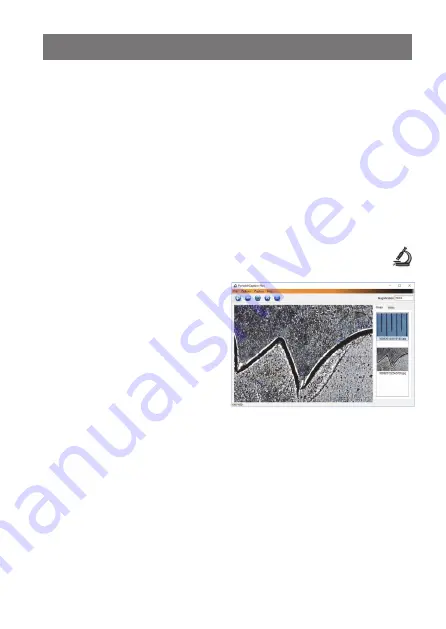
- If the connection is correct, the start
screen of the programme and the
image of the microscope picture
appear:
27
2. Start Microscope
Connect your Microscope to your PC USB port, start the
software by clicking the
icon generated on the
desktop after installation and you will see the following
screen pop up.
When the Microscope is disconnected from your PC
USB port, the following message will pop up.
- If the message: “No device detected, connect the microscope to the USB interface”
appears instead of the camera image, switch off the microscope (remove any
memory card still inserted), exit the programme, switch on the microscope, and
restart the programme.
6.3 Programme menu/functions
Menu “File”
- In this menu, you can define and set up the storage location for single images and
videos as well as load images from other directories or sources into the view:
- Import option


