DNP Imagingcomm America Corporation
91
Troubleshooting Borders
WPS Pro User Guide
3.
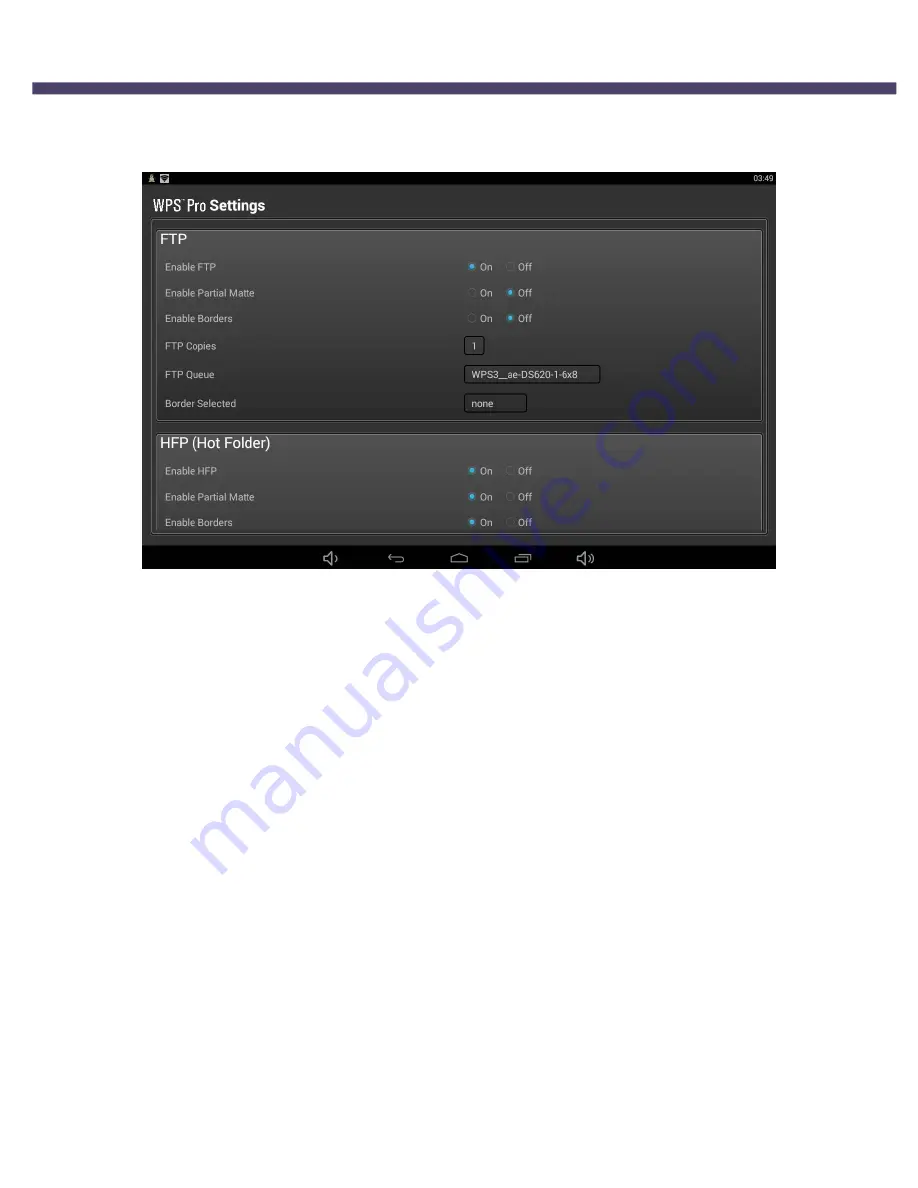
Select the
ON
radio button.
4.
Locate the
Border Selected
option.
5.
Tap the
Border Selected
box and select the border you wish to add to your image.
6.
Scroll to the bottom of the page and touch the
Save Configuration
button. After touching the Save Configuration
button, WPS Pro re-boots itself. (If you have initial test prints turned ON, reconnect once your test image prints.)
7.
The border you have selected is printed on your images.
Troubleshooting Borders
If you are having issues after installing and enabling borders, use this section to troubleshoot those issues.
Borders are only enabled for one print size.
If you want borders enabled for all print sizes, you must have border files installed on your WPS Pro device for all print sizes.
Example
: You are using your WPS Pro system with a DS620A printer and you have 6x8 ribbon and paper installed. You have
included border files in your 4x6 print size folder, and you have enabled borders using the
WPS Pro
Configuration
screen
on your device’s touchscreen display. If you make 6x8 prints, no borders will appear. You must create and install border files
in your 6x8 print size folder as well.
I can’t enable different borders for different print sizes.
At this time, you can only enable borders with the same folder name for all print sizes. You can create any border you want
and as long as you use the same folder name, and then you can enable that border across any print size.
Example
: You want a “thank you” border for 4x6 prints, and a “congratulations” border for 6x8 prints. Create the sets of
borders, and use the same folder name - “wedding 2015” - for both sets of borders. After you have enabled borders using
the
WPS Pro Configuration
screen, any 4x6 you print will have the thank you border and any 6x8 you print will have the
congratulations border.


