of
8
12
Using the DMC.micro
Now that we have gotten all of your devices set up, it’s time to actually USE this crazy thing!
The DMC.micro functions are spread across several
Pages
, which may be turned on or off depending on how you’d like to use the
controller.
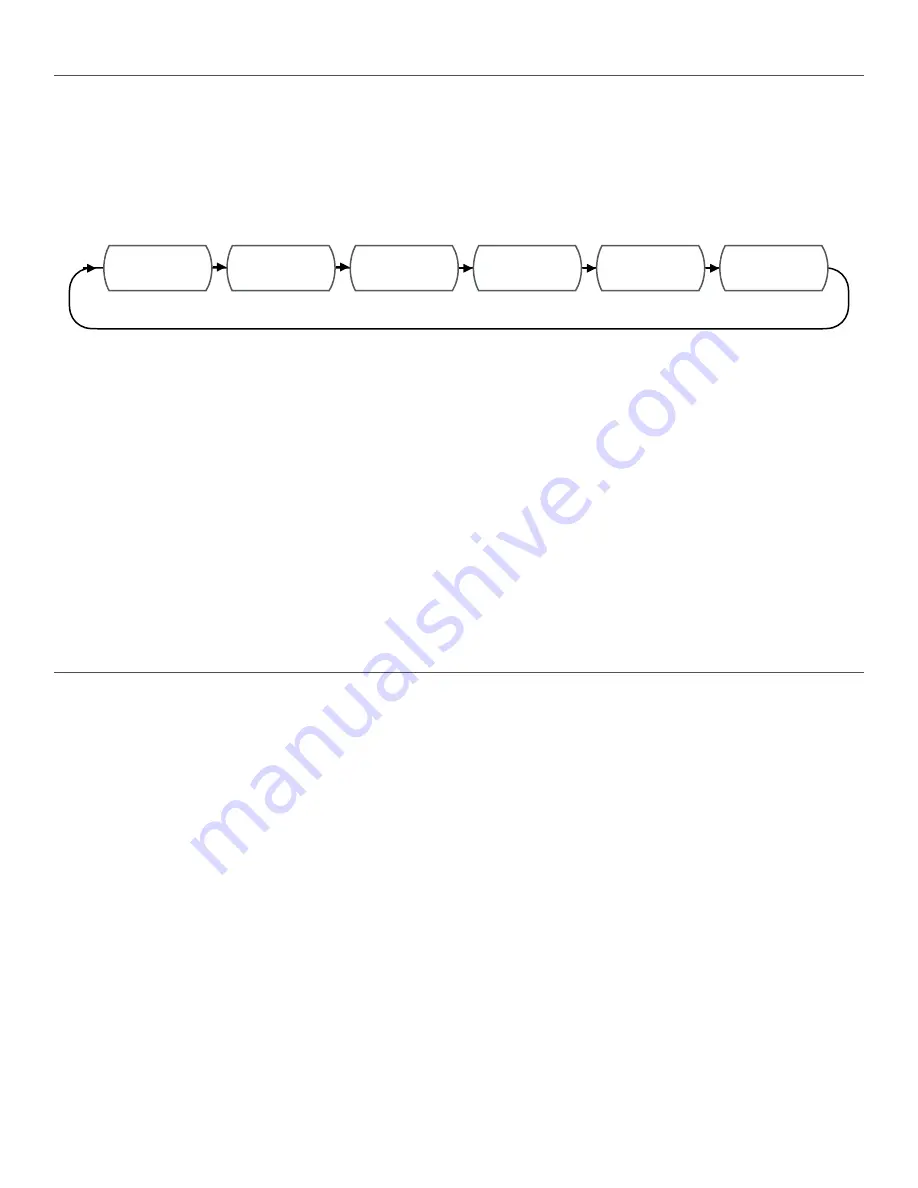
The normal flow of Page navigation goes like this:
To move to the next page, just hold down the right button on the DMC.micro - we’ve marked it
(hold page)
on the DMC itself. If you
don’t need or want to use a certain page, you can disable it easily in the DMC setup menu.
To disable Preset mode,
set PRST = OFF. If you’d like to use Preset mode, set PRST equal to the number of presets you’d like to
use, up to 99.
To assign or disable the Device A, B, and C pages,
set the DEV menu. DEV = OFF will disable all Device modes. DEV = DEVA will
enable only the Dev A page, DEV = DEVB will enable Dev A and Dev B, and DEV = DEVC will enable all three Device pages.
To configure the Looper page,
set the LPR menu to match the device that you’d like to use for looping. For example, if you have a
Timeline connected to the DMC.micro as Device A that you’d like to use, just set LPR = DEVA in the setup menu. If you don’t want to
use the Looper page, configure LPR = OFF in the setup menu.
To enable or disable the Utility mode,
set UTIL in the setup menu. UTIL = OFF will disable the Utility page.
PLEASE NOTE that you must have at least one page activated in order to use the DMC.micro. If you accidentally disable all of
the pages, the DMC.micro will boot and then just hang! Go back into setup and enable something!
Preset Mode
This is really the heart of the DMC.micro - we’ve designed it to be as simple as possible, but it’s a really powerful tool for performance.
Let’s say that you’re playing the verse of a song, and you need to go from a tight rhythmic delay to a big, ambient pad sound for the
chorus. Depending on which patches you’re using on your delay pedal, you might have to press four or five buttons to move from one
tone to the next. If you’ve got the DMC.micro programmed, then changing between these sounds could be a single tap like changing
channels on your TV.
Here’s how it works:
The Preset Mode stores the status of each of your connected MIDI devices into the DMC.micro memory. When
you press the left or right buttons, the DMC will load up its stored data and then send out the correct programs and commands to your
MIDI devices. It sounds complicated but all you have to do is tap a single button.
Here’s how to set and save a preset:
Load up the preset you’d like to set and save on the Preset page.
Go to the Device page for your first MIDI pedal. Tap the left or right buttons until you get to the sound you want to use. If you’d like to
bypass or engage the pedal, hold the left button - the red LED on the left will light up to show that the pedal is ON. The dots on the
display also show the status of the A, B, and C devices.
Repeat for your other MIDI pedals. When you have everything sounding right, go back to the Preset page and HOLD the left button to
save. The display will flash SAVE and you’re done!
NOTE: You must use the Device pages to select the programs for your devices. If you use the buttons on your devices
themselves, the DMC.micro has no idea what you’re doing!
Disaster Area Designs
DMC.micro
Gen3
PRESET
DEV A
DEV B
DEV C
LOOPER
UTIL
Содержание DMC.micro
Страница 1: ...DMC micro User Manual v1 00c...


