


45
6 Use
GB
6.2
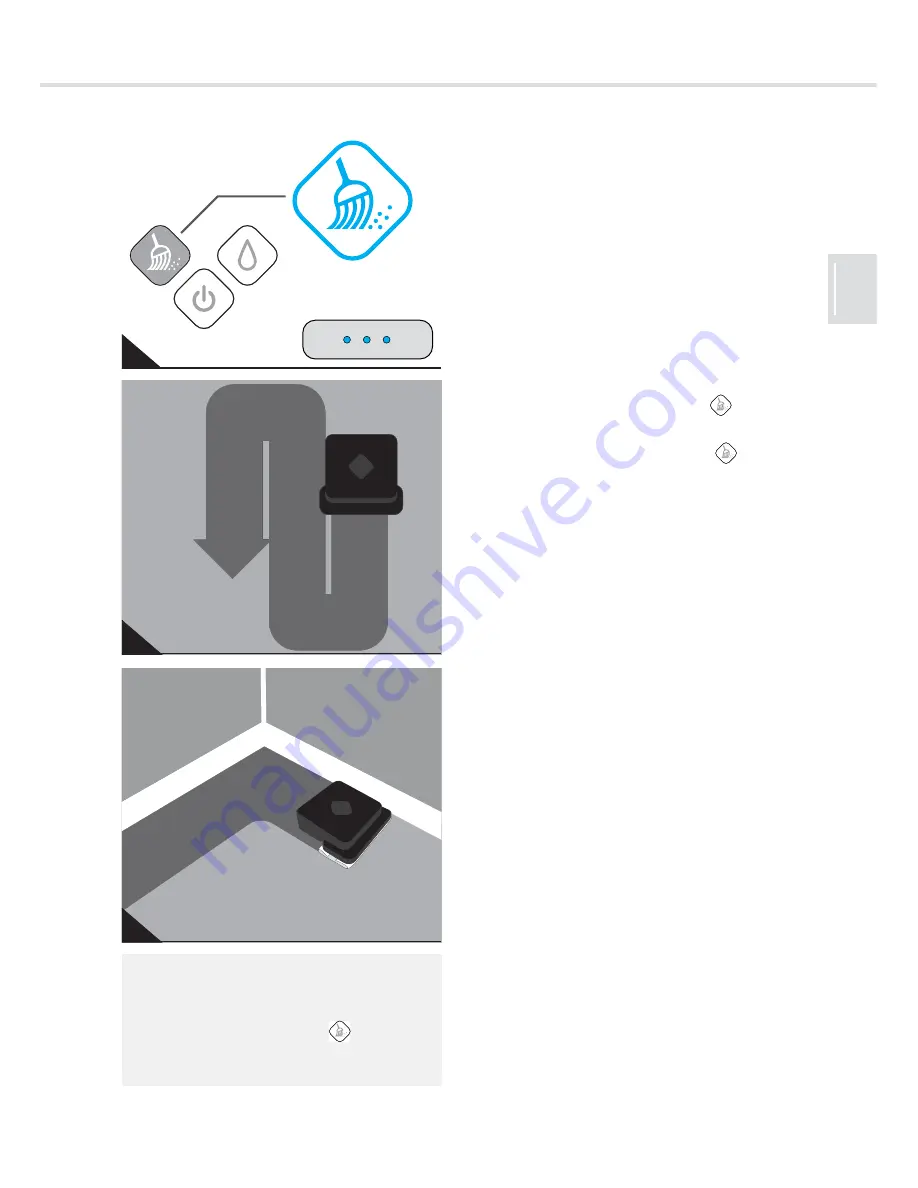
Wiping up dust
1.
Attach a dust cleaning cloth to the dust
cleaning panel and attach the dust clean-
ing panel to the robot,
Z
Chapter 5.1, “Pre-
pare appliance for dusting“
.
2.
Position the control cube and turn it on,
Z
Chapter 5.3, “Positioning the control
cube“
.
3.
Prepare the room to be cleaned,
Z
Chapter 5.4, “Preparing the room to be
cleaned“
.
4.
Turn the appliance on,
Z
Chapter 6.1,
“Switching on the appliance“
.
5.
Press the ‘dusting’ button
(Fig. 22).
- A continuous blue light will be emitted
from the ‘dusting’ button
(Fig. 22).
- A short melody sounds.
- 1-3 status LEDs emit continuous blue
light according to the strength of the sig-
nal from the control cube. If none of the
three status LEDs on the robot are on, a
connection with the control cube could
not be established. The appliance will
still clean, however, the area you can
clean is much smaller, and it does not
go down the edges at the end of the
cleaning process.
- The appliance will now start up. It begins
by cleaning the surface to its right, al-
ways moving forward in parallel sweeps
(Fig. 23). If it bumps into an obstacle, it
turns accordingly.
- After the appliance has cleaned open
spaces, it cleans the edges of the room
(Fig. 24).
- If the cleaning process has ended or the
integrated batteries have to be charged,
a short melody sounds, the appliance
travels back to its starting position,
parks, switches to standby and five min-
utes later to sleep mode.
NOTE:
Quick cleaning mode:
When selecting the cleaning mode, press
the cleaning mode button
for 3 sec-
onds if you want the robot to clean around
30% faster.
22
23
24


