DIGITAL VIDEO RECORDER
43
MENU SETUP
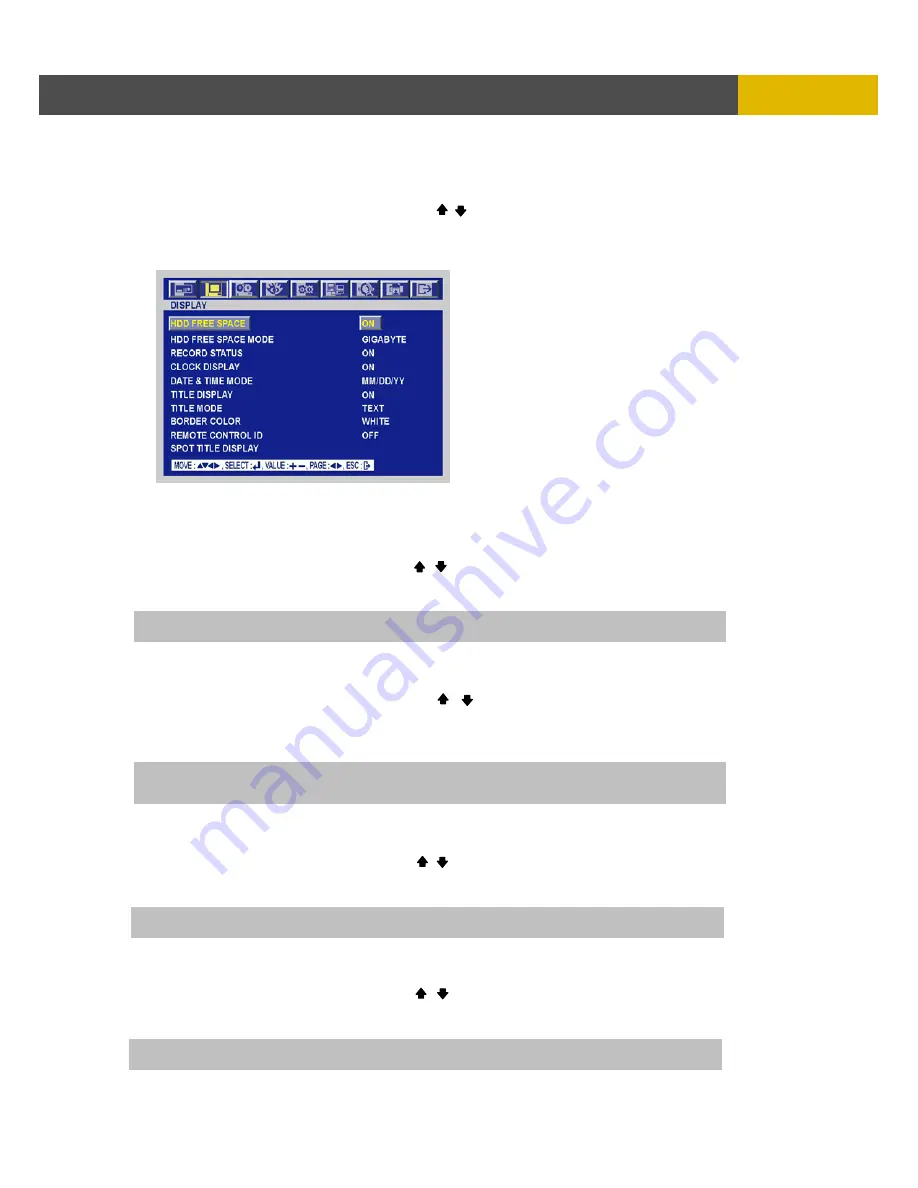
6.2.2 DISPLAY
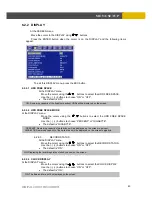
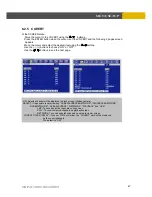
At the SCREEN menu,
Move the cursor to the DISPLAY using , buttons.
Press the ENTER button when the cursor is on the DISPLAY and the following items
appear.
To exit this DISPLAY menu, press the ESC button.
6.2.2.1 HDD FREE SPACE
At the DISPLAY menu,
Move the cursor using the , buttons to select the HDD FREE SPACE.
Use the (-), (+) buttons to choose “ON” or “OFF”.
•
The default is “ON”.
6.2.2.2 HDD FREE SPACE MODE
At the DISPLAY menu,
Move the cursor using the , buttons to select the HDD FREE SPACE
MODE.
Use the (-), (+) buttons to choose “PERCENT” or “GIGABYTE”.
•
The default is “GIGABYTE”.
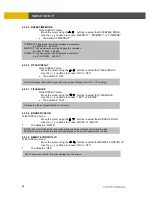
6.2.2.3 RECORD
STATUS
At the DISPLAY menu,
Move the cursor using the , buttons to select the RECORD STATUS.
Use the (-), (+) buttons to choose “ON” or “OFF”.
•
The default is “ON”.
6.2.2.4 CLOCK DISPLAY
At the DISPLAY menu,
Move the cursor using the , buttons to select the CLOCK DISPLAY.
Use the (-), (+) buttons to choose “ON” or “OFF”.
•
The default is “ON”.
ON: Remaining capacity of the fixed(not backup) HDDs will be displayed on the screen.
ON: The date and time will be displayed on the screen.
PERCENT: Remaining capacity of hard drives will be displayed on the screen in percent.
GIGABYTE: Remaining capacity of the hard drives will be displayed on the screen in gigabyte.
ON: Displaying the recording status of each channel on the screen.


