INSTALLATION
WALL MOUNTING INSTALLATION GUIDELINES
For wall mounting with an optional bracket, please read the following instructions in conjunction with the
bracket's instructions. Make sure qualified service personnel perform the operation.
This television can be wall mounted as follows:
1. Place the LED LCD Television face down onto a solid surface. Please place some soft c l o t h material
over the front of the screen to help protect it from any damage. The LCD panel is a fragile component,
and must be suitably protected when removing the base stand. Be sure that no hard or sharp objects can
come into contact with the screen's surface. Do not exert pressure on the front of the unit at any time, as
this may damage the LCD screen.
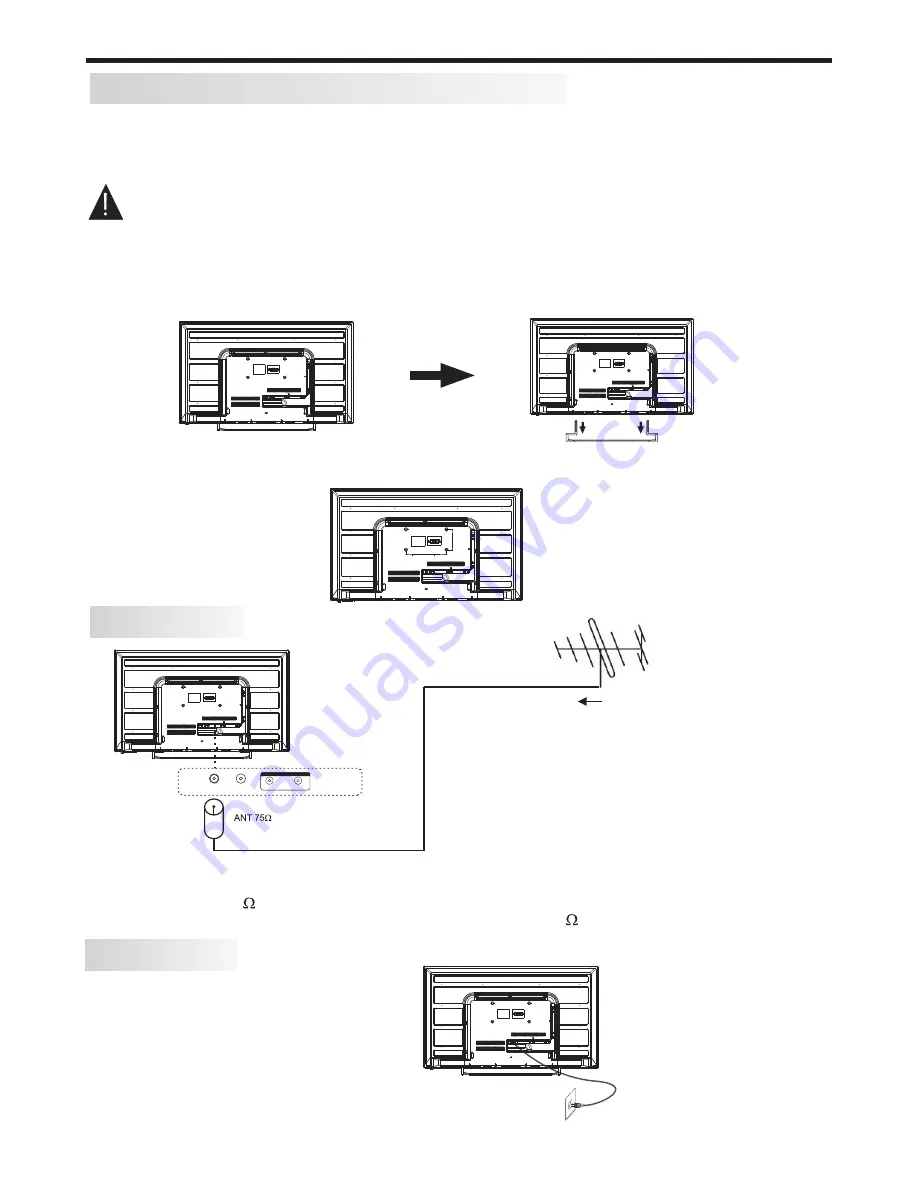
2. Remove the 4 long screws from the lower part of the television, where the neck brackets from the desk
stand are attached to the TV’s body, and take away the stand (put the stand and screws somewhere
safe for future use).
3. Use the four M6 screws provided with your TV to fix it onto your wall mounting bracket (not included)
via the four VESA standard holes on the back of the television.
-7-
200mm x 100mm VESA
wall mounting hole spacing
and locations
POWER
AC Input
100-240V~ 50/60Hz 80W
N.B. Unwind the mains power cord
to its full length prior to initial use,
and locate it away from other cables
that will be connected to the TV
ANTENNA
Note:
Aerial connections: IEC (PAL-type, female).
Input impedance: 75 unbalanced.
For optimum digital TV reception, the use of high quality shielded 75
coax cable is recommended.
Plug (not supplied)
Outdoor antenna (not supplied)
N.B. - Take care to only connect your antenna to
the RF socket on the TV.
Other sockets may accept the PAL antenna plug,
but no reception will occur.
R F
L
R
Coaxial
AUDIO OUTPUT
100
200


