-18-
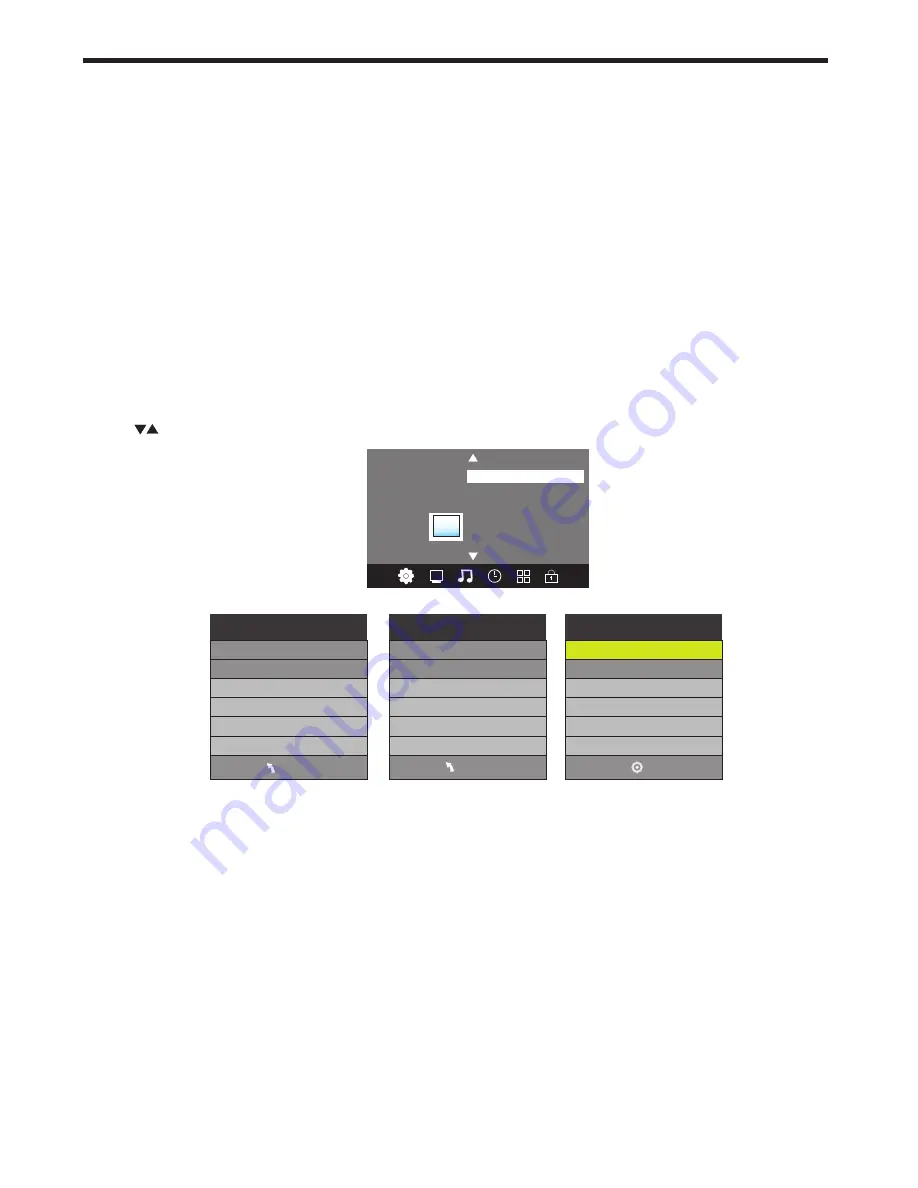
The second item of the MENU is the PICTURE MENU. You can adjust picture effects here, such as contrast,
brightness, etc.
Press to move, press OK to adjust.
2. PICTURE MENU
MENU SETTINGS
5). Signal Information:
This screen provides details of the Strength and Quality of only the DTV signals being
received by the TV, and provides a relative score for each function. These readings can be helpful when
investigating possible reception problems and checking the relative performance of your TV antenna and cabling
system. Ideally, the scoring for both Strength and Quality should be as close to 100% as possible (and generally
over 75 – 80%), and the readings should be stable when viewed over short periods. Variations in either reading
may indicate an antenna or cabling issue that requires attention (eg. broken or damaged TV antenna, loose or
damaged cabling, problem with masthead amplifier etc).
6). Software Update (OAD):
This setting should be set to Off in Australia.
7). Software Update (USB):
WARNING:
Do not attempt to use this option unless you have a valid software program for the GE6993 TV
stored on a compatible USB drive, and the drive is connected to the TV. Remove the antenna cable
from the TV RF socket, go to the channel Menu, select
"
Software Update (USB)
"
and press OK to run the update.
Color Temperature
Aspect Ratio
Noise Reduction
Screen
Picture Mode Standard
< >
PICTURE
MENU
Picture Mode Standard
Contrast 50
Brightness 50
Color 50
Sharpness 50
Tint 50
Color Temperature Medium
Red 50
Green 50
Blue 30
MENU
Screen
Auto Adjust
Horizontal Pos.50
Vertical Pos.50
Size 50
phase 38
OK
NOTE:
1). In the Picture Mode sub-menu, the Tint option is available in NTSC system countries only.
2). There are four color temperature modes that can be selected: Medium, Warm, Cool and a User adjusment
option.
3). The Aspect Ratio option allows you to select either Auto, or manually select 4:3, 16:9, Zoom1, Zoom2 or Just
Scan screen ratios. For general use leave this setting in the Auto position.
4). The Screen option is only available once the Input Source is set to PC and a compatible signal is present on
the VGA input socket. Once selected, you can adjust the horizontal and vertical screen position, size and phase
or select an Auto Adjust mode.
5). For improved video processing, access to the Colour adjustment may not be available in the Picture Mode
(User) area when the TV is used with progressive scan video material from externally connected equipment. If
adjustment of the Colour control is required to correct defective source material, change the video mode of your
connected equipment to an interlaced format.
The TV’s default for Picture Mode is the "Standard" setting, which is recommended for home viewing.
6). The Noise Reduction option is more useful for use in areas using ATV (analogue) transmissions. In Australia,
this sub-menu should be set to the Low or Medium position during DTV reception.


